 |
 |
 |
 |
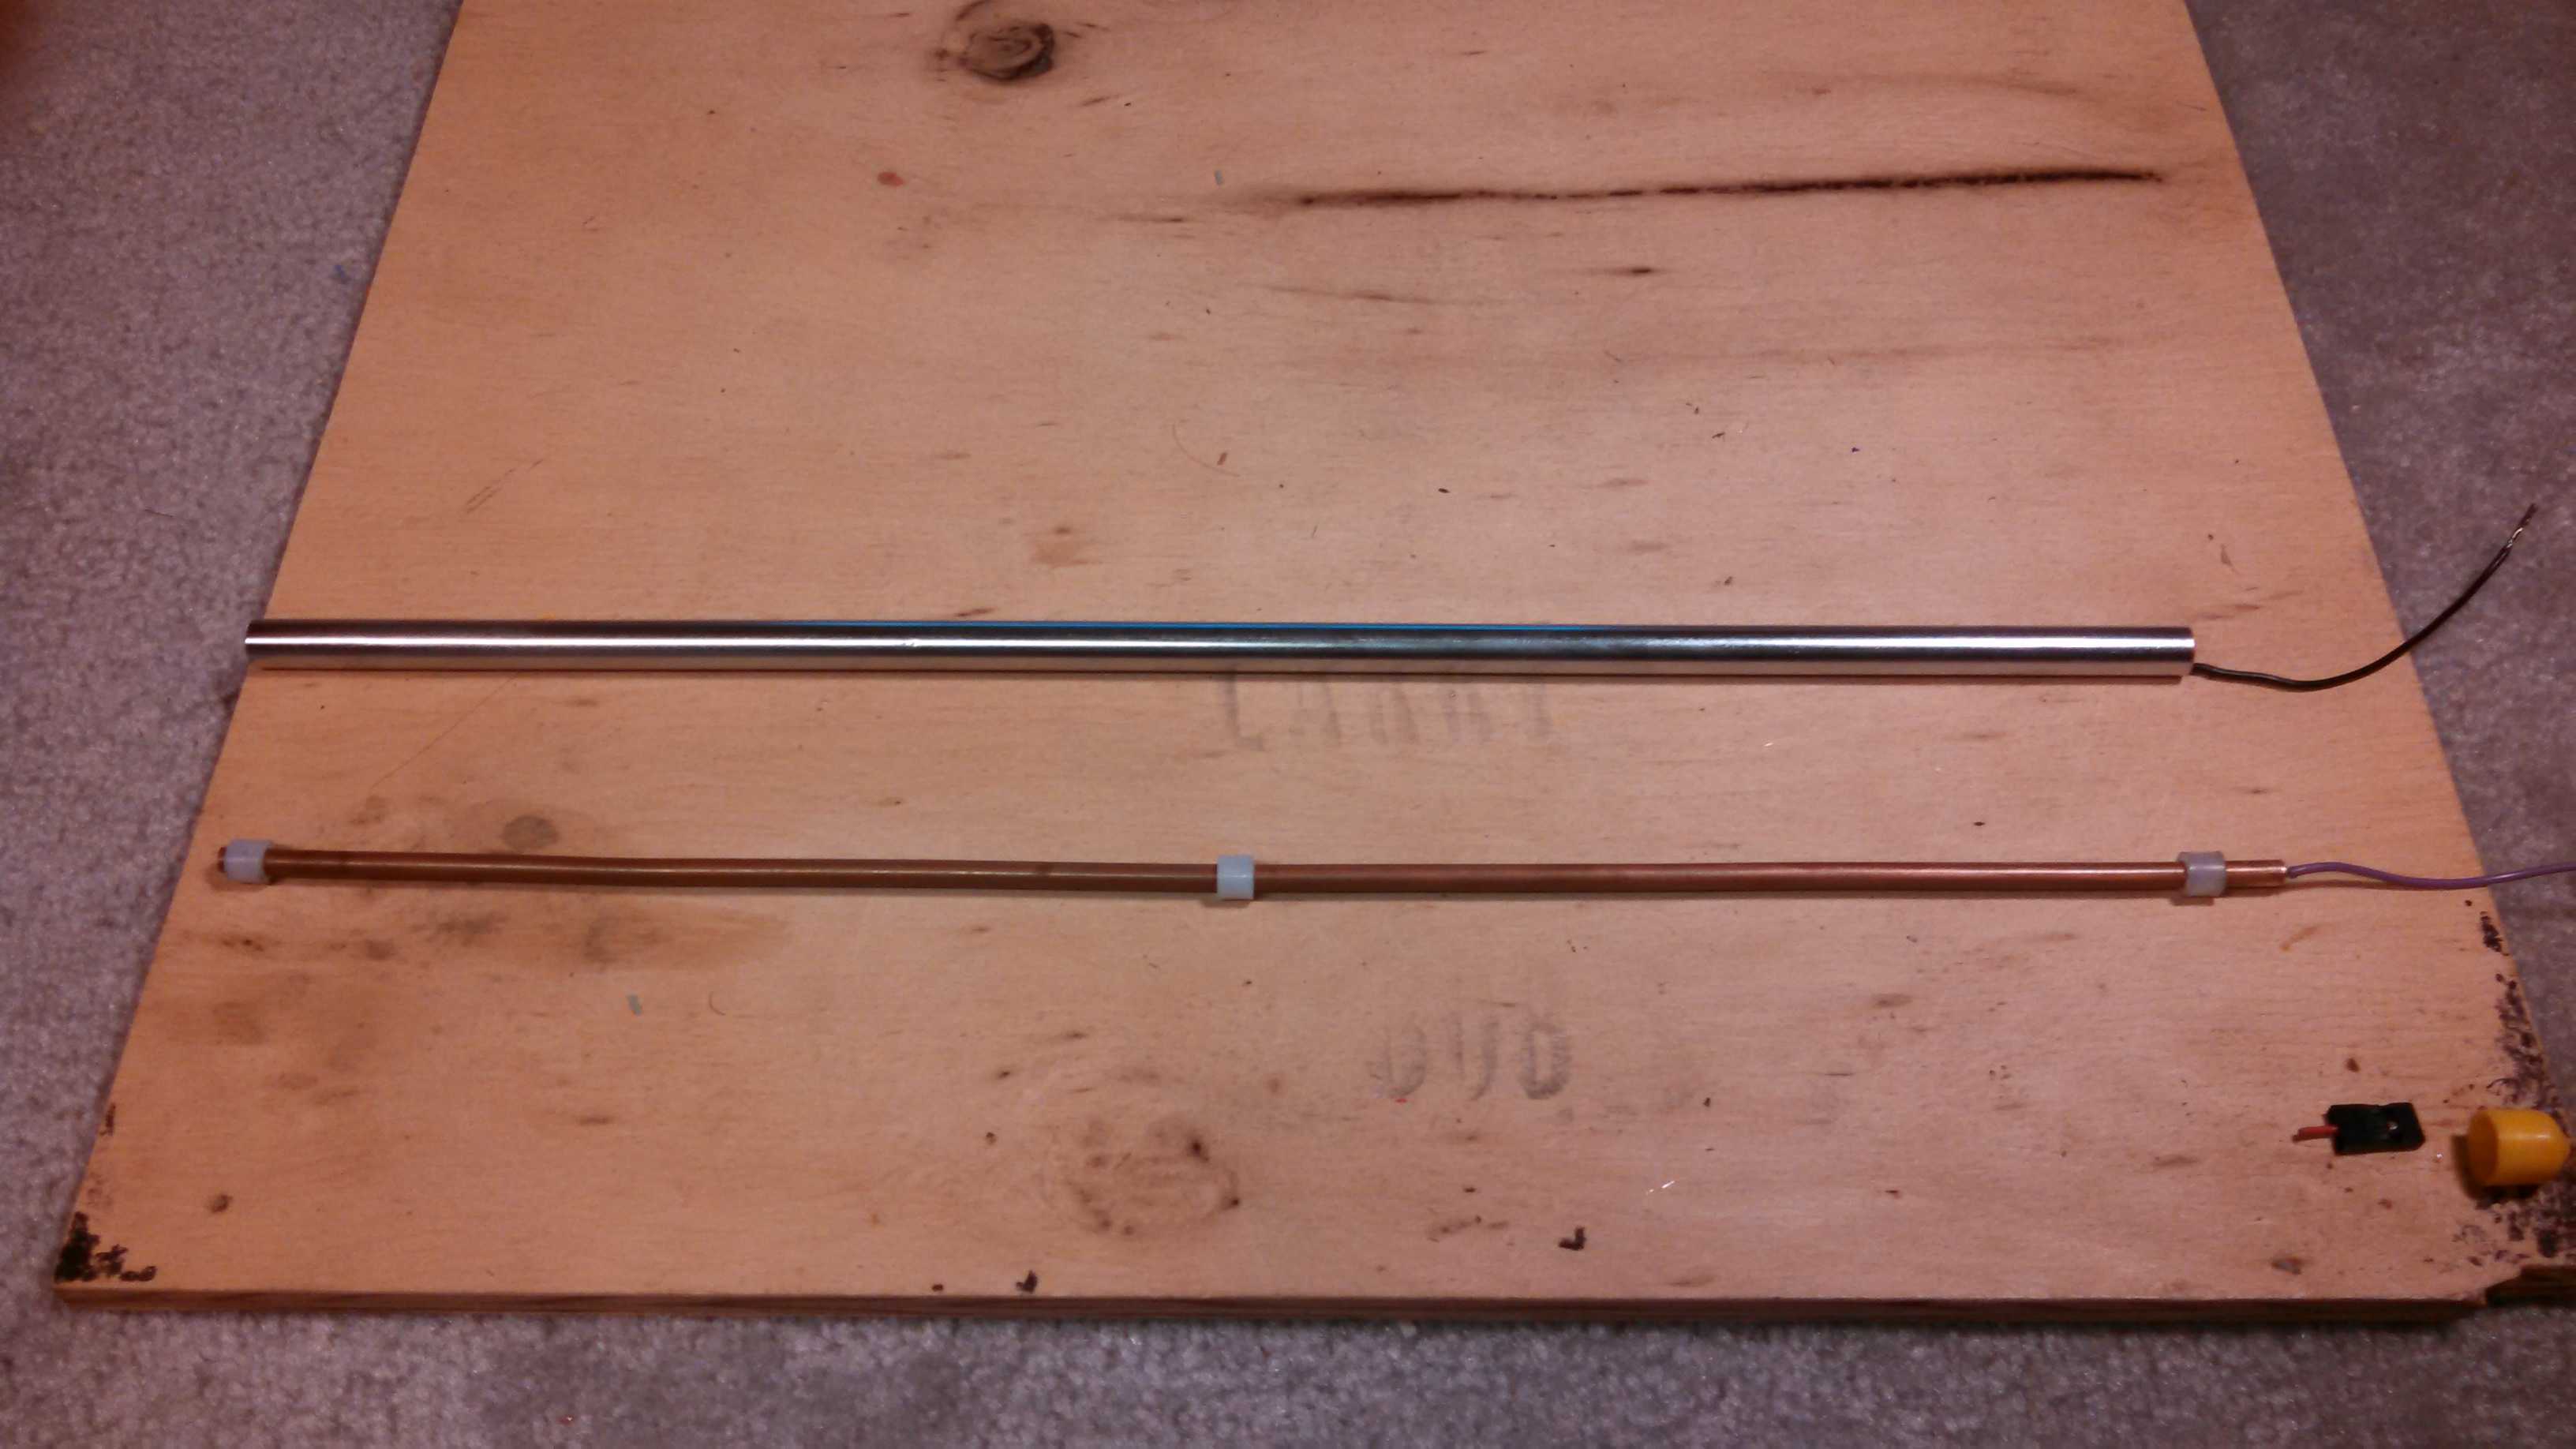
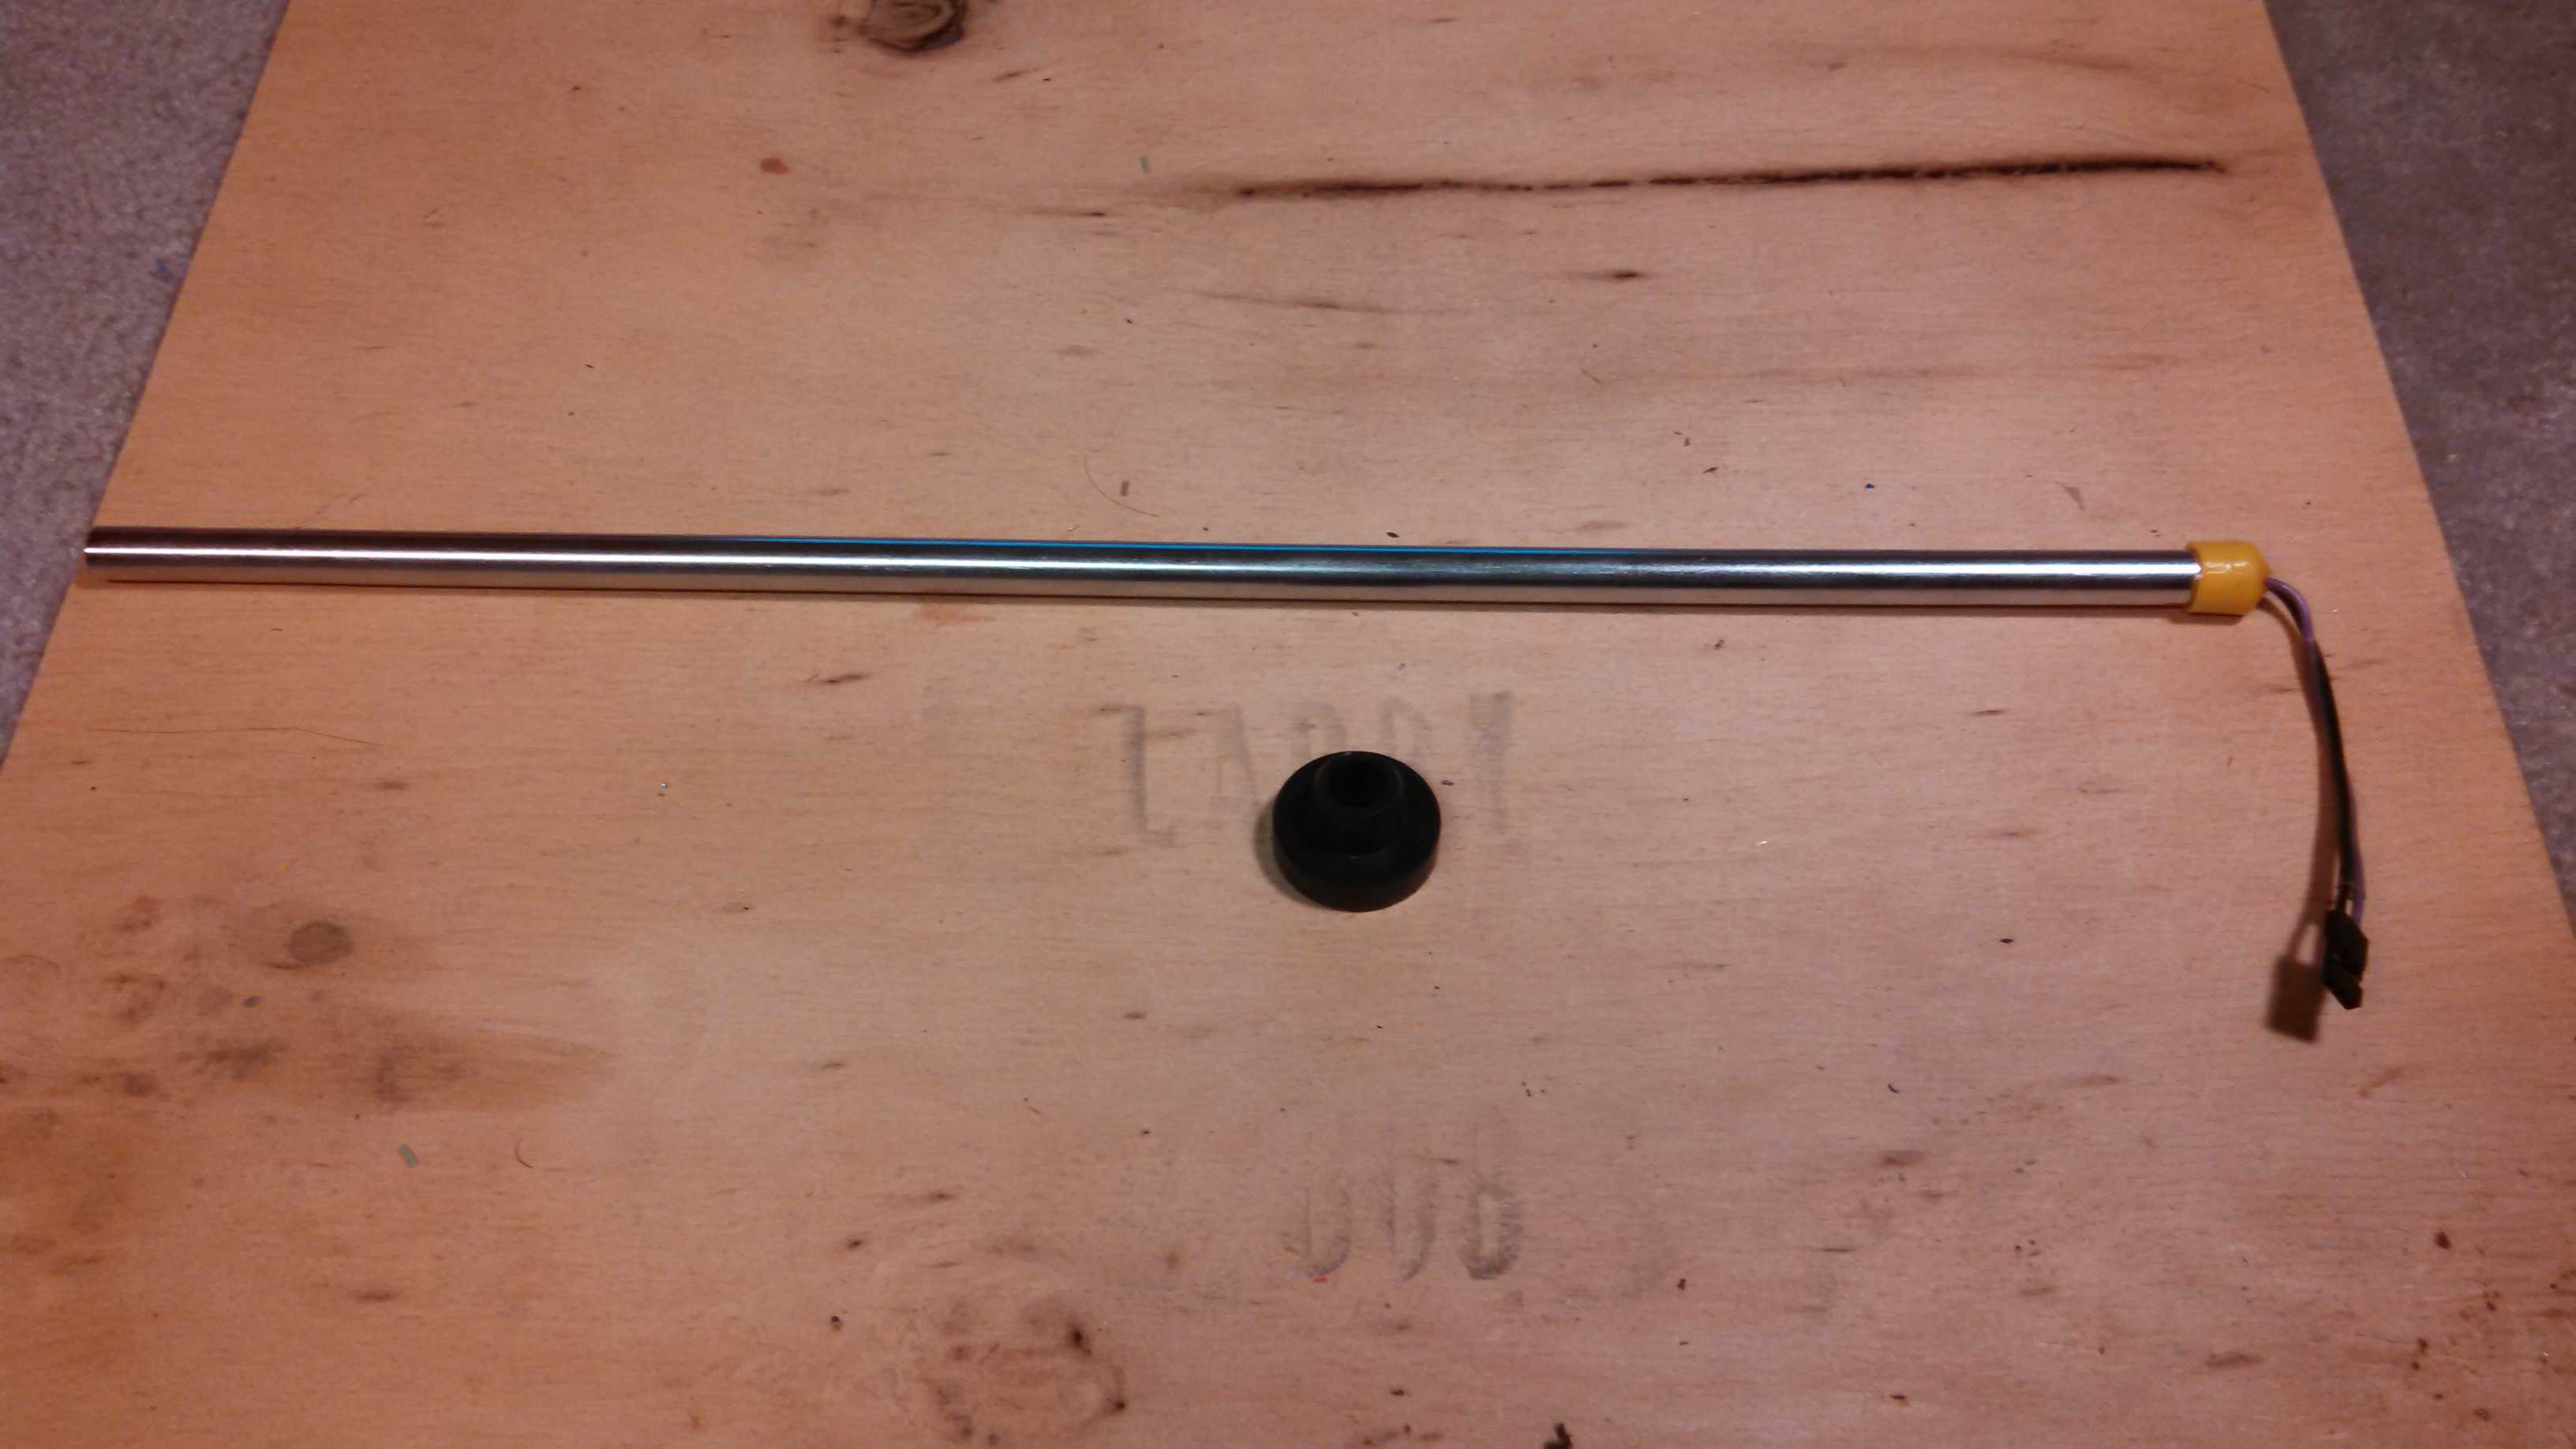
The fuel probe consists of a 3/8 inch O.D.toilet supply tube cut to
length of tank plus a little exta to come out the top of the tank for
the wiring harness hookup. 3/8 fits the rubber bushing most commonly
used with plastic tanks for Ultralights. A 3/16 inch O.D. copper or
brass tube is used for the internal plate of this capacitor. I used
soft copper tubing which I purchased at my local hardware priced by the
foot. I then straightened it as best possible. I used 5/16 inch O.D.
nylon bushings which were drilled out to fit the internal tube very
snuggly. A wire was soldered to the top of each tube. Keep the amount
of solder on the outer tube as small as possible to keep it from
touching the inner tube and creating a short. The small copper
tube was pushed up through the larger tube from the bottom until the
bottom was up into the
tube about an inch and extending out the top. This is to leave
room at the bottom so that a small dab of solder can be made inside the
larger tube to act as a stop so the inner tube can be pushed back down
to this point and not drop out the bottom. Also the bottom nylon
bushing has to be kept away from the heat during that solder process.
The Boot on the top has a slit in the top to let the wires through and
also to let air in or out as the tube fills or drains with fuel.Check
with an ohm meter to make sure the tubes are not shorted together when
assembly is complete.
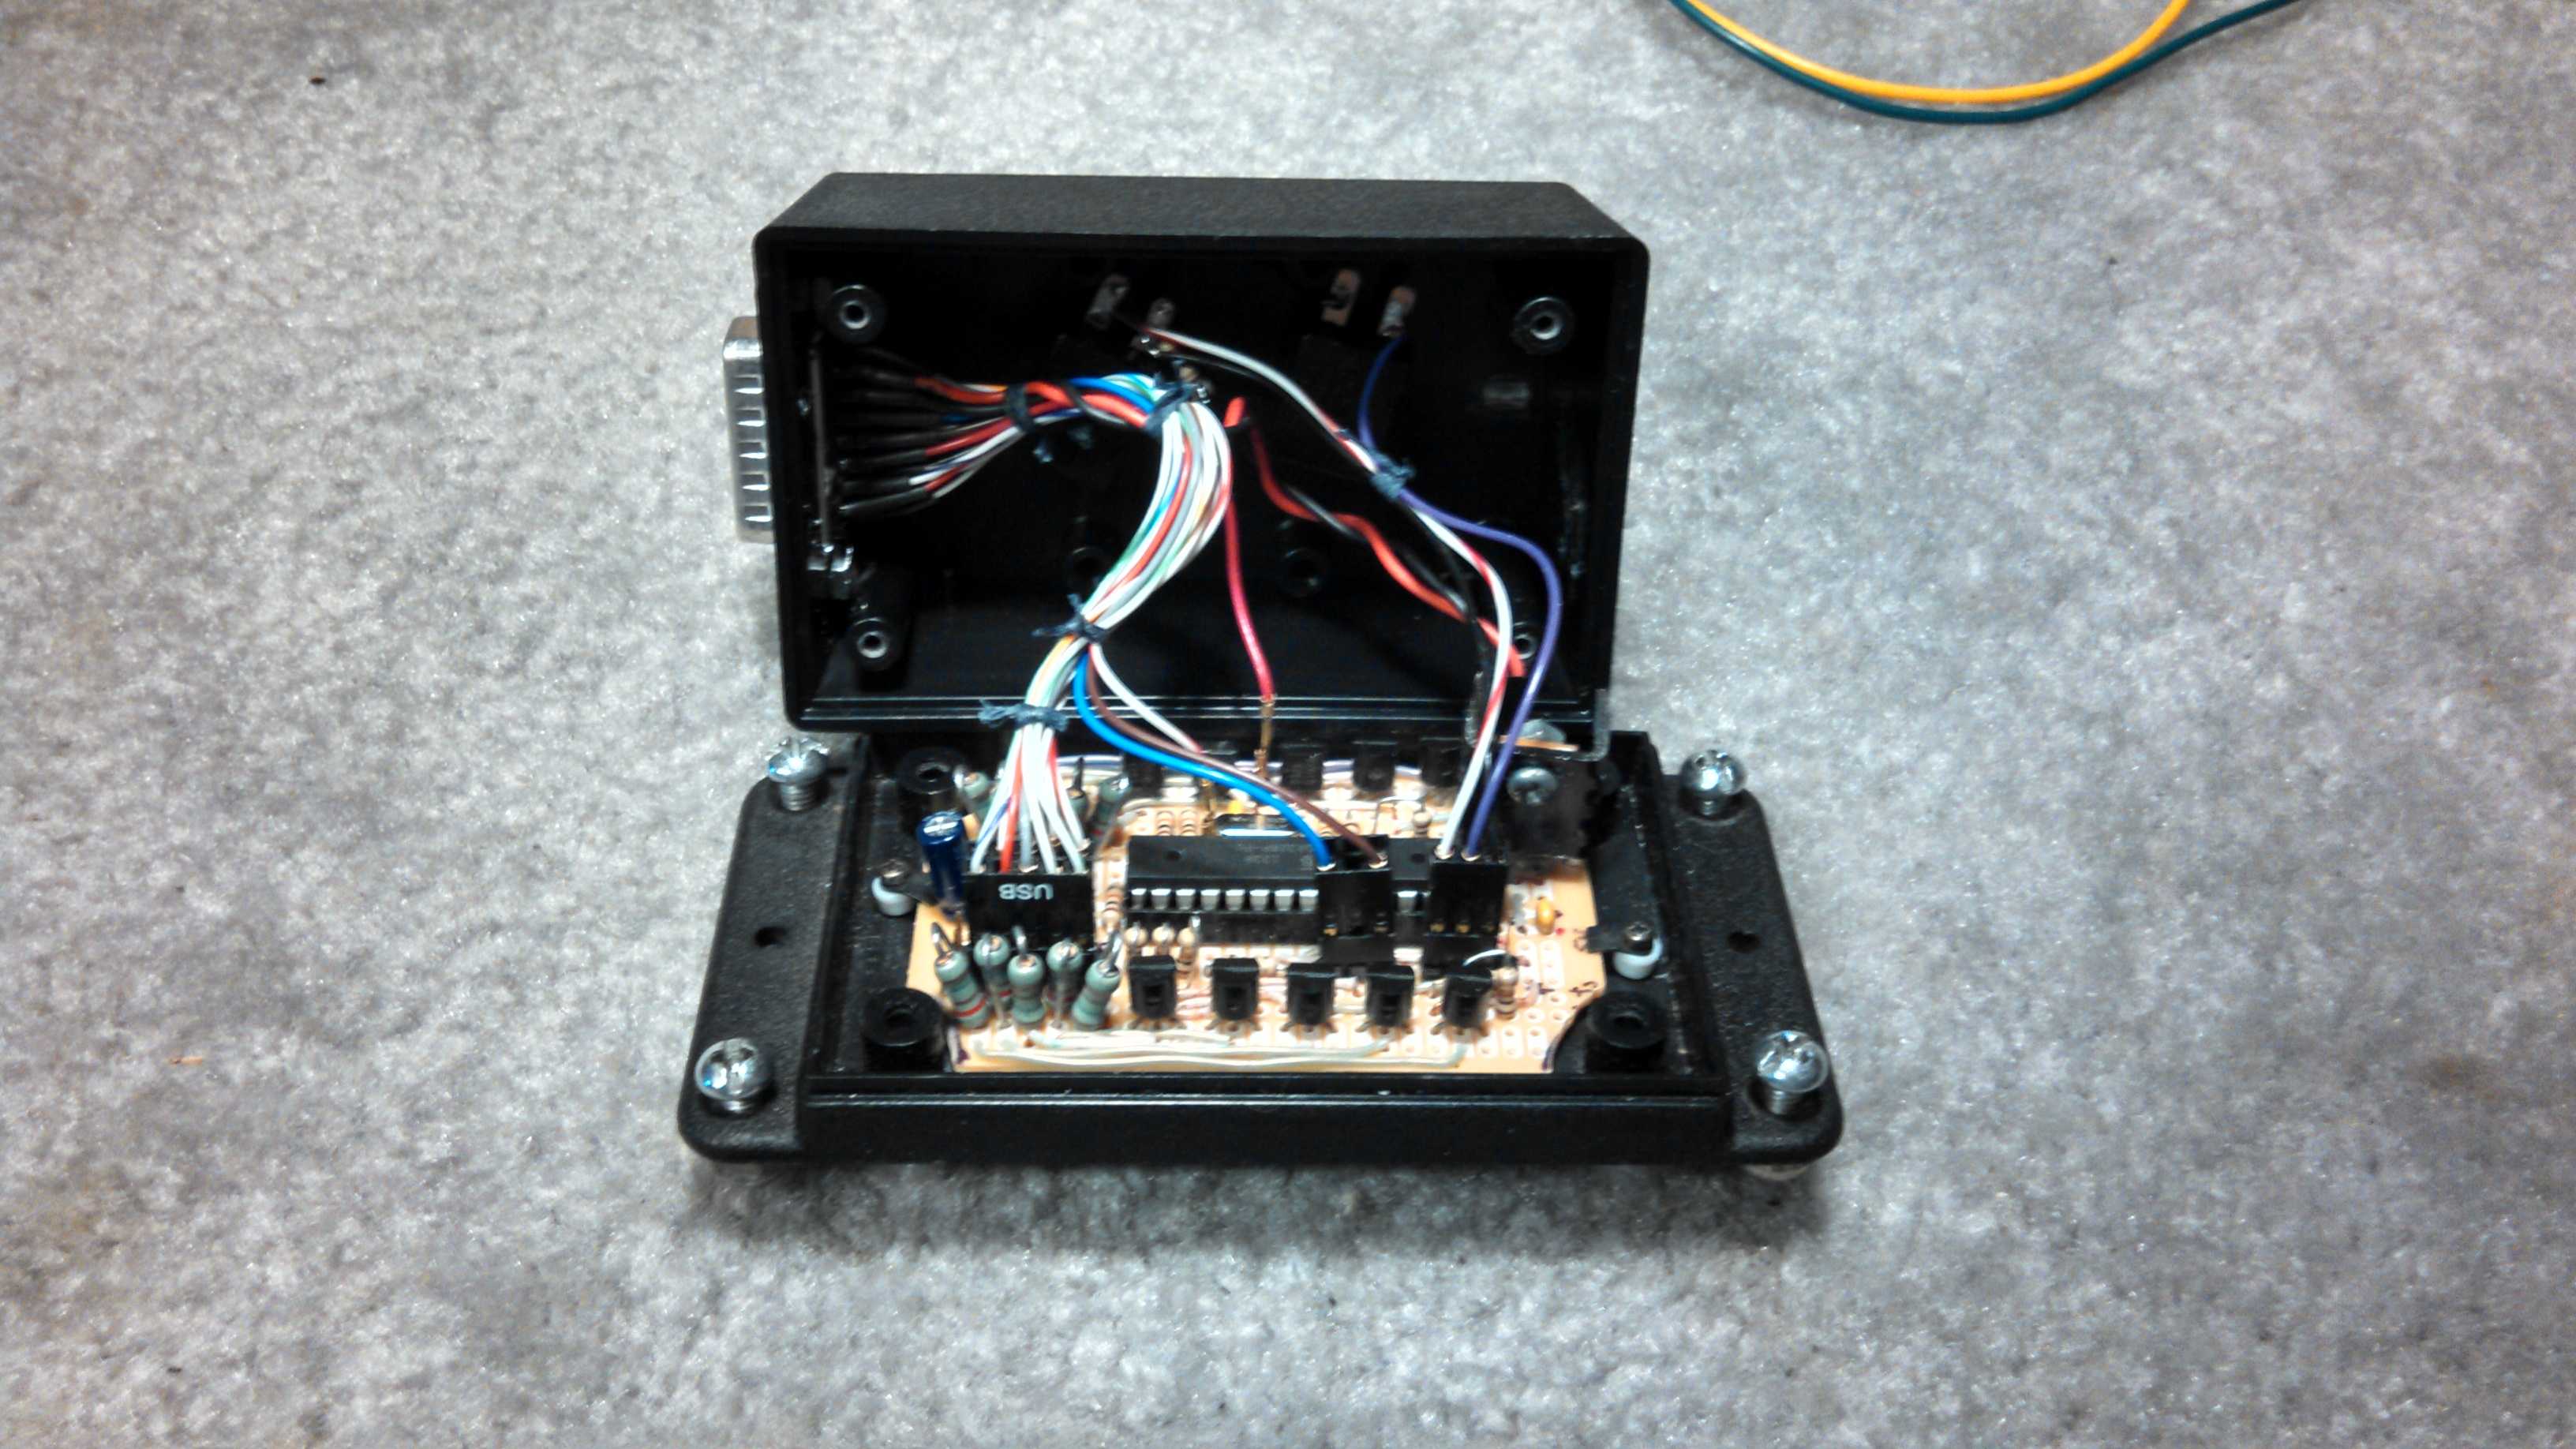
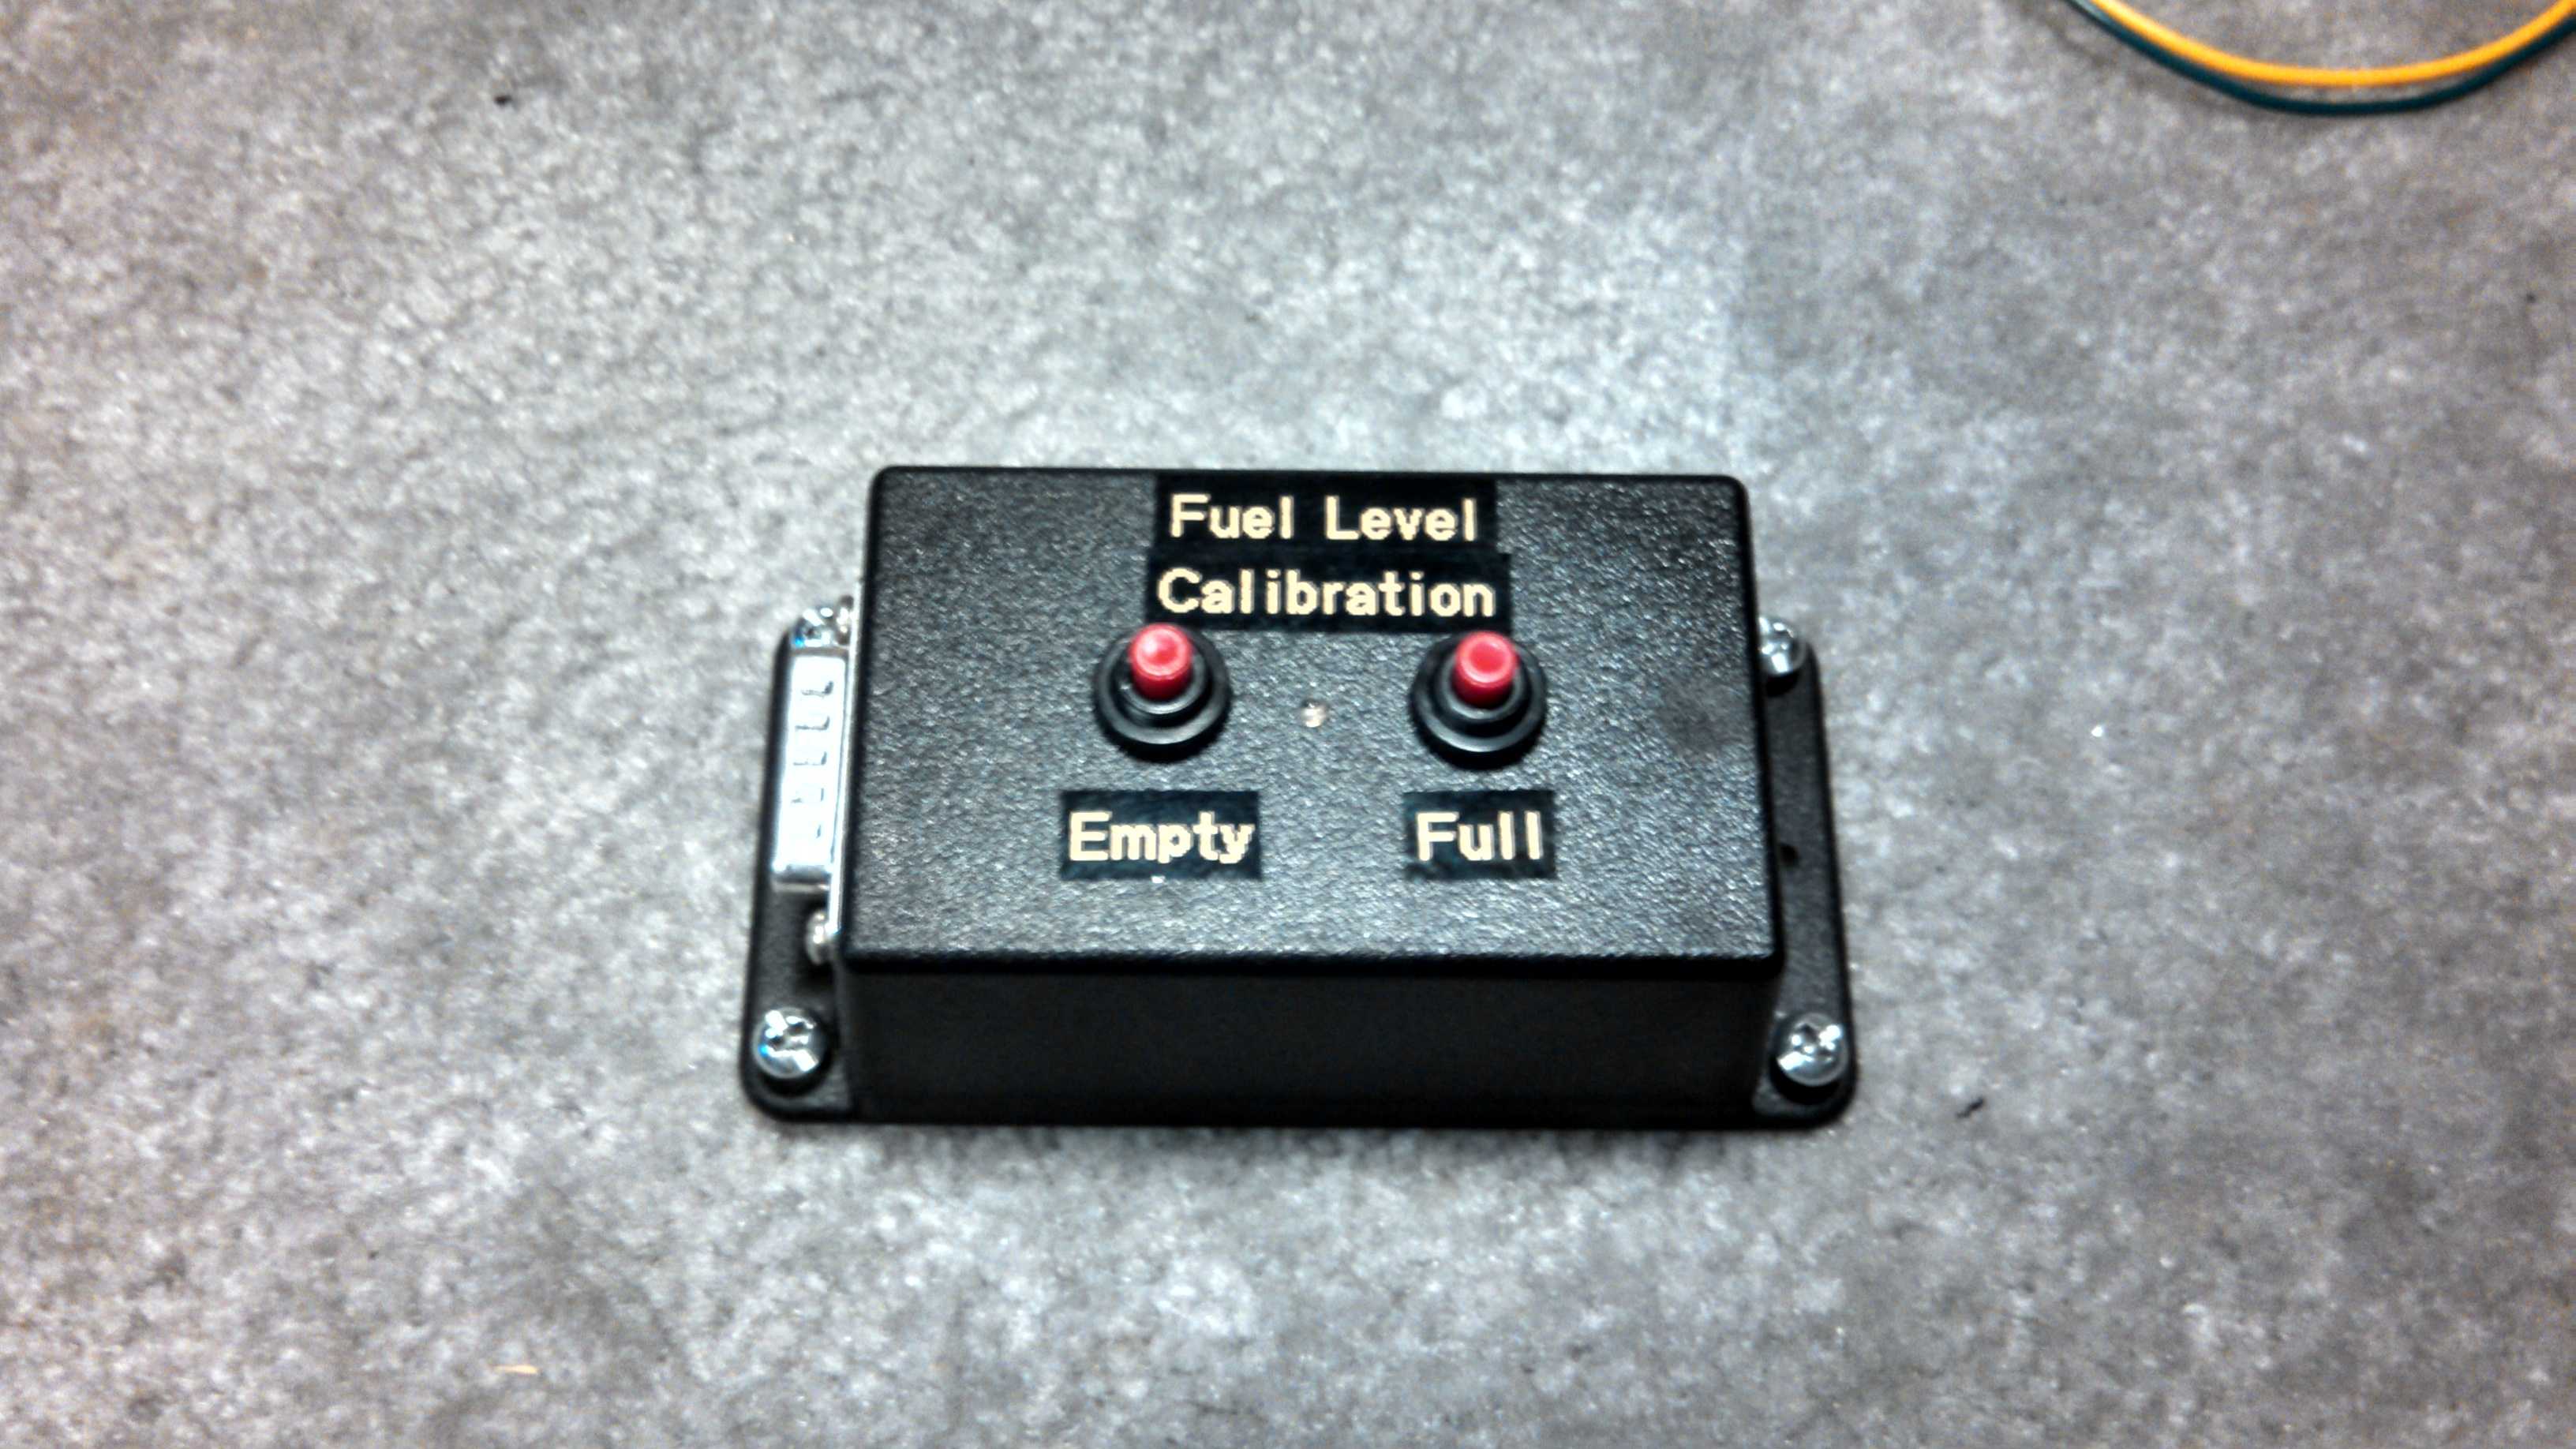
The circuit board is a 2x3 pruchased from radio shack and my enclosure
is a 3.6 x 2.25 wallmount enclosure purchased from Digikey. The
enclosure had studs inside that I had to remove but this was the type I
wanted for my install on the plane. The layout of the parts on the
circuit board and enclosure is strictly up to you for your given needs.
A photo of the install in the plane can be found Here
A photo of the install in the plane can be found Here