|
This Install will walk you through installing Laguna Ceramic Guides on a MiniMax MM20 bandsaw. This will replace
the roller bearing guides supplied by MiniMax. This install is very straight foreward. The most difficult part part of
the install was triming the blade guard by 1 1/4" to allow full range of motion for the ceramic guides in and out. The format
for this install will be picture shown followed by the instructions for that picture. Lets Begin.
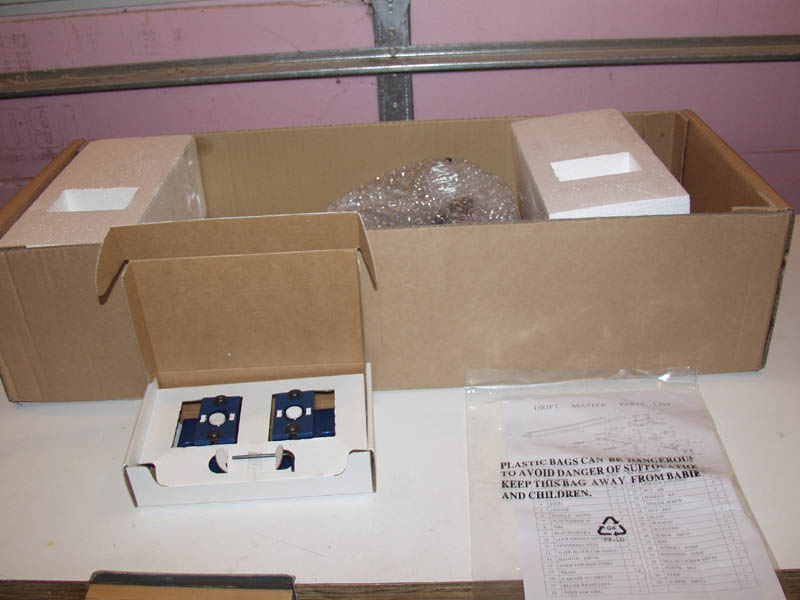
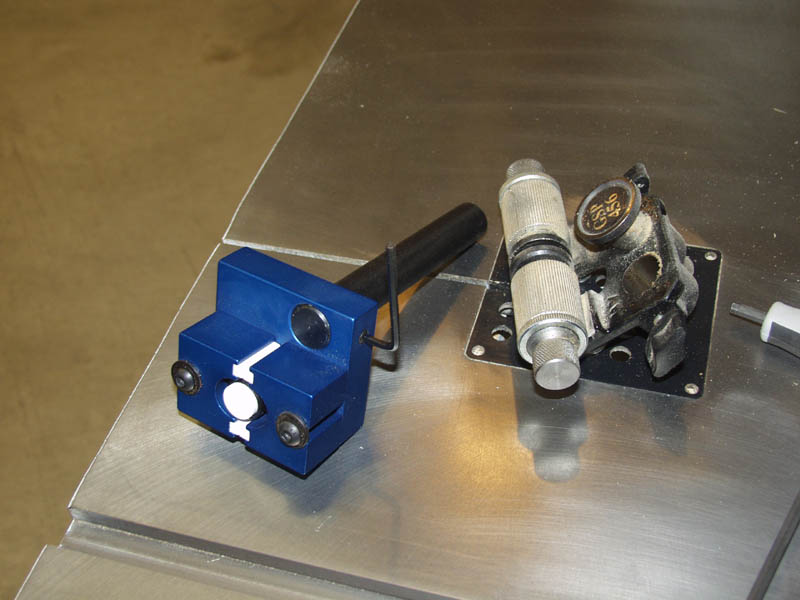
1. The ceramic guides from Laguna come in the little white box shown on the left in the picture above. You will receive
two guide assemblies and two allen wrenches and instructions (that do not include the exact info needed for a MM20).
I have removed my bandsaw blade and also my fence in this picture. The fence was removed for a driftmaster fence upgrade
not included here (coming soon) so that will not have to be completed for this install. It is a good idea to go ahead and
clean everything up around the original guides and working area now.
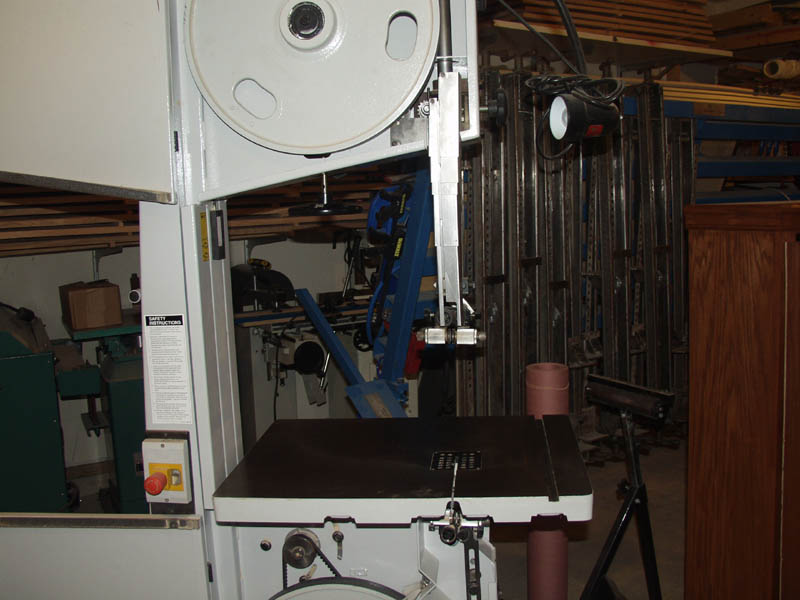
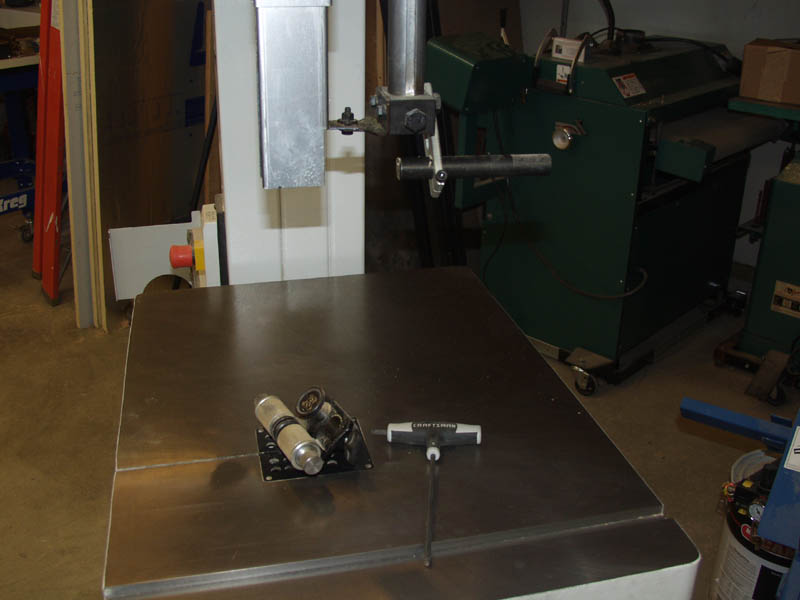
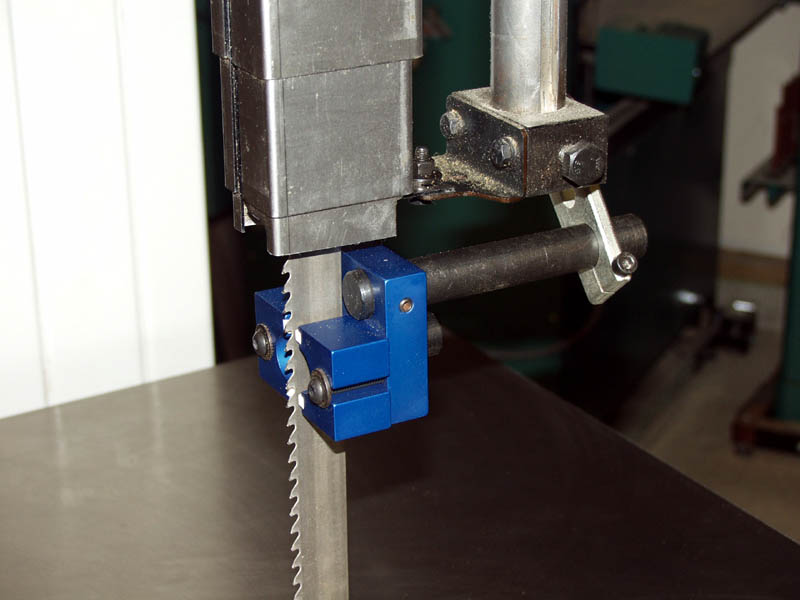
We will start with the upper guide install. Here is a picture of the original ball bearing guides installed.
This next picture is a fast forwarded shot to show a potential issue. The way the Ceramic guides work you want them
to surround the blade (however not touching teeth). I am showing this installed picture with a 1 1/4" Lenox TriMaster
blade. Without trimming the blade guard I am not able to move the new ceramic guide fowarded enough to surround the blade.
Lowering the new guide enough to clear the guard offsets it too far as the mounting post is on the left. I decided to
trim my guard. It is thin sheet metal and easily cut (especially with my metal bandsaw).
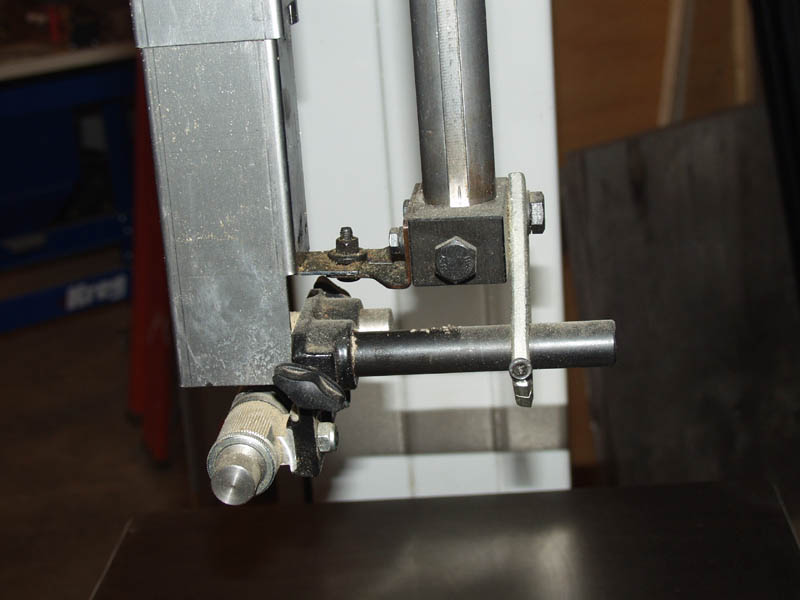
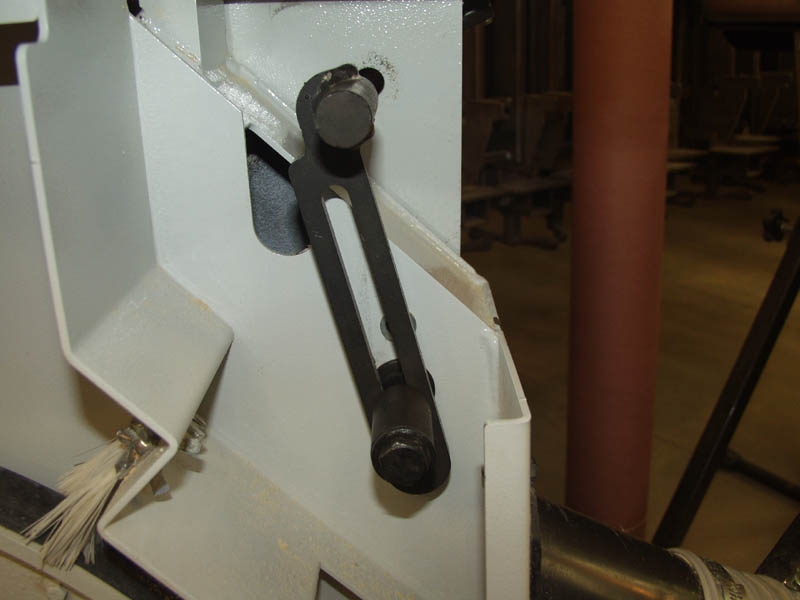
First step was to remove the original ball bearing guides. I loosened the post bracket with an allen wrench, slid the
post back, and then using the thumb screw on the guide was able to remove the original guide.
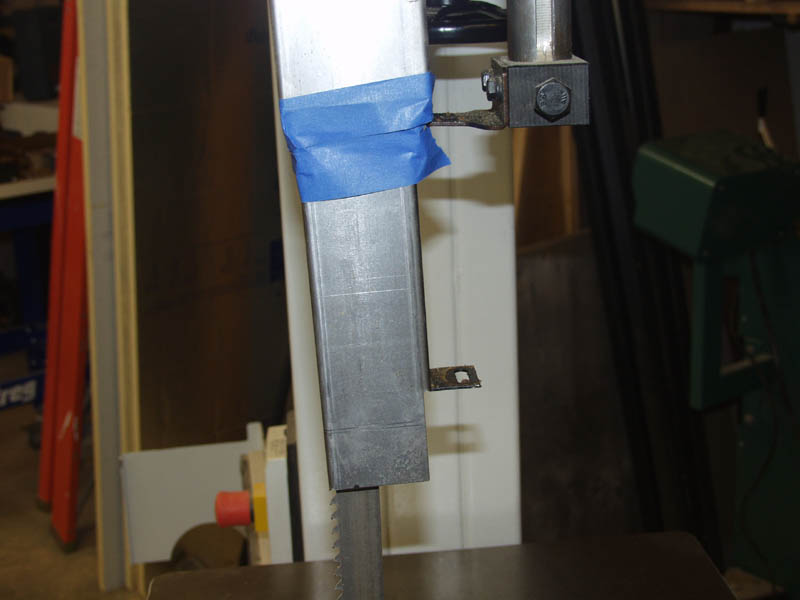
Next I am preparing to make my guard cut. The blade is installed in this picture - remove your blade BEFORE you make
your cut! I disconnected the guide arm from the guard assembly. I then cranked the arm up and out of the way. I also
removed the post bracket/post from the back of the arm using a socket/wrench.
I then slid the sections of the guard up and out of the way of the lower guard section, and then used blue painters
tape to hold them out of the way. I marked a line about 1 1/4" across the guard, This will be my cut line. I just marked one
side for now.

I used a piece of scrap to stabalize the guard and to have a sacrificial piece that my saw could cut into. Place it in
position and try and make everything as stable as you can before cutting. Be careful though and do not bend anything
out of position though.
You will make your first cut all the way through the first half of the guard, remove the sacrificial wood piecem then
transfer that line 1st cut line to the guard piece on the other side with a square, draw your second cut line, install
the wood sacrificial piece again, and make the second cut through the second half of the guard.
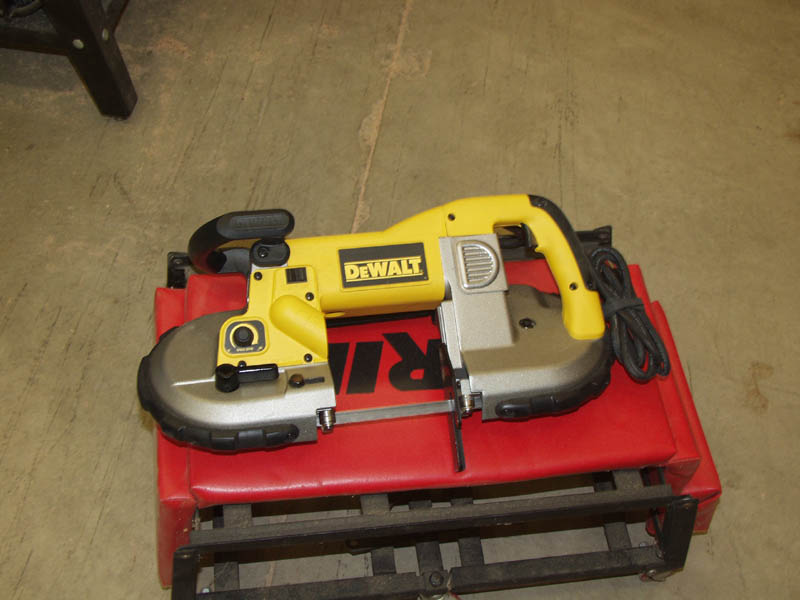
For speed this was the saw I used to cut my guard. You can use any metal cutting tool/saw you want/have. Go slow and
keep the cut nice and clean. Once cut ease the edges so they are not super sharp. I used some wet/dry sandpaper to ease the
edges.

Note: I show the blade installed in my next couple of pictures. This to show you where your blade will be - In your install
leave the blade off until the lower set of guides are installed.
Here are the two pieces cut off from my guard. I also have my blade back installed. This is a good time to clean everything
up again and get rid of any metal dust. I also show the new guard installed on the post. It is good to do this now vs installing
the post back on the arm and then trying to install the new ceraic guide assembly.
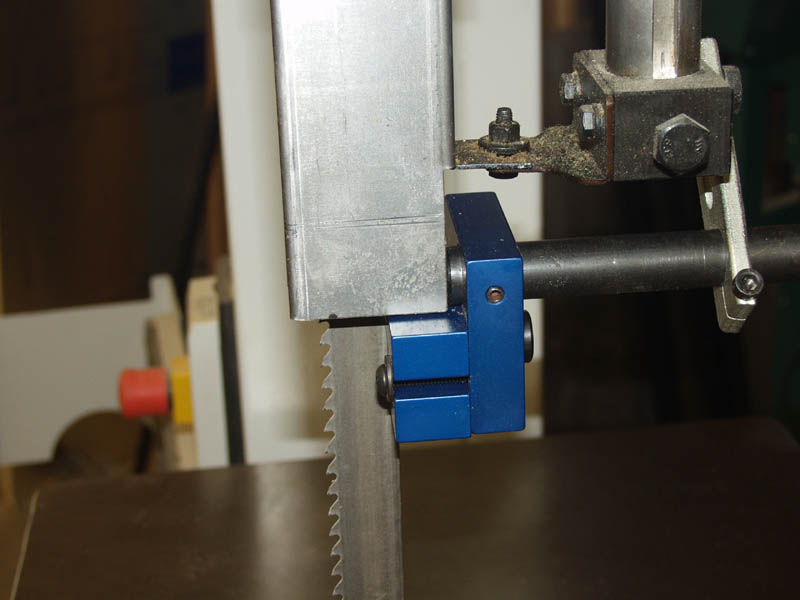
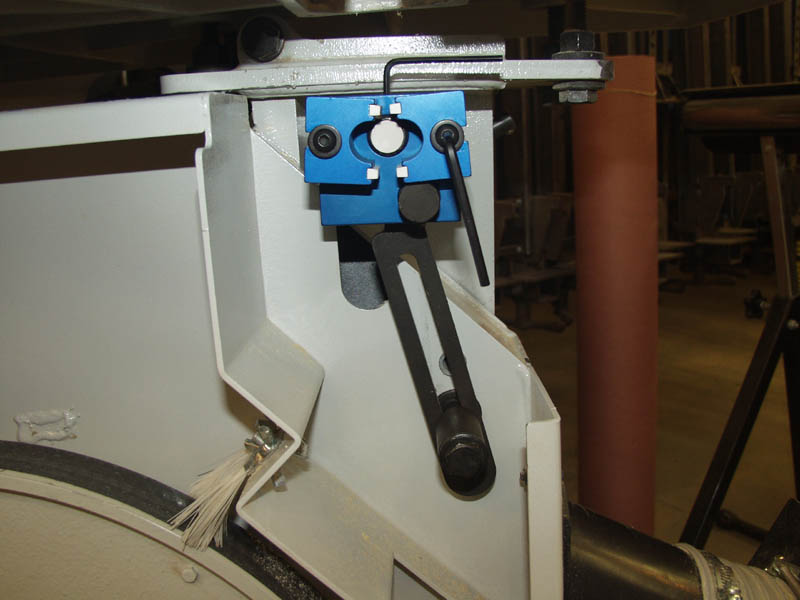
This picture shows installing the new ceramic guide assembly on the post. Use the supplied allen wrench.
Lower the arm back down and connect the guard to the arm with the small screw and nut.
Then take the post, slide it back into its bracket (post with ceramic guide attached) and slightly tighten it down. Use
the socket wrench and reattach that post asselmbly back onto the guide arm.
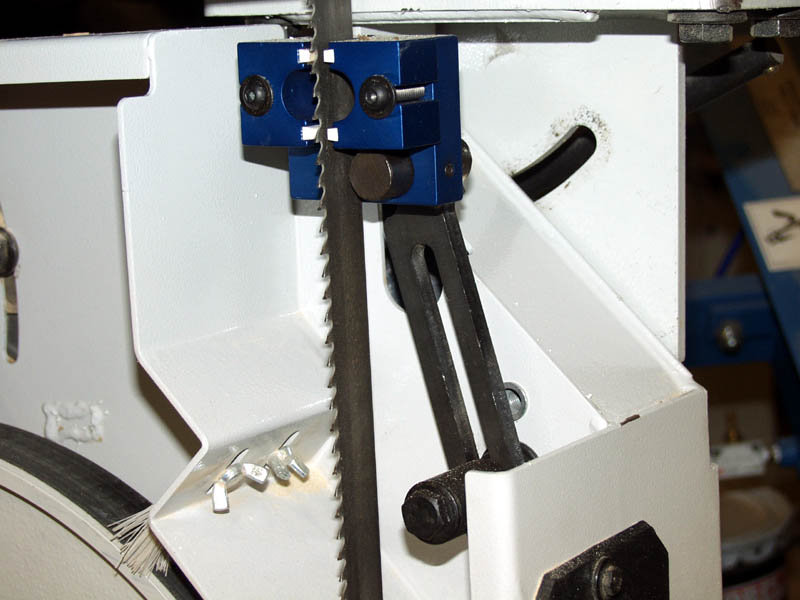
Adjust the post and guide around the blade. You can now appreciate the need to trim the guard.
The upper guard is installed.
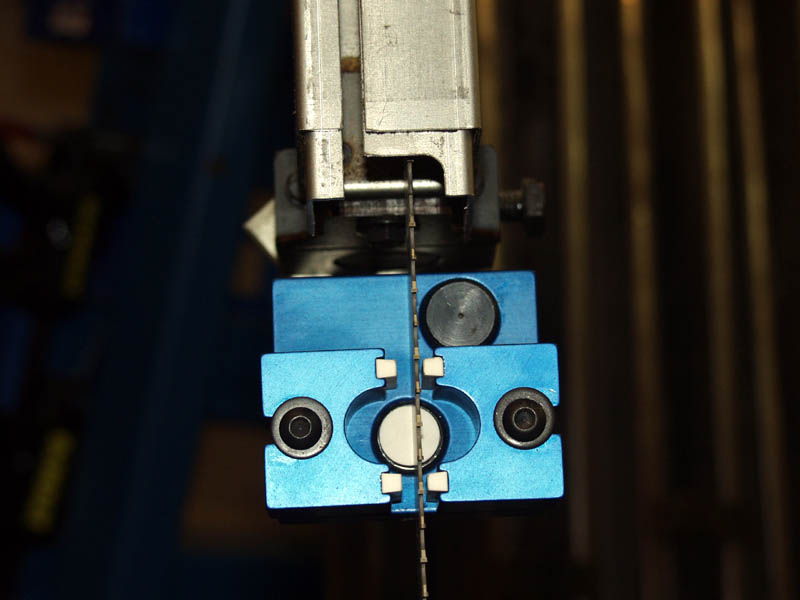
One last picture showing the upper guard installed from the front.
Next lets install the lower guides. They will be much simpler.
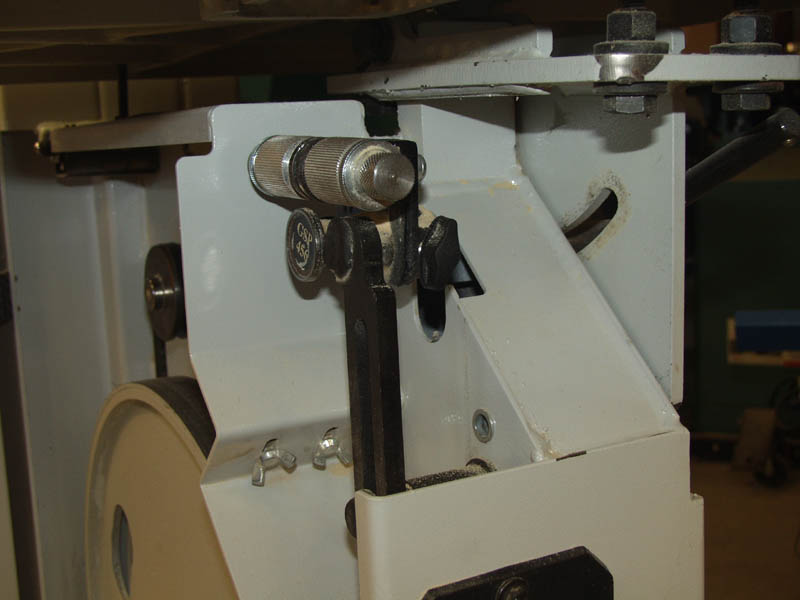
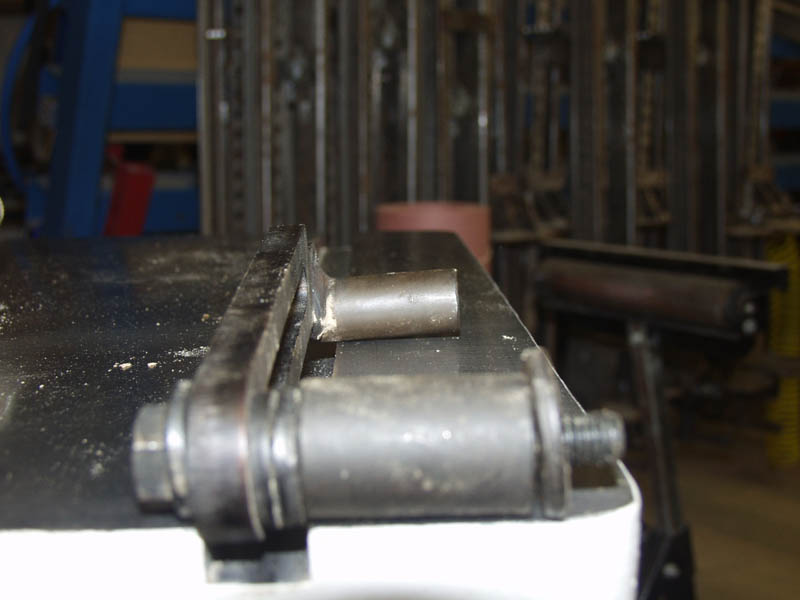
Here is the picture of the priginal LOWER ball bearing guides installed. Pay attention in these shots to the position
of the bracket and the spacers.
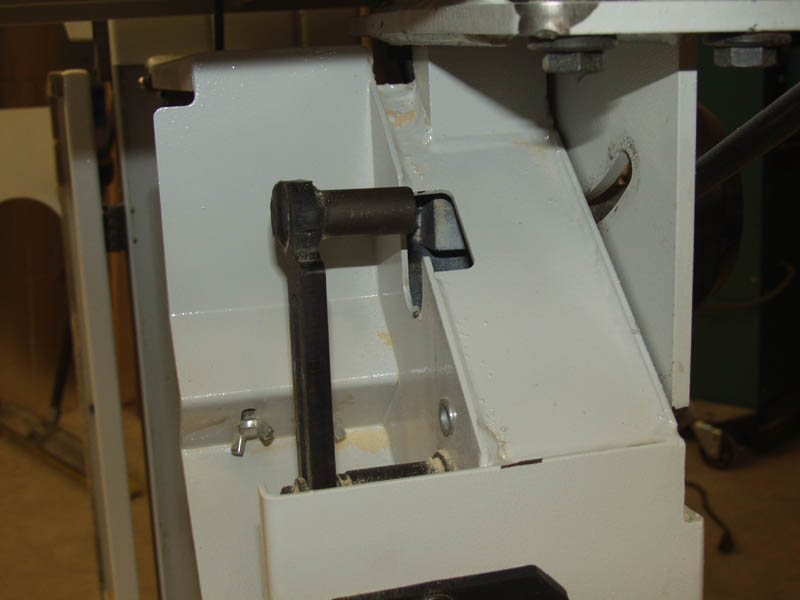
Turn the thumb screw and remove the original ball bearing guides from the post. Again look at the position of the bracket
and spacers. These will change with the new install.
Using a socket/wrench remove the bracket and spacers. It will look like this picture above.

Restack the spacers on the bolt and flip the bracket over. The stack should now look like this picture above.
Reinstall the bracket assembly onto the saw. Take care to angle the bracket so the post is directly below the saw blade opening
and somewhat in line with the upper post/guide assembly.
Now install the ceramic guide assembly on the lower post using an allen wrench. Also loosen and spread out the lower
ceramic faces with the larger allen wrench. Both sets of guides are now installed.
Go ahead and reinstall you blade at this time.
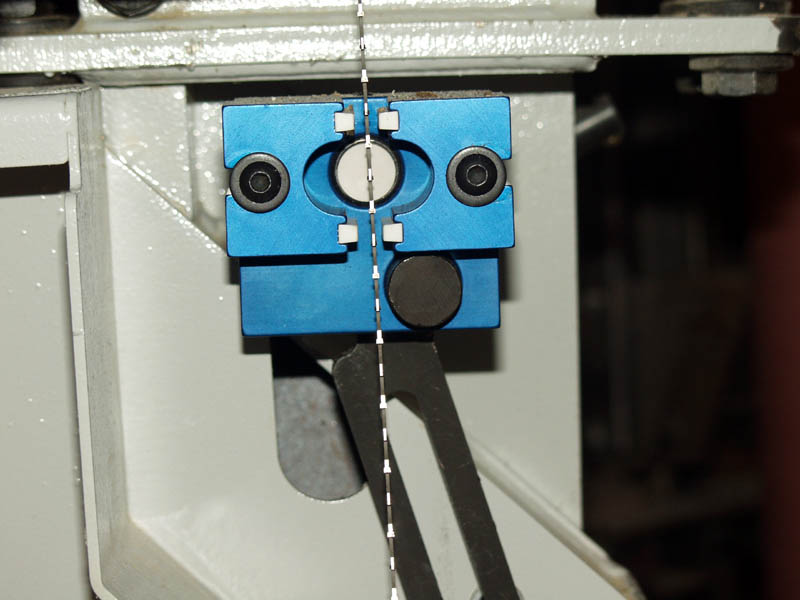
Using the supplied allen wrench adjust the side and rear ceramic surfaces to just almost touch the rear and side of the
blade. Do not let the guides touch the teeth of the blade. Fine tune/Adjust the guide position on the post if you need to.
Make the adjustmants for both the top and bottom guides. Adjust the top guides in the same way if you have
not already done so.
CONGRATS - Your new guides are installed.
|