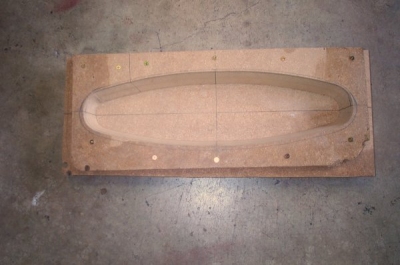
Paper patterns were cut to fit the form and used to transfer the shape to the 16 guage steel sheet used for the insert. Two pieces of steel sheet were then cut out and fitted to the form.
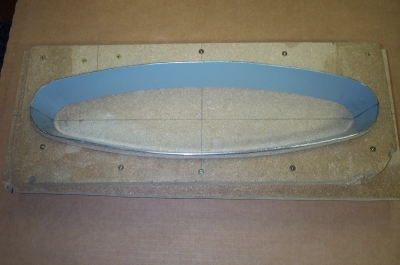
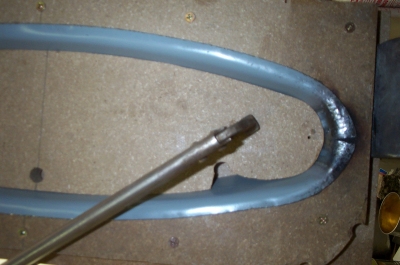
The two pieces were welded together and clamped into the form using the pieces that were left after the center of the form was cut out with the bandsaw. Then the edges were hammered down over the radiused edges of the form. The welded seams split at this point so they had to be filled in as they were welded to the dash.
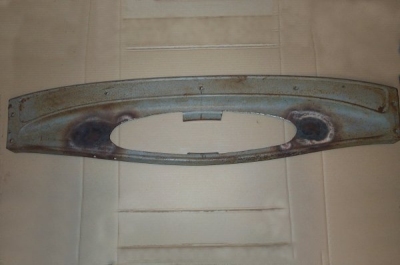
At this point just before I cut out the hole in the dash to receive the new oval I made some measurements and discovered that the opening in the "cut up" dash was about a half inch narrower than the opening in the stock dash. Evidently the heat from welding up the extra holes in the dash had shrunk the metal.
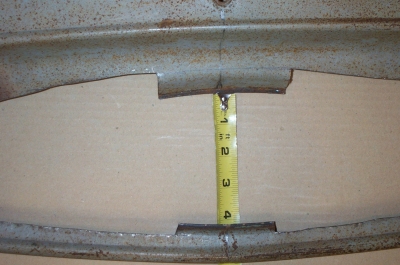

To fix this I placed the dash on top of an anvil and hammered the welds which stretched the metal back to its original position. I found that later I had to repeat the process after welding the new oval into the dash as the welding heat again had shrunken the opening once again. I use an oxy-acetylene torch which puts out a lot more heat than a MIG or TIG but then the welds are softer and easier to hammer.
The next step was to trim the sides of my new oval to match a stock dash, as shown by the drawing above. This makes the top edge of the opening deeper and places the instrument panel at an angle so when the driver looks at it from above he will be viewing it at a right angle.
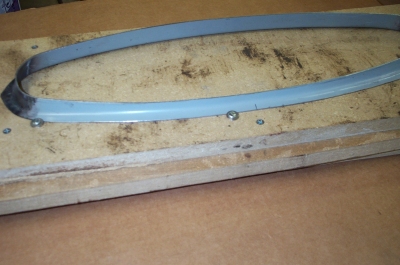
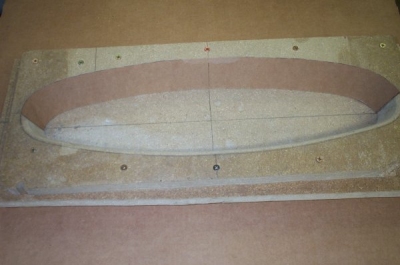
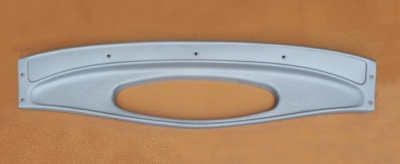
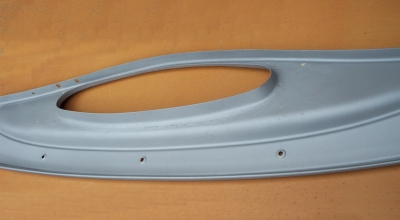
Then the hole in the dash was cut out to fit the oval and the two were joined. These pictures were taken after the welding was finished and the dash was sand blasted.
Now that the dash was about finished the next project would be the instrument panel. It would be stainless steel, machine turned.
Machine Turned Instrument Panel
Created on ... December 20, 2006