
|
Start with a new image... 400 x 400
Open up your ufo file of the hair dryer.. It is up to you how you want
to decorate it..color etc.
I'll show you how I did mine.
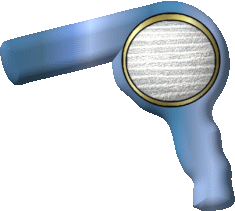
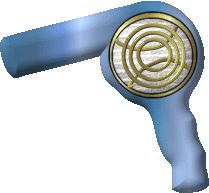
First get it the desired color. I chose a gradient for mine.
Then go to your path shapes tool/circle and create a circle to place
on your dryer.
You will make two..the first one I filled wtih the gold gradient.
For the second one which goes on top of the gold one....we want it
to be slightly smaller then the gold circle so we have the apprearance
of a gold rim around it.
For the fill on the top circle...
Go to your gallery and material attributes/realistic/T 22.. this gives
us a mesh look
Highlight your first circle..the gold one
Set your paintbrush on size 4 and color black.
Go to effect..creative...paint on edges
Do the same for your mesh circle.
Remember to save as you go!
Be sure to keep your project saved as a
ufo . We will be opening up the ufo in Gif animator.
|


|
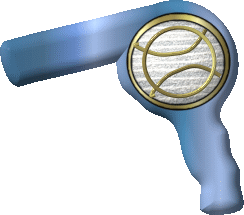
Now lets decorate the mesh circle a bit more.
Go to you line and arrow tool..select the spline tool. And draw a half
circle at the top part..
With your half circle active..right click and duplicate it...go to edit...roate
and flip vertically.
Place it along the bottom edge.
|


|
Now let's add a bit more to the mesh circle.
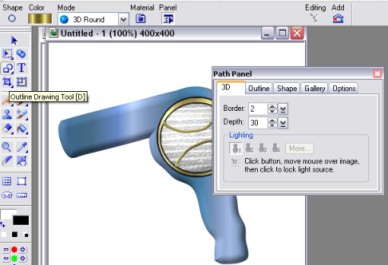
Go back to your path drawing tool.choose the outline tool.Shape circle...Border
2 depth 30
Draw a circle to go inside the mesh circle slighly smaller .
It should now look like this.
Repeat this two more times..each time making the circle slightly smaller.
|

|
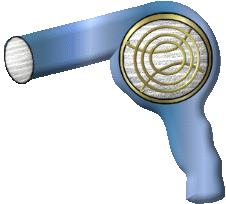
Go back to your path drawing tool. Elipse shape and create an oval
to go onto the end of your hair dryer..Fill it with the same mesh as you
did the your circle.
With it active go to effect/creative/paint on edges again. You may need
to rotate this slightly to get it to sit right on the end of the dryer. |

|
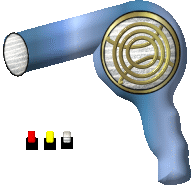
Now lets make some controls on our hair dryer.
Go to your path drawing tool.square and use black as your color..create
3 small squares.
Then go back to your path drawing tool...rounded rectangle and create
three small ones to fit over your black squares.
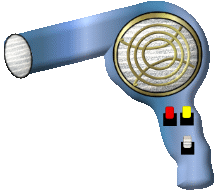
Make each of your pairs active...right click a pair at a time and merge
as a single object.
I hope you are remembering to save as you go!
|
|

|
Place them on your dryer. |

|
Now we are ready to make our cord.
Go to your path drawing tool..choose the spline tool and click along
the bottom of your hairdryer ,creating your cord...you'll want to click
up both sides..double click when you reach the end for your cord to take
on apprearance. |

|
Now we'll create out plug..
First the socket.
Go to path drawing tool..rounded rectangle..
create one that sizes right with your cord.
Back to path drawing tool..rounded rectangle..create a narrow
one for your plug ..duplicate it...right click both of them and send them
to the back.
Select control/shift/A all your parts will become active...right click..merge
as a single object.
I hope you are remembering to save as you go!
Now at this point before we start our text...
Select ctrl/shift /A..all your parts will be active..right click/duplicate
and drag it to another blank image 400 x 400
While it is still active..right click .merge a a single object.
This way if you want to change the colors of your dryer sometime you'll
be able to do so.
Also save it at this point as your second ufo file.
This is the one we'll be opening in Gif animator.
|

|
Now we are ready to make our text. So we can animate it.
I chose the Georgia text/3D set at a size of 50
Type in your name..then in the text panel select split text
Now each of your letters are separated.
Place them coming out from the blow dryer end.
|

|
Highlight your first letter.. go to effects/eye candy/motion trail..I
used these settings.
Length 30/opacity 64
Direction 335
Do this for each letter of your name.
You will also need to make sure each letter of your name is arranged
correctly..so right click on each of them ..arrange and send them accordingly
.
As with mine the letter a will be on the top.
Now hightlight each letter of your name and send them to the back order
behind the dryer.
Your dryer should now be the top layer.
save your ufo again....example..dryer 2.ufo
|

|
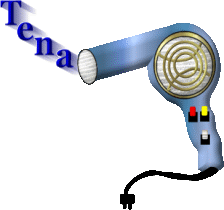
Now you should have your hair dryer as one object. and your name with
each letter as separate objects.
Save this as it now is as a ufo.
Open up Gif animator.
Let's animate it!
In the top right corner..click switch/gif animator
when it open select open existing image
find where you saved your last ufo file and open it up.
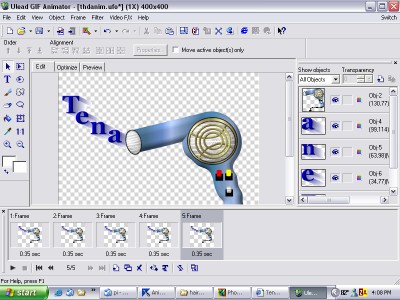
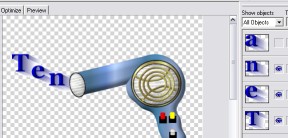
On the right you will see the different parts of your image.
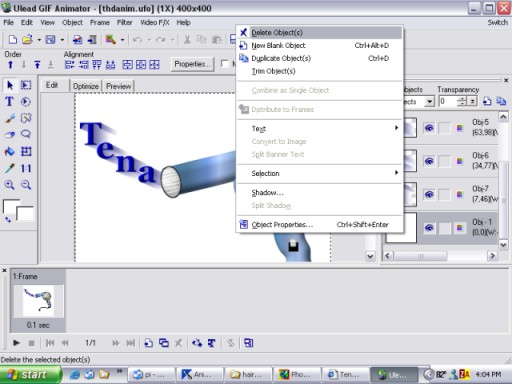
Go to the very bottom and where you see the white background..right
click on it..
Select delete object..now your white background is gone.
Go down below where you see your image...
right click on it..set frame properties at 35
|

|
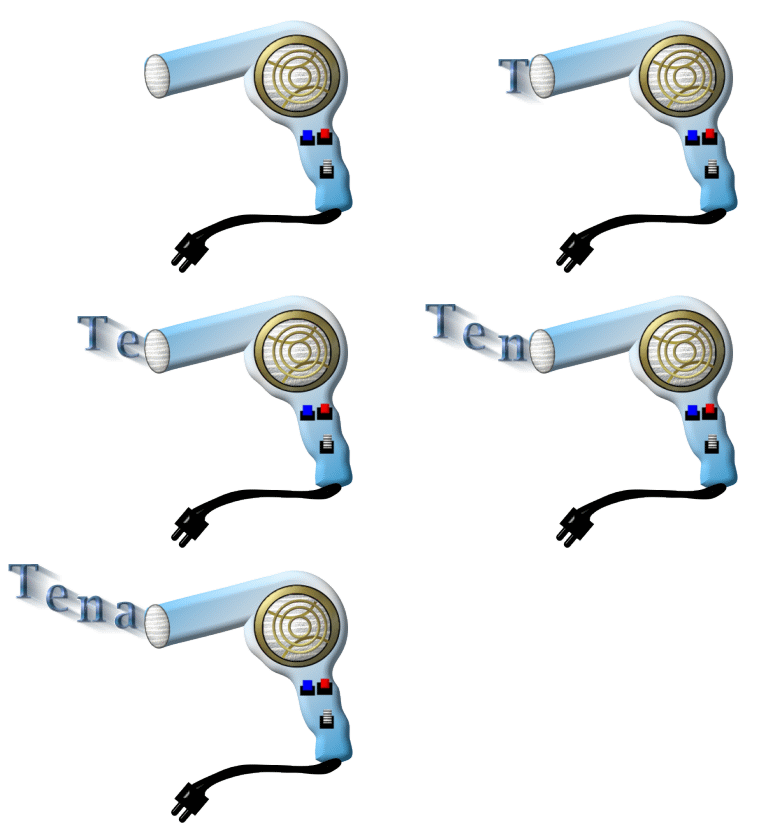
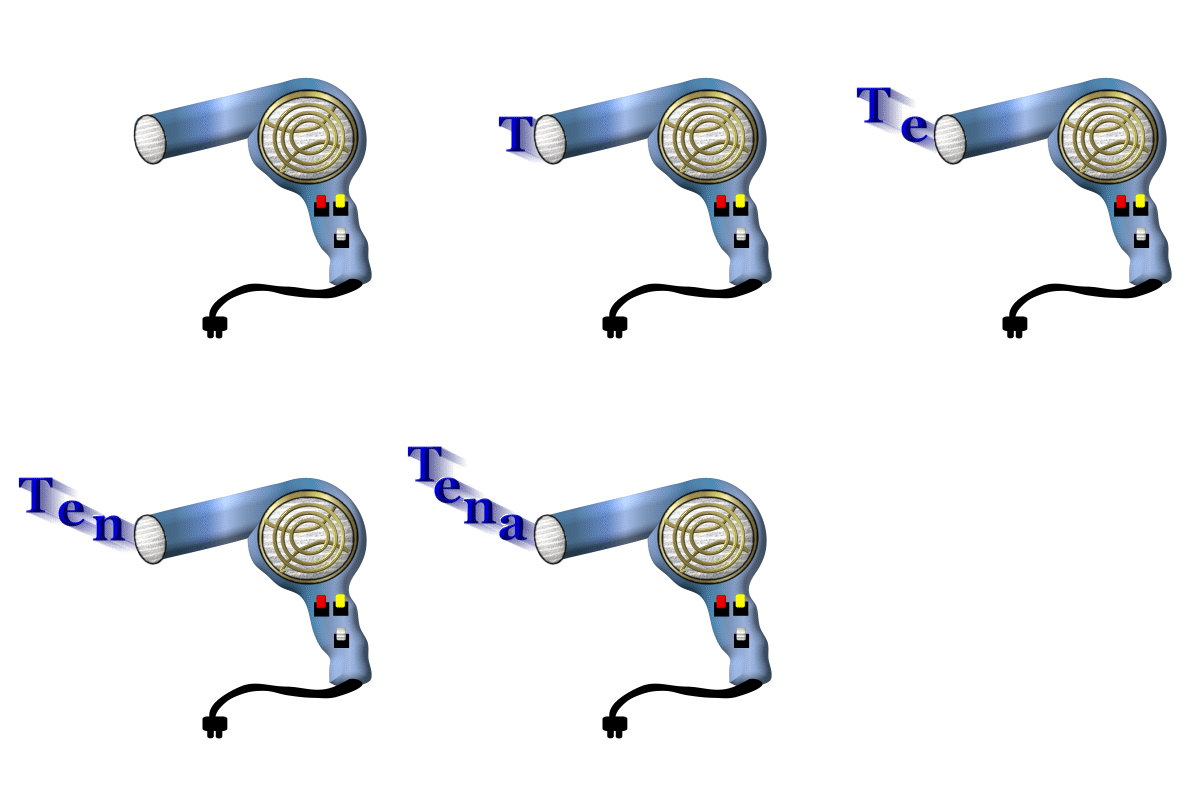
Now for each letter of your name we want to duplicate this frame ..plus
one without any name on it...
So for mine I need 5 frames.
Go to your first frame and right click/duplicate..continue to do this
until you have the correct number for your name.
Click on your last frame..right click .set frame properties on it to
100
|

|
Now go over to the right side where you see all of your images displayed
and you'll see an eye by them.
Highlight your first frame...go to the right side
and click so the eye goes away from each of the letters of your name.
|


|
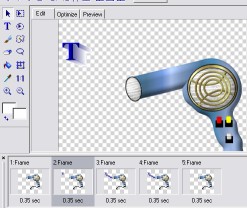
Highlight the next frame...take the eye away from all of your letters
except the first one..as in mine.. the letter T remains..so now you should
see your image above with your first letter as the only one that is showing..
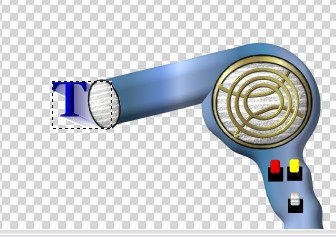
Go up to where you see you image click on it and drag it to the head
of your dryer.
|

|
You want to do this to each of your next frames.
So click on the next frame....
Remove the eye from all but your first two letters of your name...
click on your second letter of your name.. in the image area and drag
it to the end of the dryer..and move up the first letter of your name above
it.
Continue to do this until you have done each frame and place your letters
where they belong.
Click on the preview to see how it looks.
I f
you need to reposition your letters..just click on whichever frame
you need to to move that particular letter.
Go up to file optimization wizard and save , accepting the defaults
for each..
|

|
There now you are all done...Have fun with it! |
