Avalanche Destruction
Click a photograph for an enlarged view.
| Description | Images |
| This is the view looking west two days after the avalanche. The Haskell Creek bridge is in the foreground. The trains stood in the center of the photo. The Avalanche came from the right and pushed the trains into the valley to the left. | 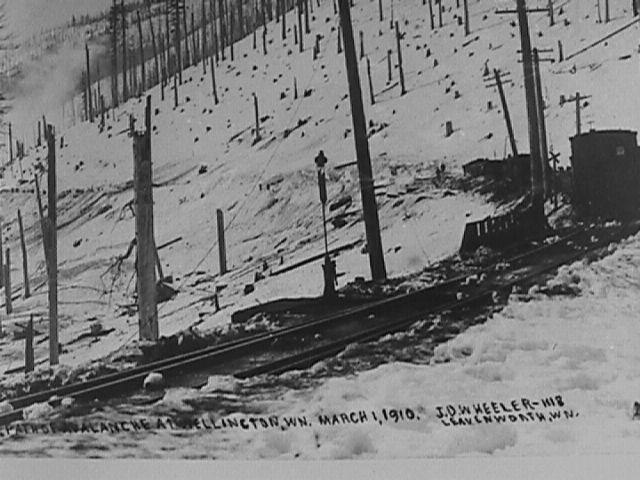 |
| The locomotives for the passenger and mail trains lay side by side. The large rock in the center of the photo can be located today. |  |
| This is what remained of Rotary Plow X807. The rotary was located on the inside spur at Wellington because it had been damaged a few days earlier. | 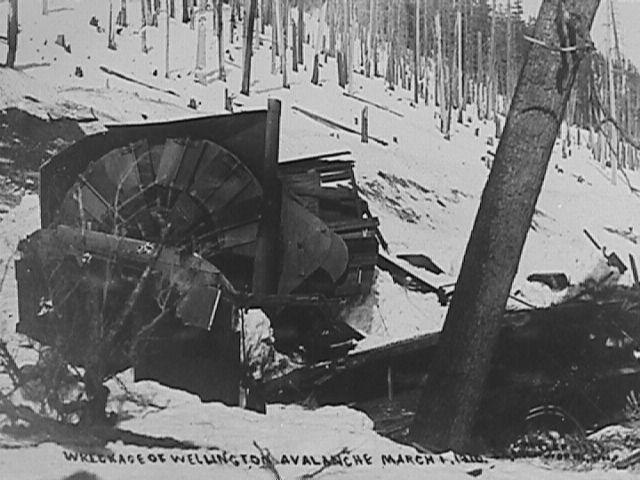 |
| The rescue was conducted with shovels, lanterns and manpower. Here men pose among the trees that came down with the avalanche. |  |
| Bodies were removed from Wellington using sleds pulled by 2 men with a third in the back holding a rope to keep the sled on the trail. Here a shipment of bodies is readied for the trip. All the bodies were wrapped in Great Northern checkered blankets. |  |
| When the avalanche came down the trees and rocks that came down with it mixed with the train cars as they tumbled in to the Tye River Valley. Here a passenger car is crushed by trees. | 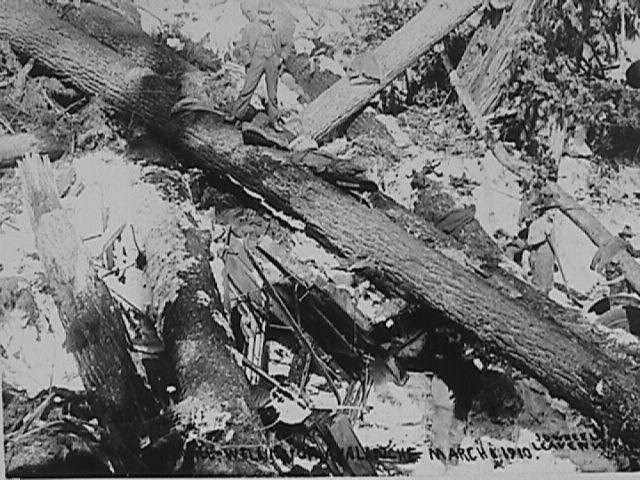 |
| The remains of a car can be seen behind the man in this photo. The other end of the car, to the left, has been completely destroyed. | |
| This stump has rods and pipes from the railroad equipment wrapped around it. |  |
| These men are standing on the railroad after the snow had been removed from the tracks. It took twelve days to clear the tracks. |  |
| This is the first train from the west to reach Wellington. The avalanche came down from right to left behind the locomotive. The coal chute is in the background. |  |
| These large cranes are called "Big Hooks." They were used in the spring to recover all the railroad equipment that could be reused. |  |