OBJECTIVE
My
goal was to find a fairly short, stable watercraft that was light and that I could use for fishing, paddling, and possible
sailing. It also needed to carry 1, 2 or possibly 3 people. I settled on a woodstrip canoe because I like the beauty of them and it was something I could build myself.
DESIGN
– 20 hrs
After looking at many different models, I decided
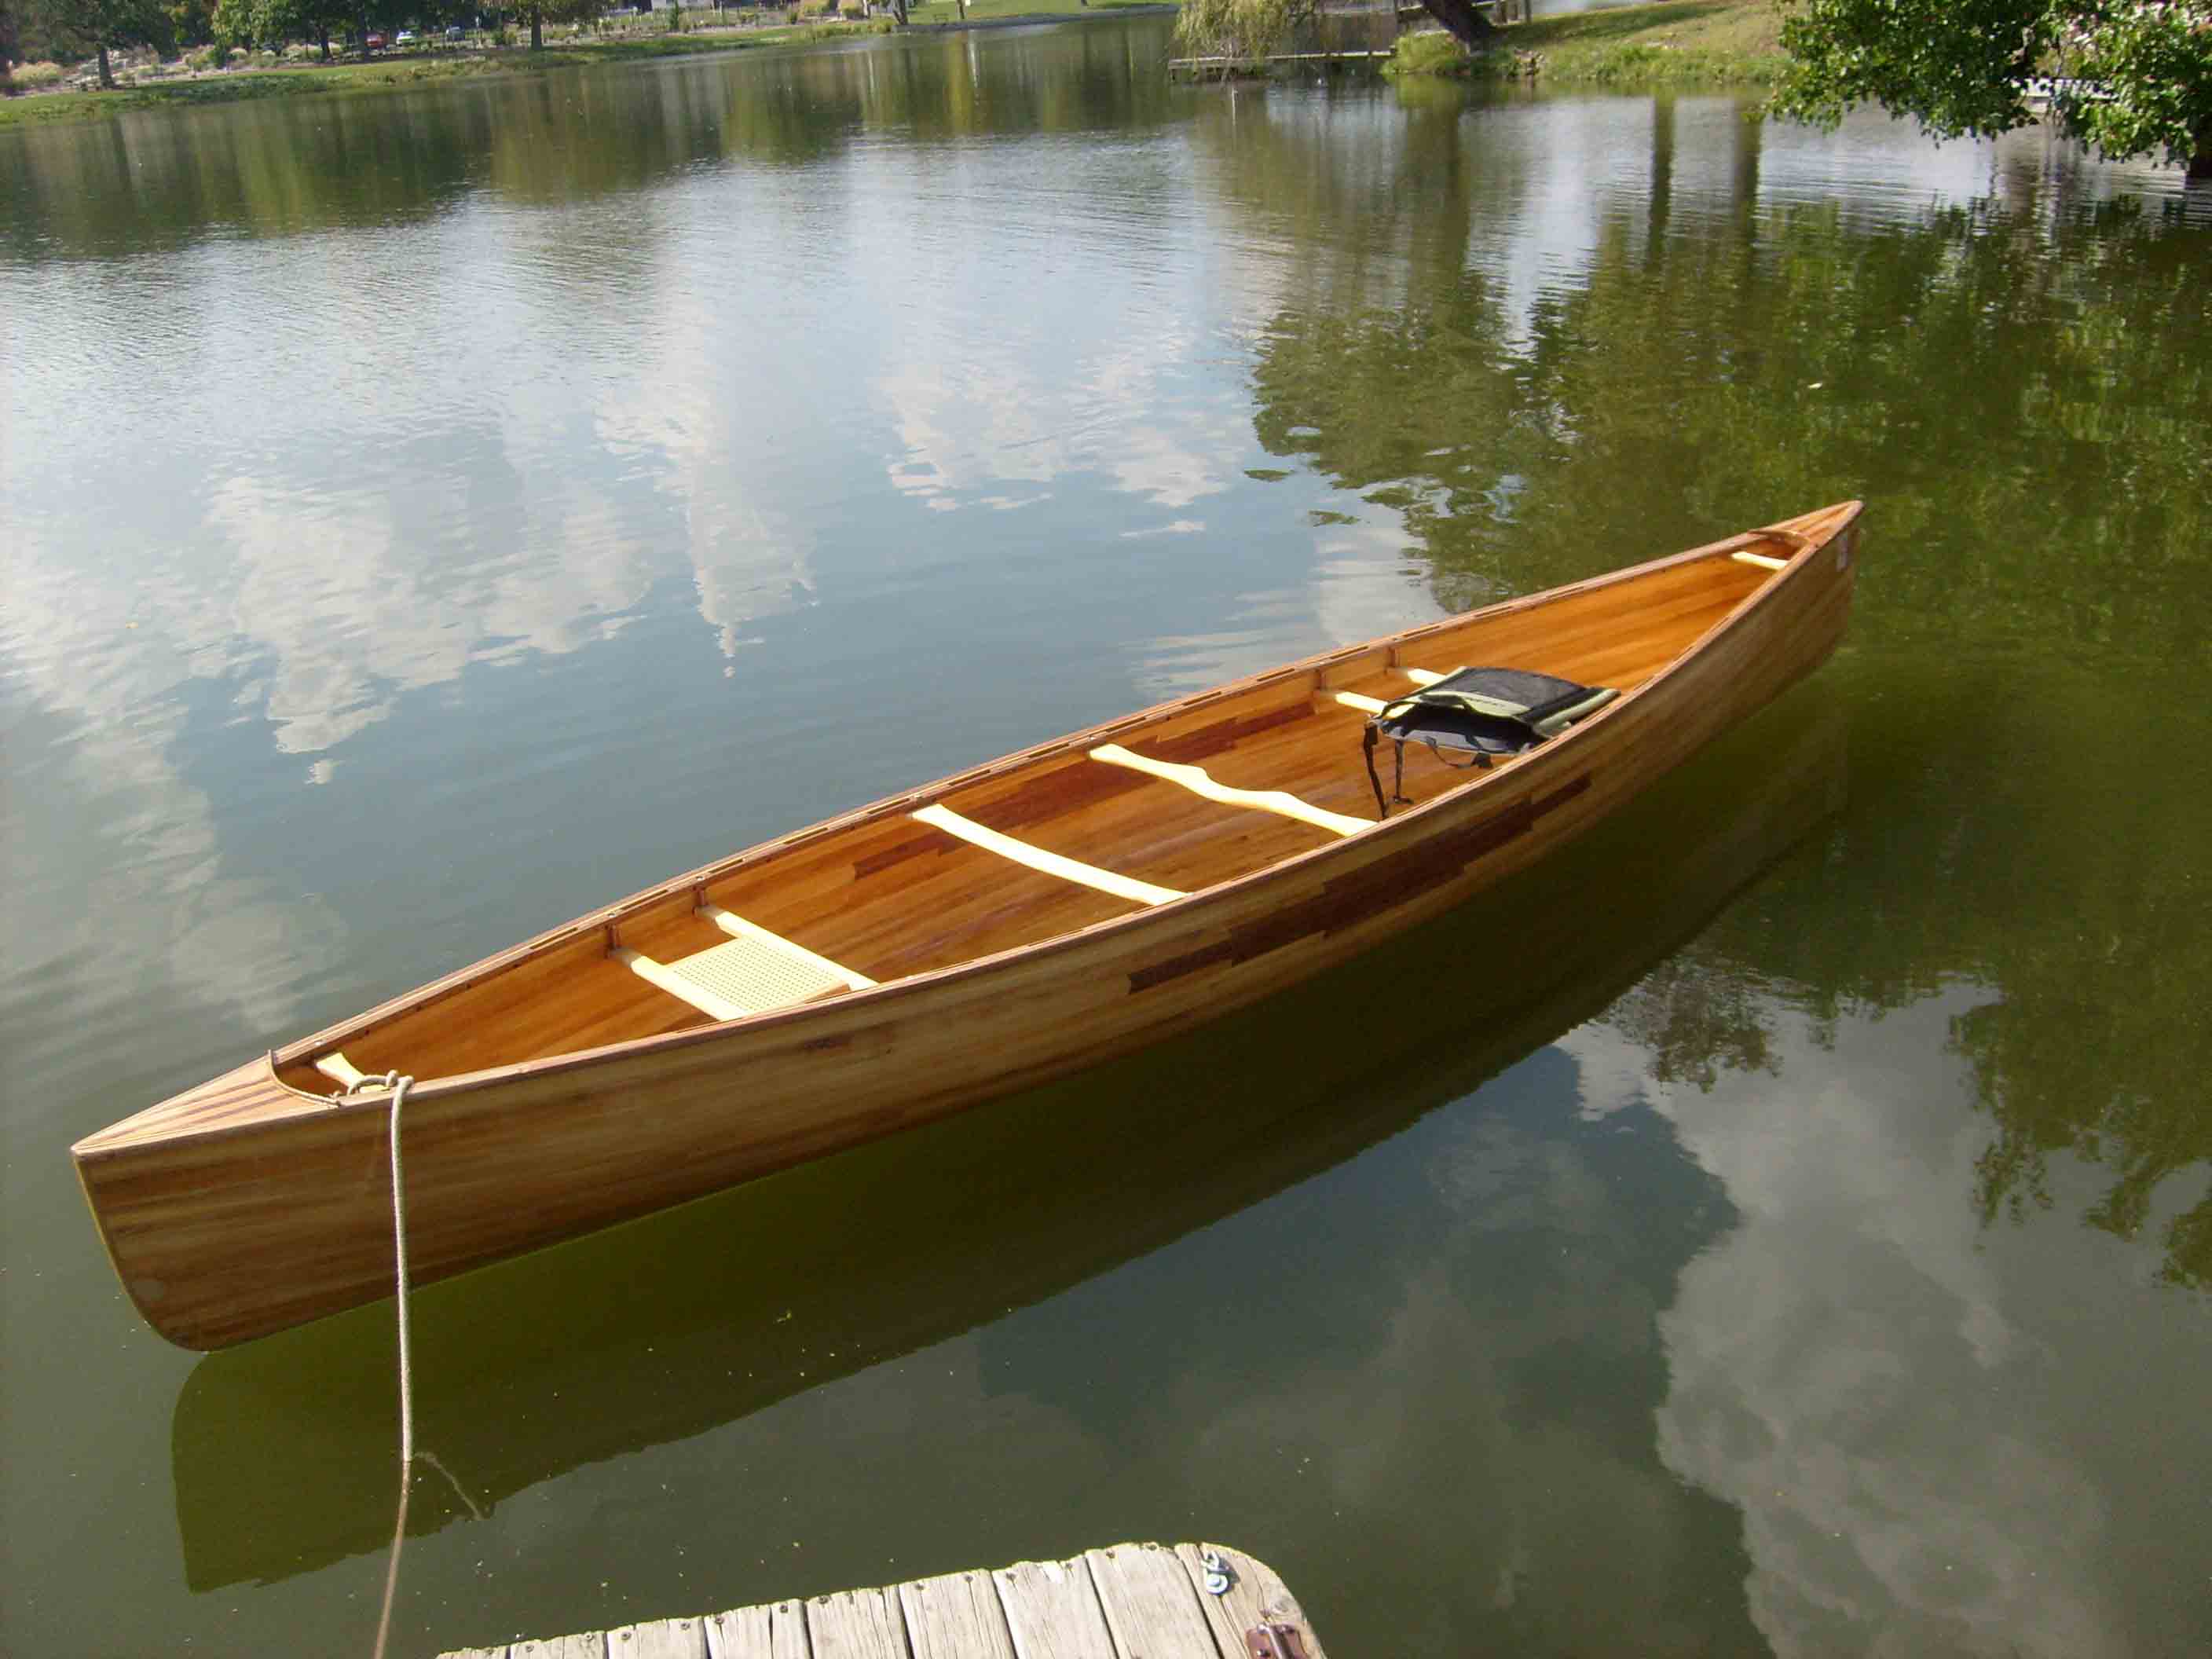
to build a Freedom 15. It was designed by Steve Killing for Bear Mountain Boats. It is asymmetrical meaning it is slightly narrower in the front than in the rear. I modified the design using a computer spreadsheet program. It is 4 inches longer and 1 inch wider for even more stability.
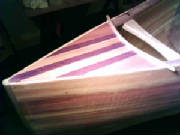
The canoe is made from white cedar ¾ inch
wide strips ¼ inch thick up to 10 foot long. The strips were scarfed at a 45
degree angle cut on the ¼ inch side. The scarfs were glued on the boat except
for the first four strips which were scarfed before they were put on the frames. The
strips were cut on a table saw to slightly more than ¼ inch thick, planed to ¼ inch and then routed on a router table. The football (bottom) was made from 1 ½ inch white cedar because I found some clear
white cedar at a local lumber yard. The 1 ½ inch strips will not bend properly
in other locations. (32 hrs)
THE
BASIC SHAPE – 15 hrs
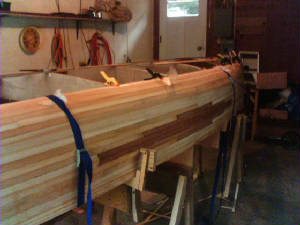
The canoe was build as normal over 15 stations, 2 stems,
and a strongback. I did remember to put tape on the edge of the stations. MISTAKE #1: The strongback was warped
a little and stations could have been laid out and cut more accurately.
THE
FIRST STRIPS
The first strips went on quite easily and were screwed
to the stations. At last it started looking like an upside down canoe.
GLUEING
THE STRIPS – 25 hrs
No nails or staples were used. I used many different types of clamps – C clamps, straps, homemade clamps. I was only able to glue a few strips at a time. I used wax
paper and a C clamp where boards had to be scarfed. MISTAKE: It was difficult to keep the strips against the stations. I
will use the fishing line method next time (if there is a next time).
THE
FOOTBALL (BOTTOM)
I was getting tired when I got to the football and decided
to use some 1 ½ inch strips. As long as there wasn’t much bending, these
strips worked fine. I also used some for the decks.
SCRAPING
AND SANDING – 15 hrs
MISTAKE: Not enough sanding meant some waviness in the bottom.
Also, make sure enough course sanding is done first. I started too fine
and had to go back to courser paper after doing work with finer paper. Start
with 40 or 60 paper.
FIBERGLASS AND EPOXY OF OUTSIDE – 12 hrs
I did have some help with the epoxy. Epoxy rollers with standard roller nap don’t work well – use foam rollers. This was my first major job with epoxy. I just used a standard
paint mask. MISTAKE: Four coats
of epoxy were too much. Four thin coats would have been fine but the epoxy had
too many runs causing many, many hours of sanding.
MORE
SCAPING AND SANDING – 18 hrs
Be
careful not to sand through to the fiberglass. I almost did several times. Also, don’t sand before the epoxy before it completely dries. I tried and it doesn’t work. If you wait too long though,
it becomes very hard. MISTAKE: Same
as before fiberglassing. I started sanding with 150 grit. It should have been 60 or 80
INSIDE FIBERGLASS AND EPOXY – 11 hrs
Only two coats of epoxy were used on the inside. MISTAKE: Two coats were fine but they were put on too thick
causing runs and much sanding. And sanding on the inside is definitely harder
than the outside.
DECKS – 5 hrs
The
decks were made by gluing ¼ inch mahogany and white cedar strips over a ¾ inch white cedar board. This worked quite well. Cedar colored caulk was used
as a bedding compound for the decks and gunwales. It worked quite well and it
was the right color (cedar). Walnut splash boards (1/4 inch thick) were added
to the rear of the decks later. They had to be soaked in water in order to be
able to bend them without breaking them. MISTAKE:
The decks may be too large and thick and may be part of the weight problem – see later.
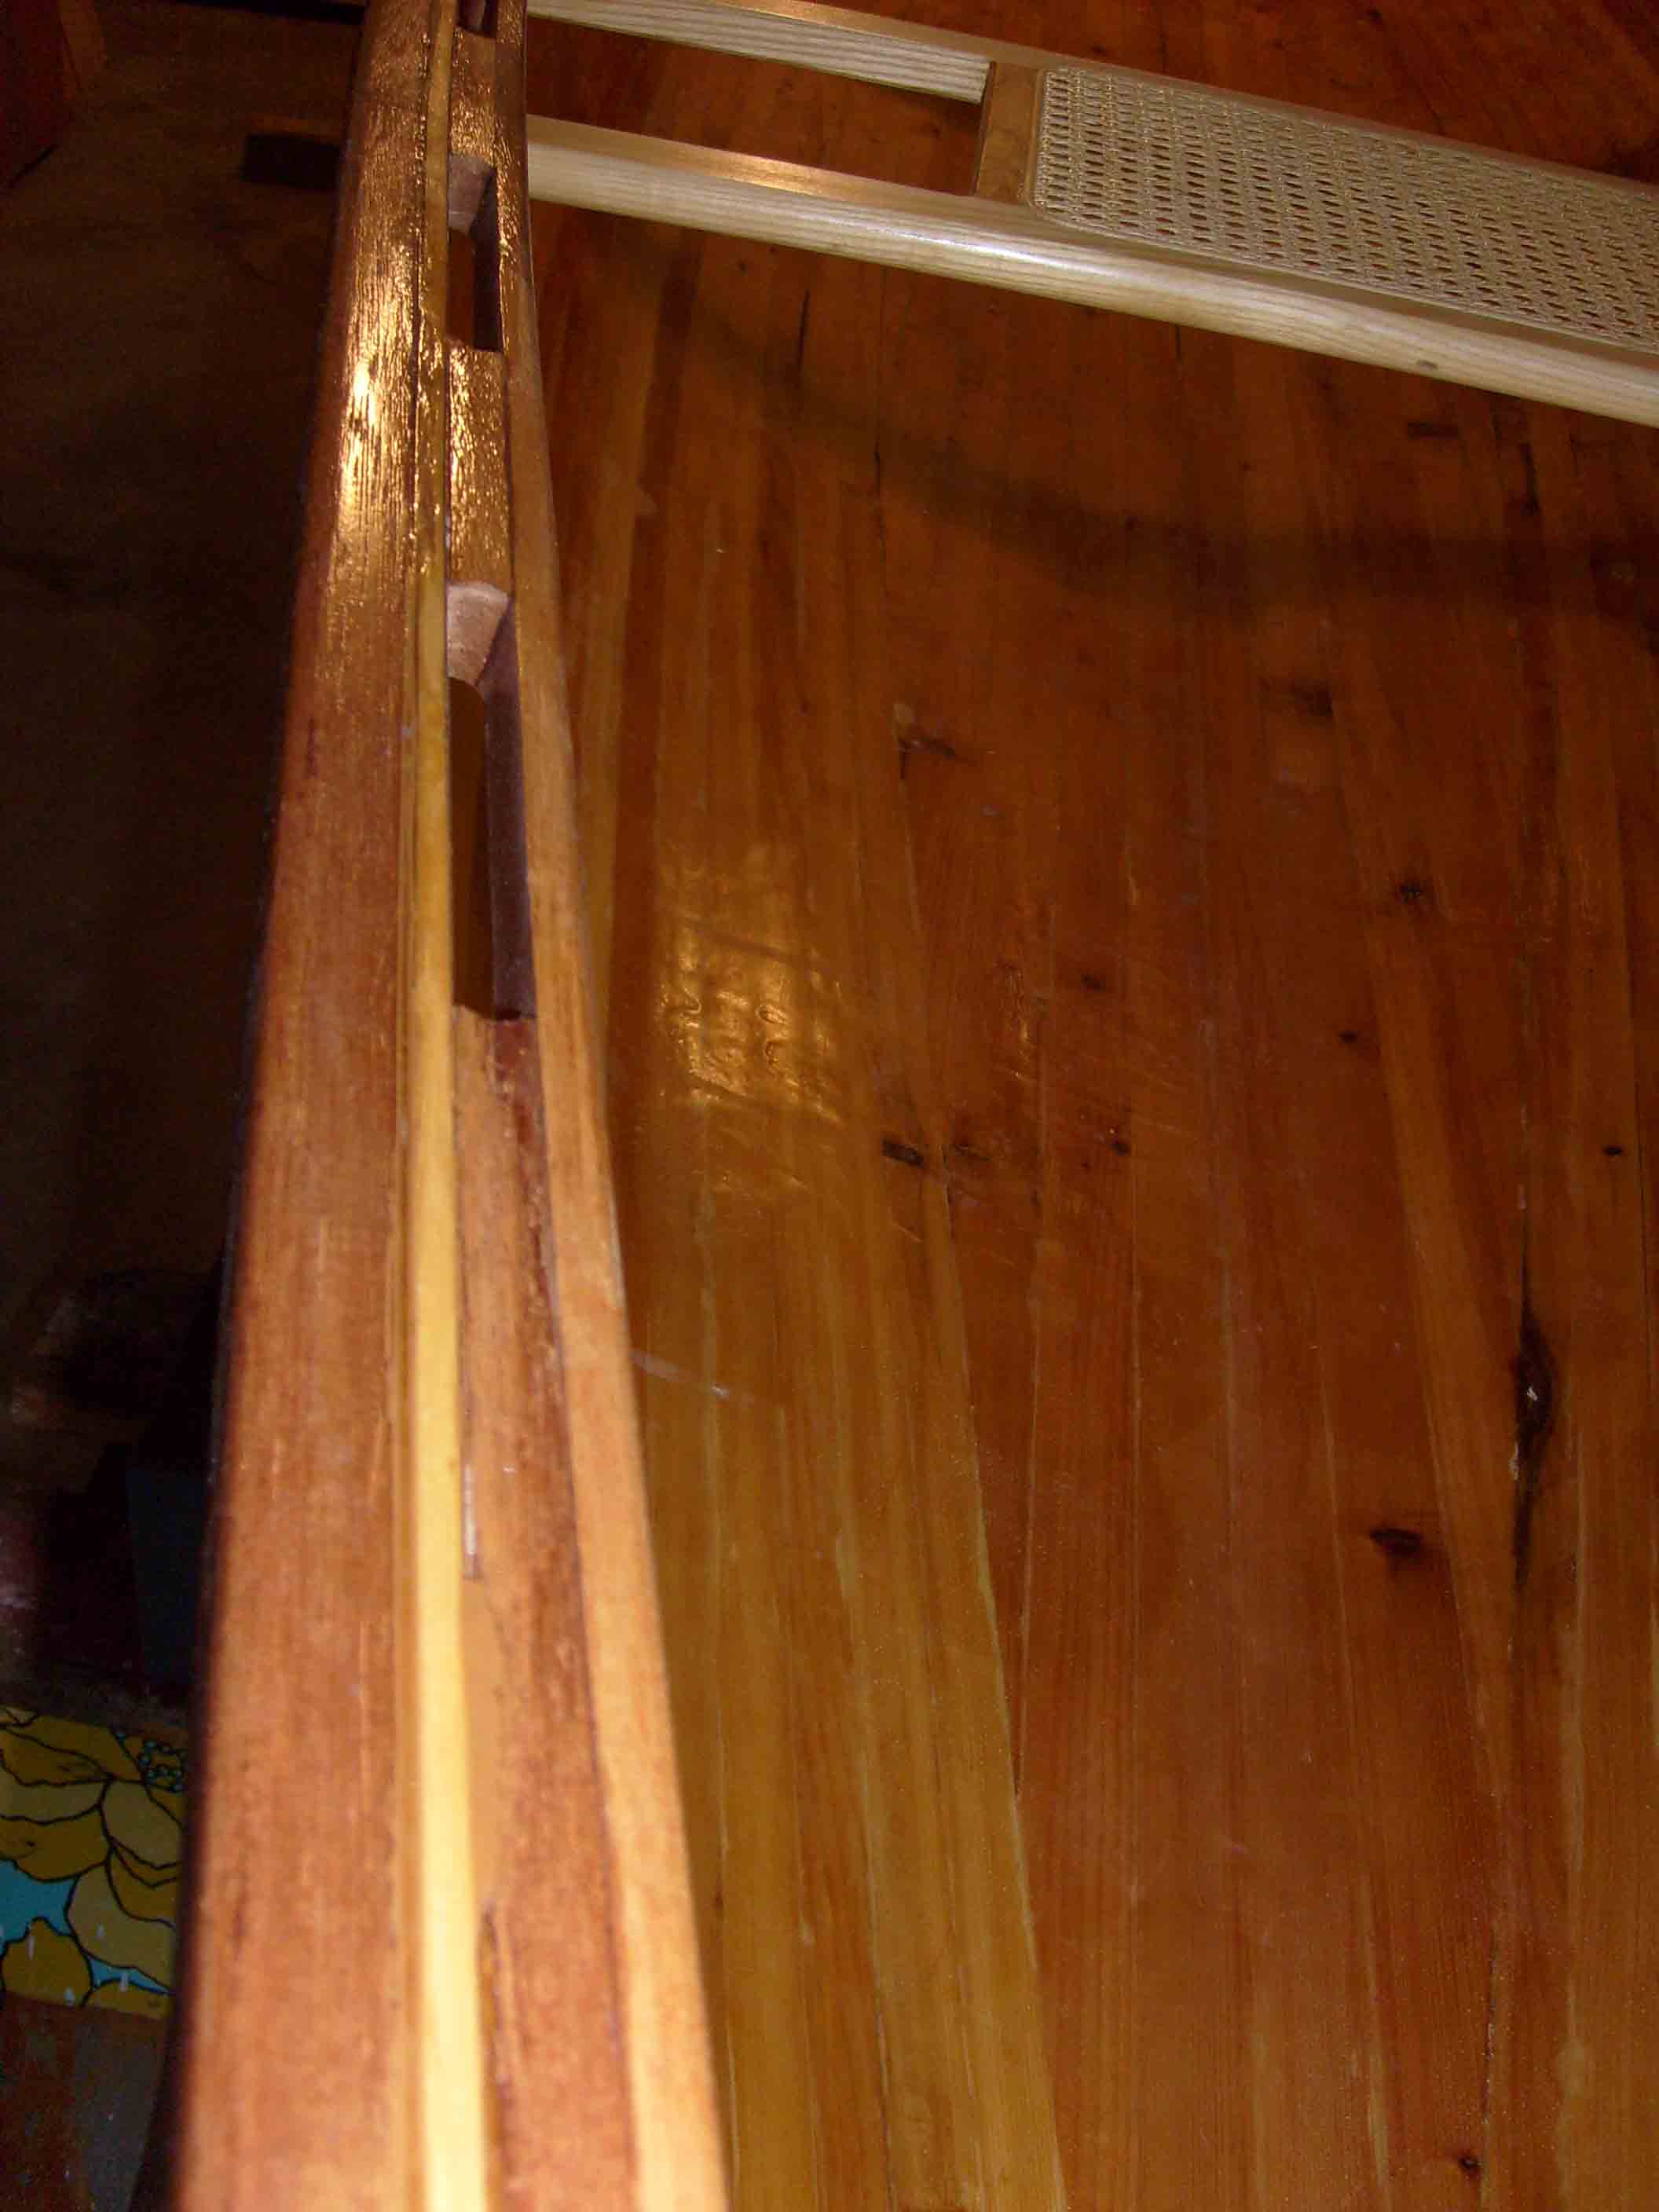
GUNWALES – 5 hrs
The
gunwales were made from mahogany from an old coffee table. They had to be scarfed
(5:1) from 4 pieces on each side because the pieces weren’t too long. They
are put on with stainless steel screws and caulk because I thought I might change them later.
The inner gunwale is put on first with screws from the outside and the outer gunwale is then put on with screws from
the inside. The inside screw heads do show.
MISTAKE: Single length pieces from a lighter wood should have been used
for the gunwales. I doubt if they ever will be changed now.
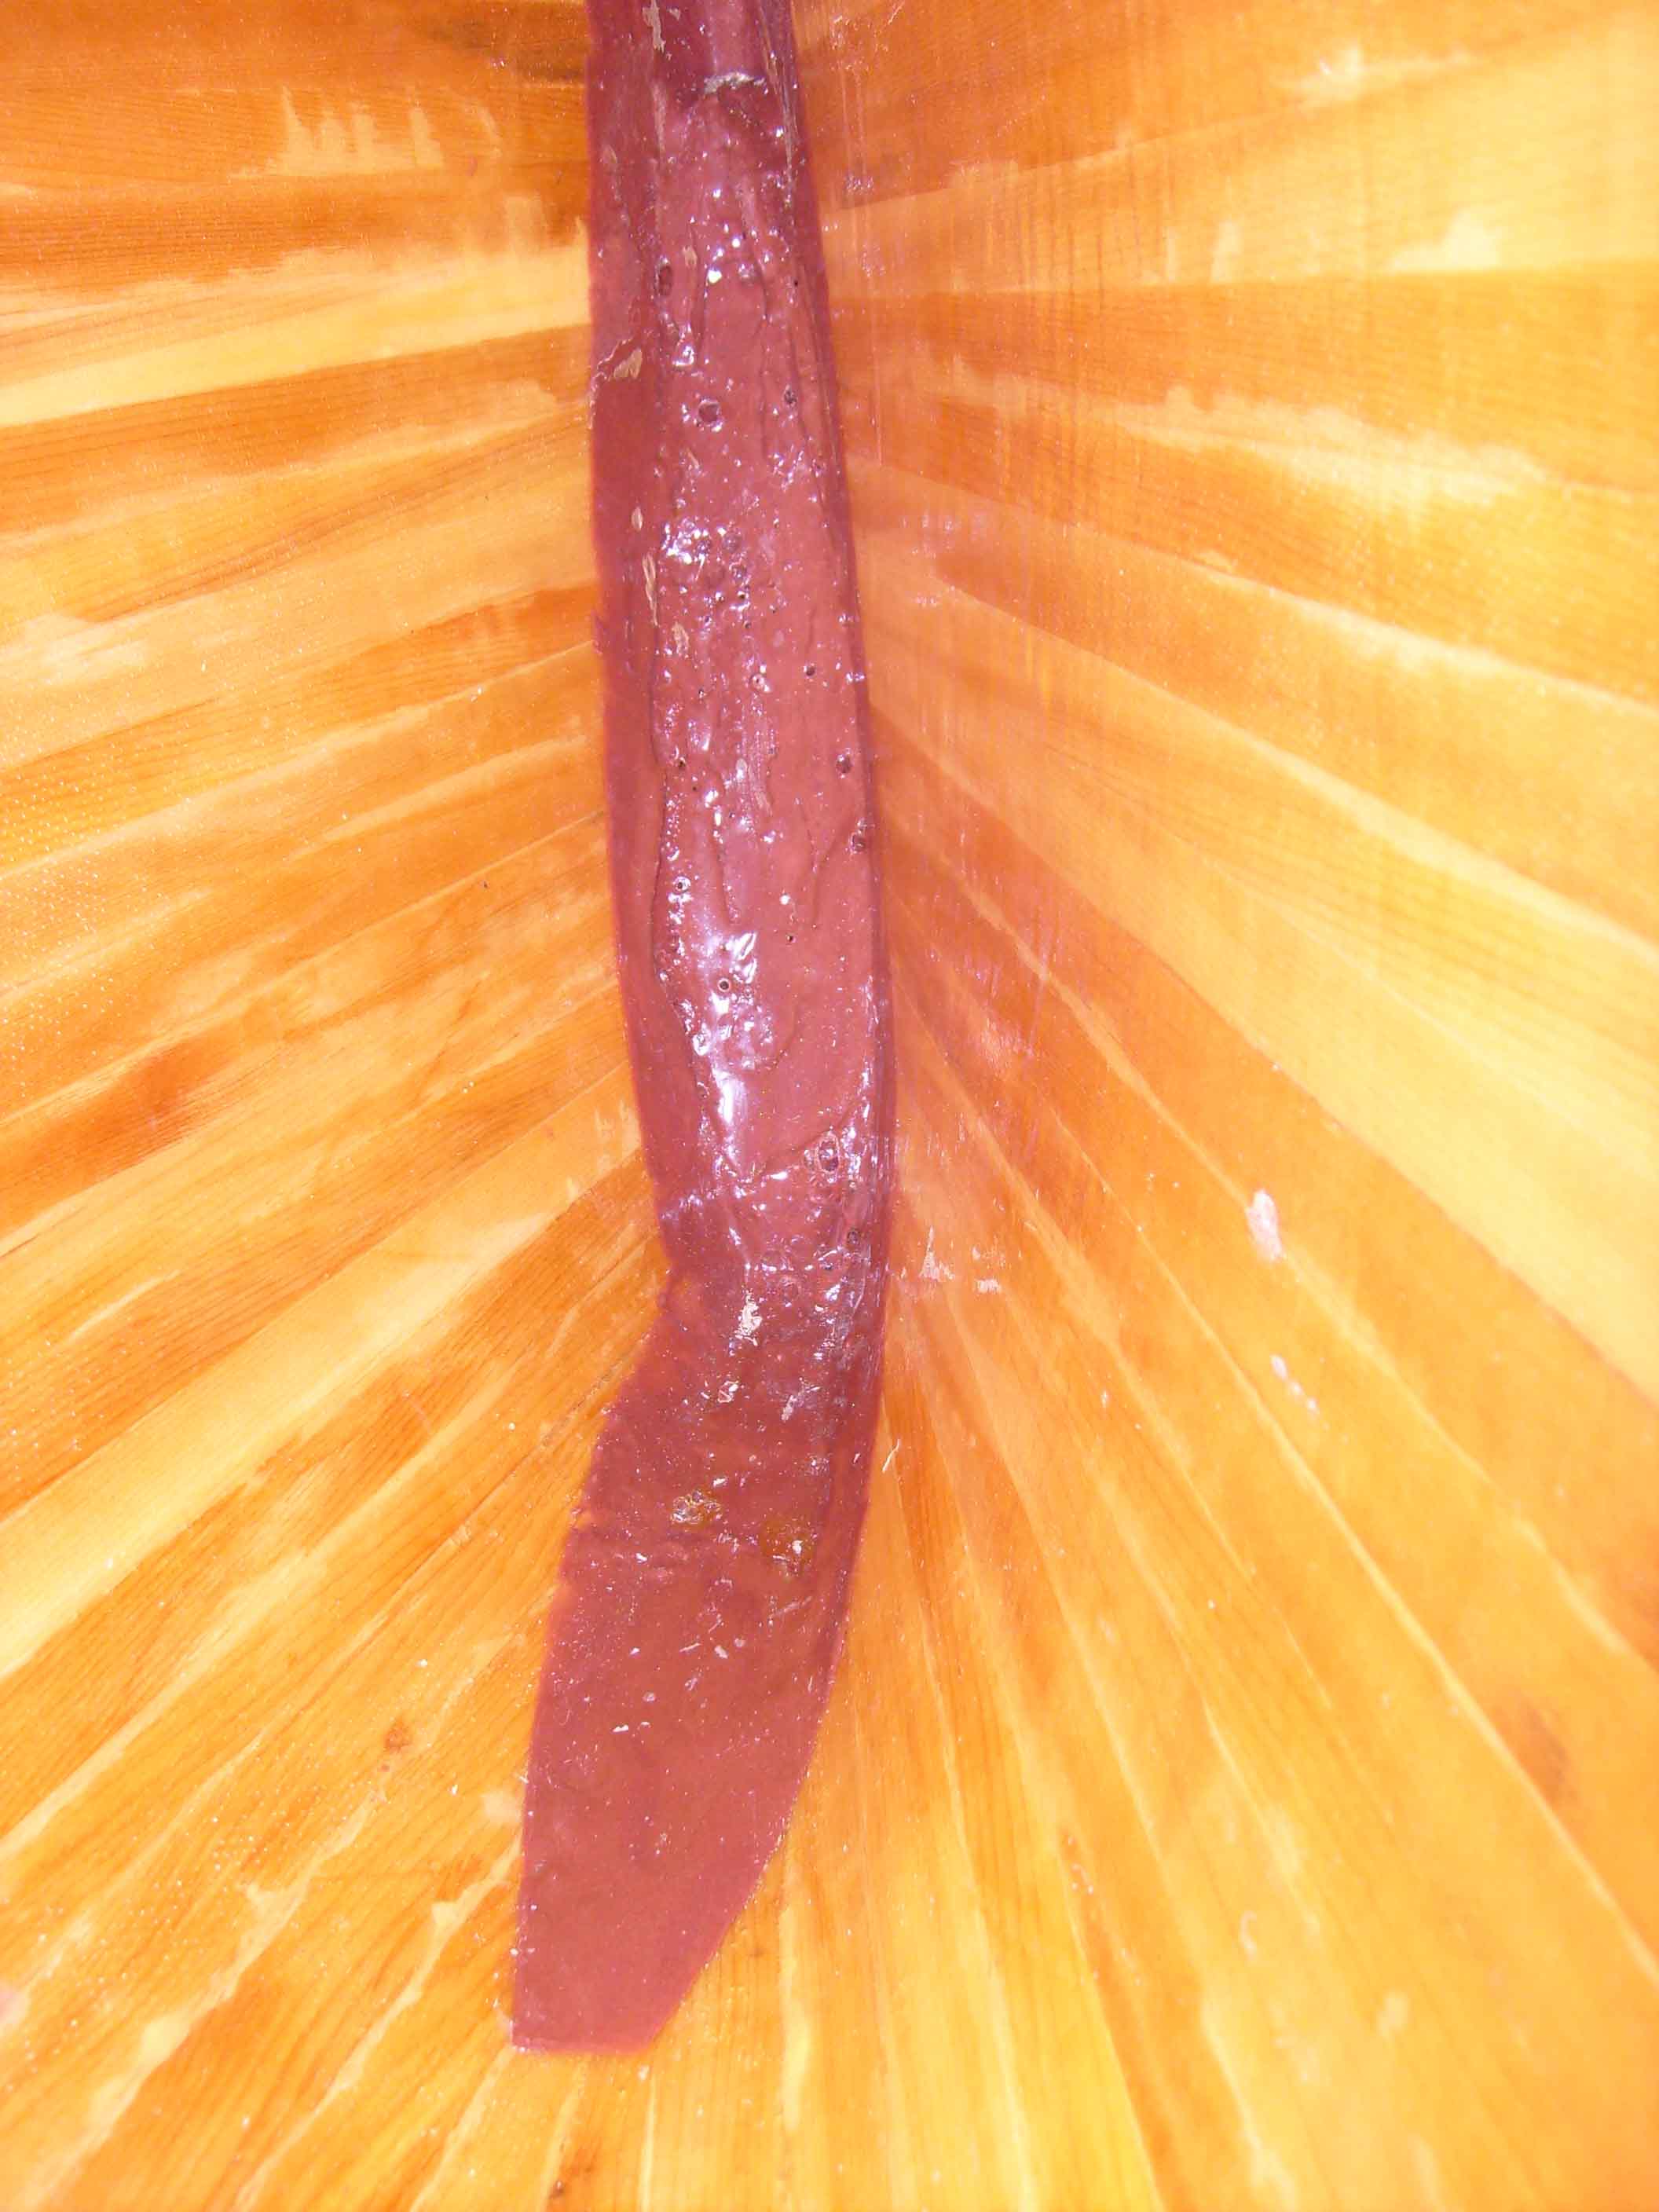
EPOXY NEAR THE STEMS
I
used microbaloons and epoxy at the inside near the stems. I did remember to tape
around the area. I put the canoe vertically against the house – a weird
site. MISTAKE: This does not look
the best because it was hard to get smooth. Also, it got very, very hot. I thought the canoe was going to catch on fire.
VARNISHING
THE INSIDE – 4 hrs
The
inside was varnished before mounting the seats, yoke, and thwarts
SEATS
The
seats and yoke were purchased because I was running out of energy and wanted to get the canoe finished. The seats were located at 58 inches and 133 inches from the front (to the front of the seats) after much
thought about the length of the canoe, legroom, and possible weight of paddlers. That
seems about right. They were mounted with pieces of ½ inch copper tubing. Plastic tubing was used inside the copper to center them on the bolts.
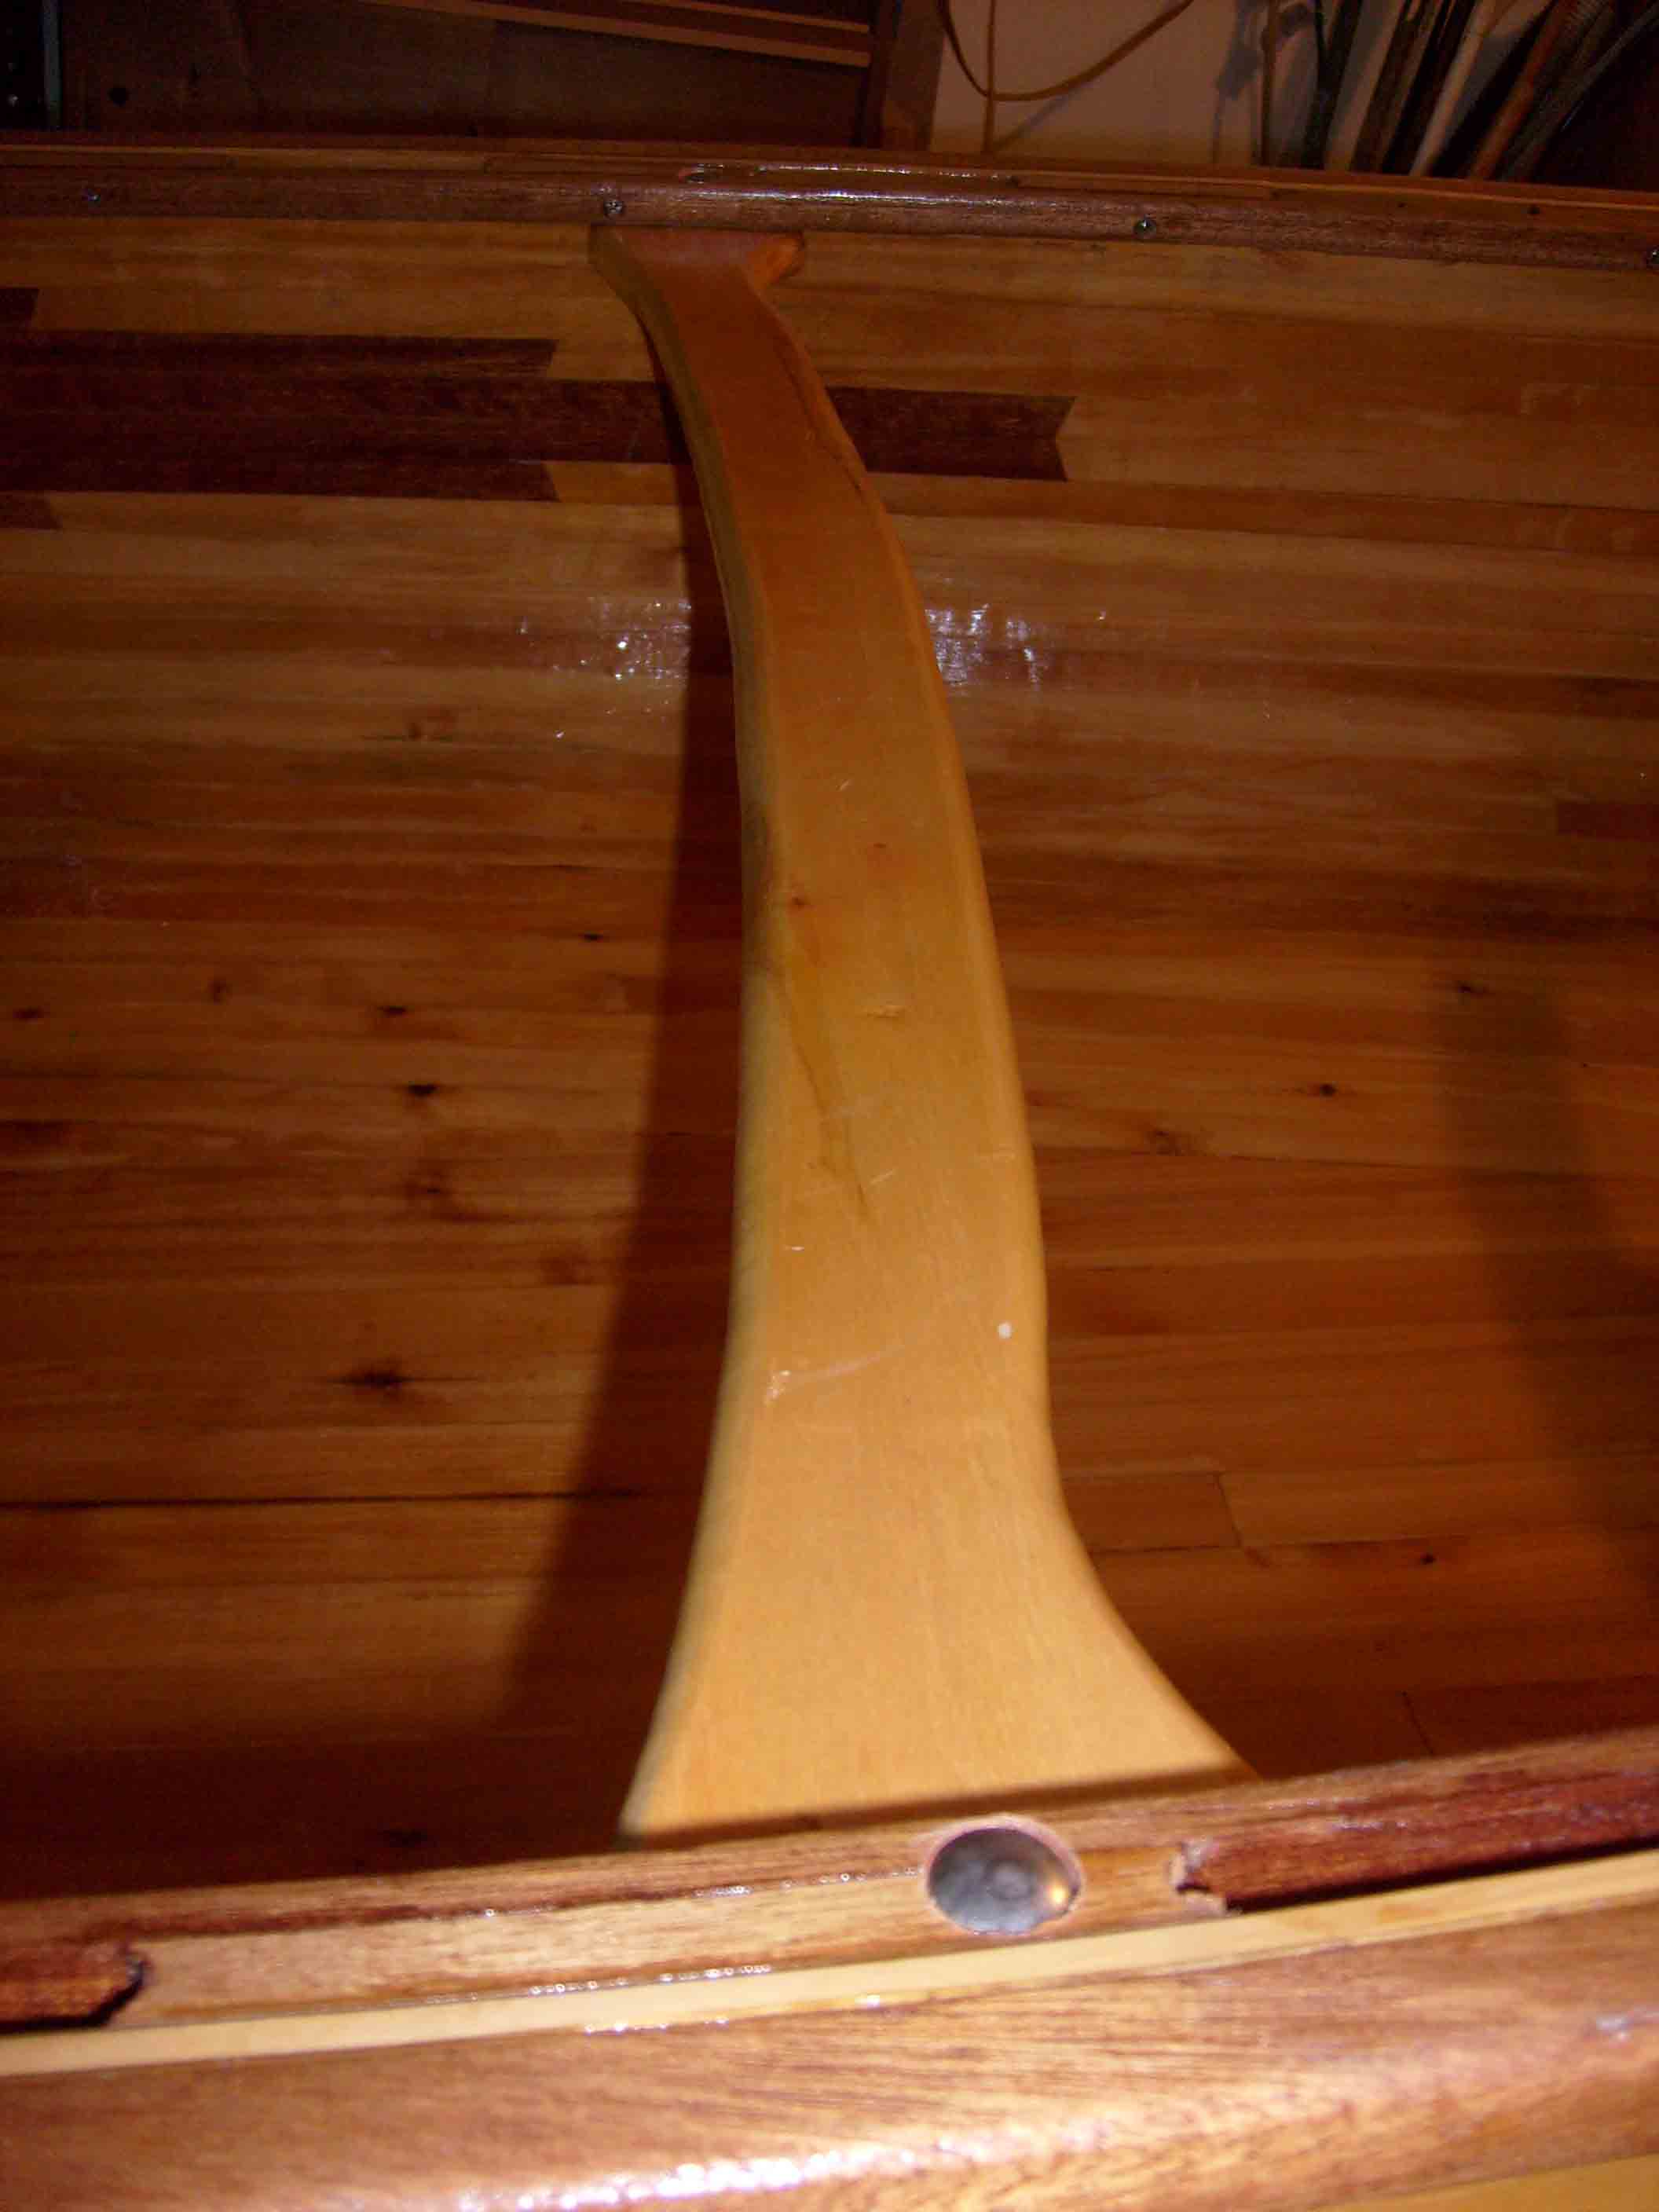
YOKE AND THWARTS
The
center of gravity (front to back) is about 2 inches back from the center of the canoe because it is asymmetrical. The yoke was mounted 1 inch back from the true center to make the canoe easier to carry. A rear thwart was added to stiffen the canoe although I don’t really think it was necessary. Carrying handles (short thwarts) were put near the decks and are ideal for tying ropes
for car-topping the canoe, dock tie-up, or carrying with two persons.
VARNISHING
THE OUTSIDE – 5 hrs
The outside was varnished with 3 coats of water based polyurethane with two coats of oil
based spar varnish over that. I have graphite for the bottom but will probably
not use it because
-
I like the looks of the wood bottom
-
I don’t want to add any more weight
-
I would have to remove the varnish.