|
My wife came up with this project to house a pneumatic prop we purchased
from Evilusions. Since the prop was going to sit in the yard and we didnt want it
to get rained on the logical step was a mausoleum.
We have limited space for storage so it had to be modular to
be stored easily. We also wanted to build it deeper than we needed for the prop so we could hide other things for the
haunt like amplifiers, foggers and pneumatic volume tanks. This idea worked out perfectly.
Parts List
5 Sheets 4X8 OSB
2 2X4 studs 7' 9" long
4
2X4 studs 7' 7" long
2 2X4 studs 7' 5" long
8 2X4 studs 3' 11" long
2 2X6 boards 8' 6" long
1 2X4 board 4' long
Exterior
Paint & Brushes
Wood Screws
Silicone
|
This project will basically have you build a two sided box
out of 2X4's and OSB and
then you will attach the front panels to the first box so that the mausoleum is deep enough for
all your haunting goodies you dont want everyone to see. Here is the plan that I used to construct my mausoleum.
|
Here is the dimensions of the Mausoleum. I wanted to build
it as light as possible to make it easier for one person to put it together. It is more of a two person job to do it
safely. It is basically framed up 4X8 sheets of OSB and you screw them together. |
|
|
| |
|
|
|
|
|
|
|
|
|
|
|
|
|
|
|
|
|
|
|
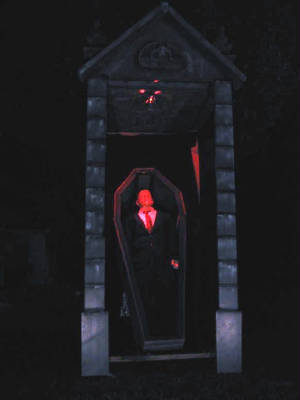
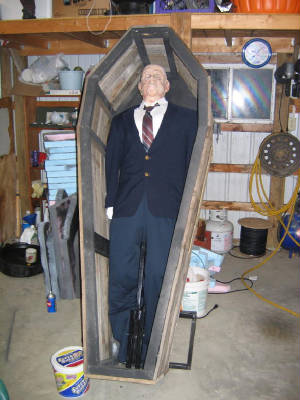
Here is the prop I purchased from Evilusions. It works really well.
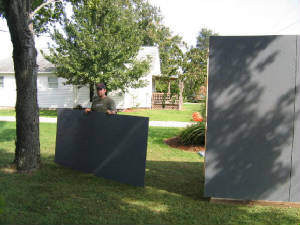
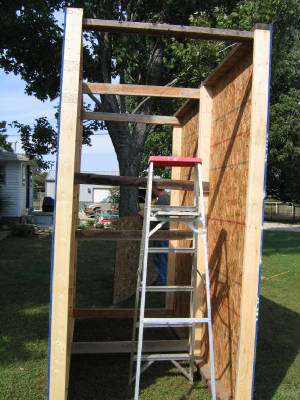
Here is me constructing the Mausoleum. I tried to make the walls
as light as possible so one person can handle them. It went together a lot better with my wifes help. I place
4X4 posts on the ground as a foundation for the walls to keep the wall seams straight at the top and bottom.
I then attached 4-2X4's 3' 11" long to one wall panel in all four corners
of the panel to attach the opposite wall panel. Then we set the wall on its side on edge to attach the opposite side
wall. You then have a box with two walls. With a little help, I raised the walls upright onto the 4X4 posts I layed
on the ground for the foundation. Then I set the third wall panel next to the back halfs side wall panel and attached
the panels together with screws. The next step is to attach the 2X4 stud 3' 11" long to the rear corners of the wall panel
to get ready to attach the fourth wall panel.
You can see in the picture that the back portion is up and I am getting
ready to put the top panel on. You can also see the framing inside and the placement of the 2X4's to connect to two side panels
together. You can see a little on how the panels go together. You are basically building two boxes with
only two sides on them. Then you attach the two boxes together.
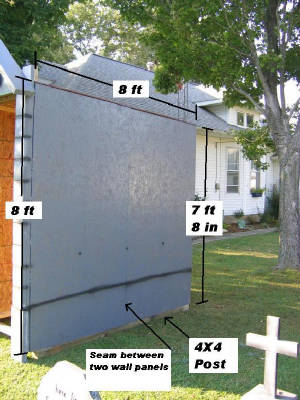
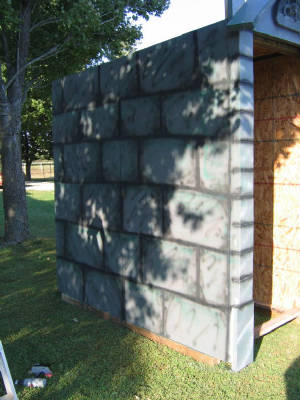
Here is the structure before it was painted. I put it together
before painting it so that the bricks would line up. We painted the OSB with Exterior Enamel with Polyurethane
to help it resist the weather. Here is the dimensions of the structure and shows where the 4x4 goes to keep the walls
straight and see how the wall looks on the outside.
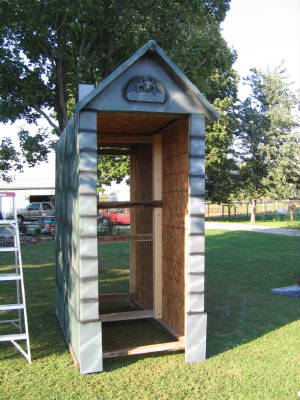
Here is a shot of the front. To give the facade something to support
it, I attached the 2X6 8'6" long front boards and the 2X6 4' long board across the top and attached the foam pieces
with silicone and screws to hold them on until the silicone dried. You can see the 2x6s sticking out the top. I have just
started painting some of the blocks. I will finish with dry brushing with a lighter color latex paint.
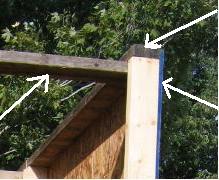
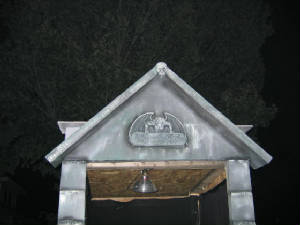
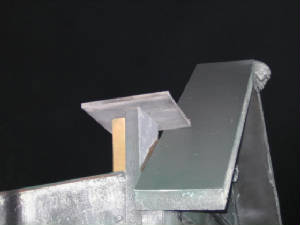
Here is a close up of the top. The plaque is a plastic sign I
purchased at a local store and attached with silicone.
The 2X6 boards sticking up was painted and I screwed a 9X9 piece of
painted OSB to the top for a perfect gargoyle perch.
Here is a shot of the side after I started painting the blocks.
Here is the finished product. Hope you enjoy yours as much as I have mine.
|


