Robots

RSV2 L.E.D. Flasher

Home
Page Title
Page Title
Puppy Links
Puppies
Housebot
VEX
RSV2 L.E.D. Flasher
RSV2 9V Low Voltage Battery Monitor

I wanted to develop a flashing L.E.D. array for the V2.
I started off experimenting with astable multivibrators and 555 flasher circuits and ended up going to this simpler, less crowded design. It will work fine for what I designed it for.
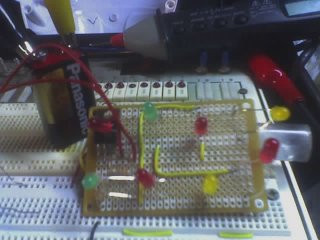
I built a simple flasher circuit using a 7805 voltage regulator and some blinking L.E.D.'s See the parts list on the schmatic for a complete list of the parts I used.
 I split the 5V output in parallel and split the LED's in pairs, parallel off of that. In each pair, one is a regular LED and one is a blinker. I found by doing it that way all eight will blink.
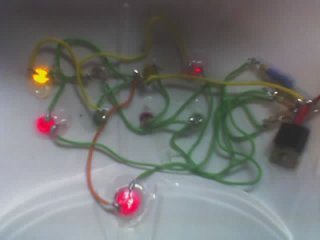
 On the PC board, I  scattered the pairs to give more of a random blinking appearance.
 I just finished it tonight. I will install it on the V2 when I get a chance.

flasher1.gif

led4.jpg

led5.jpg

Here's a video of the RSV2 with the flasher array. I have tested it for about 1/2 hour. It works fine. No rubbing now.
 

click here to play video

Part II
 
Here's an easier way to add some flashing lights. I used two large wire ties around his waist to mount a Bell Night Shield on. The Bell Night Shield is a self contained 5 LED flasher for cyclists/walkers. It has 6 different flashing modes and runs on 2 AAA cells. I may try to disassemble and intregrate this circuit after I get over my hack hangover.


ledflashermod2.jpg

Here's a short video after the Bell Night Shield addition.

click here to play video

Original Design

ledflasher.jpg

Modification: I had to abandon my original design when I discovered there was not enough room in the chest plate for this board. No matter how flat I made it,it still rubbed against the sliding arm and head mechanism on it's torso.

led1.jpg

 Everything has to be as flat as possible. I used dabs of Fix-All Adhesive in lieu of a hot glue gun. I glued only the LED's and the regulator.
 I haven't found much use for a hot glue gun, as the glue is just plastic and usually pops loose soon after it cools.
 I added a jumbo red L.E.D. to his belly button with it's own 440 ohm resistor coming off of the regulator's output pin.

led2.jpg

I used duct tape to secure the wiring. This will keep wires from wiggling into the mechanism.

led3.jpg

I used Lock-It connectors from an auto-parts store to connect the power wires to the wires from the existing toggle switch and 9V battery mounted on the back. Lock-Its can easily be disconnected when removing the front plate.

Enter secondary content here

Enter supporting content here