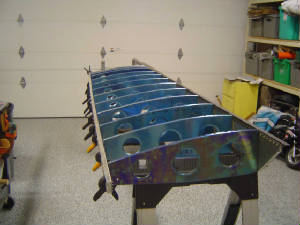
I chose to assemble the wing using the sawhorse method. It goes something like this:
- Level both sawhorses so that they are level and parallel.
- Lay main spar across.
- Install ribs.
- Install rear spar.
- Verify vertical and horizontal alignment of ribs using "plumb bob" method.
- Attach aft top skin to rear spar using 3/32" cleco's.
- Align ribs to vertical axis and secure aft top skin to ribs using 1/8" cleco's.
After this aft top skin is clecoed into its location you have essentially locked in the alignment of the wing assembly.
Start by aligning the centerline mark of the rib through the 3/32" holes in the spar web. It is not critical at this
point to have the rib aligned top to bottom we will take care of that in a minute.
| Showing with and without rib spacers W-14-02 &-03 |

|
Now align the edge of the web spacers to your marks and center them vertically.
Clamp rib into position making sure that the rib is aligned for a smooth transition of the spar cap to the rib flange
as described in the plans on page W-14 Detail K.

Turn the spar assembly over and drill all holes, insert 3/32" Cleco in #2 and #5 holes.

Do this for all rear ribs not including the root rib. Check all of your alignments now. After this there is no
more adjustment.
When attaching the rear spar to the ribs I used two pieces of thick scrap material and clamped it to the ribs.
This in effect clamped the rear spar into location for drilling.
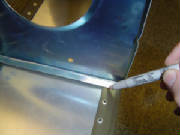
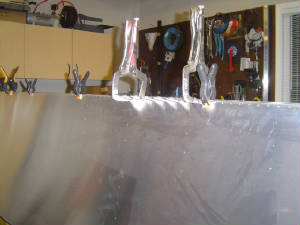
This picture
shows how the bow in the main spar affects the shape of the rear spar attachment. No worries here because when you attached
the aft skin things will straighten out easily.
It is alright
to drill the rear spar mounting holes to final size for the rivets. After the rear spar is fitted remove all of
the ribs and the rear spar. De-burr all holes, including those in the front of the rear ribs.
Now using the
same technique drill and fit all the front ribs to the spar using only the 3/32" cleco's making sure there is a smooth transition
from spar caps to rib flanges as shown in Detail K on page W-14. Remove and de-burr.
Re-attach the
rear ribs and rear spar, again only putting a 3/32" cleco into holes #2 and #5. Attach the front ribs by first relaxing
the cleco in hole #2 and inserting the front rib. Rotate the rib into position over the cleco in position #5 and again
relax the cleco allowing the rib to clamp into position. Repeat for all ribs.
CONSTRUCTION TIP!
To verify your rib is flush to the spar and other ribs use a thin piece of clear plexiglass.
You will be able to see everything without the obstruction that a sheet of aluminum will cause.
Drill all rib mounting holes to final size for riveting. Remove and deburr.
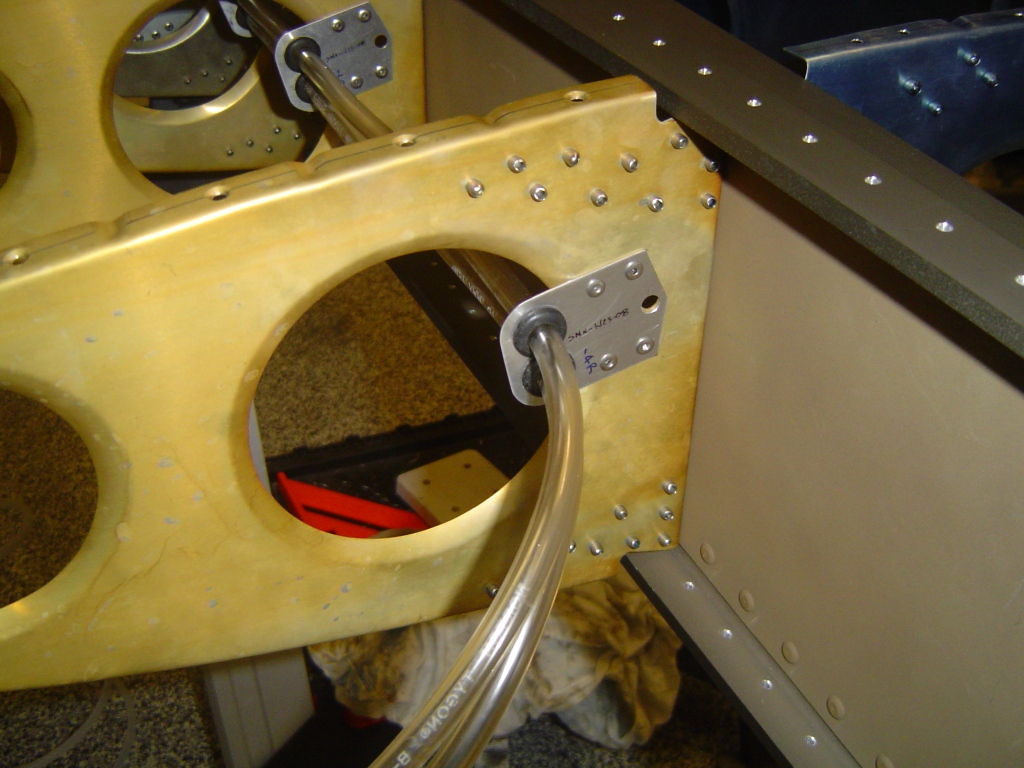
Attach the pitot tube brackets to the ribs before you rivet into final position
CRITICAL POINT!
Now you must
insure that the rib/spar assembly it straight and true. Using two very good and sturdy sawhorses lay the spar across
them with the rear ribs pointing vertically. Position the first sawhorse on the root section of the main spar and the
second in the bay between ribs 9 and 10.
Using the wire
plumb bob method align the two 1/4" alignment holes in the rear ribs. If you can get the majority of the ribs positioned
so that the wire will hang straight from the top hole to the bottom hole you are good. Clamp the spar into position
from the back or bottom side. Using a good quality square, align the rear ribs to be square with the spar. Use
a straight piece of aluminum from the root rib to the main spar to clamp into place.
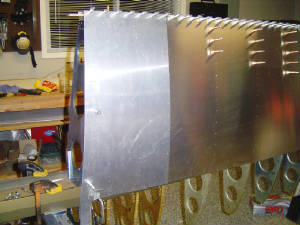
With the spar
and ribs aligned you can now hang the top aft skin into position. Align the skin to the rear spar and using several
clamps secure it. Make sure you have the rear edge of the skin flush to the rear edge of the rear spar. Using
3/32" cleco's drill and secure into position.
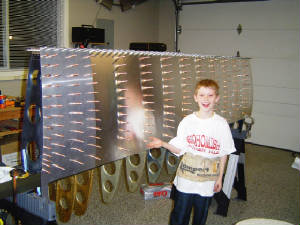
Start in the center top and working your way out and down drill and cleco the skin into position. Your choice here
but I went right to 1/8" holes (I hate drilling twice).
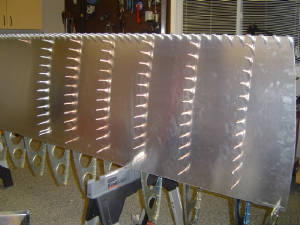
I used the root doubler here as a template.
Top aft skin complete (now you know who really drilled all of those holes).
Repeat steps for the aft bottom skin.

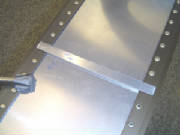
Front ribs installed and the bottom of the leading edge clecoed in place, all I need to do now is fold it over the top
and secure it to the main spar. I had little difficulty folding this over because I was able to do a nice tight bend
using the Spicer Press.
|