Finish Reaming

Finish Reaming


Installing a new barrel on you M1 is a simple and rewarding process.
 
Finish reaming is a very simple process, and can be done in a home shop with very inexpensive tools.
 
Before you start it is very important to remember that you must clean the chamber and reamer of metal debris quite often. This means oil or bore cleaner with a clean pad and if availible a few blows from an air compressor. I personally never do more than 2 full turns with the reamer before I clean and check headspace. Never do less than 1 full turn always go 360 degrees, and never go backwards.
 
You will need a finish reamer
Cutting fluid
GO gauge

16.jpg

Make sure your bolt is stripped.
 
Insert the reamer handle in the barrel from the muzzle. Hold the reamer in the reciever and screw the handle onto the reamer.

13.jpg

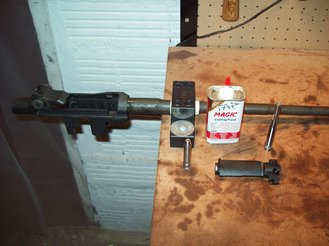
Place a good amount of cutting fluid on the reamer.
 
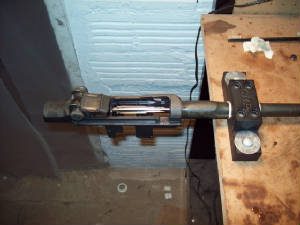
Go very slowly (clockwise) you can always cut more metal off, but if you go too far you can not put any back. Just go slow and take your time. Measure with the GO gauge frequently and do not forget to clean the chamber and reamer of shavings when testing headspace.

014.jpg

After you cut and are ready to test clean the chamber and place the GO gauge in the chamber and the bolt on the rails. If the bolt does not fall past the bolt lug and rest on the reciever, you need to repeat the cutting steps untill it does.
 
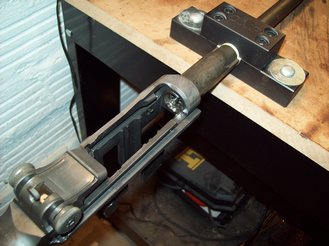
Finish reaming the barrel can take sometime, but as long as you take your time the process is idiot proof.
 
When the bolt falls completetly off the bolt lug and rests on the reciever (see photo below) you are done.

018.jpg

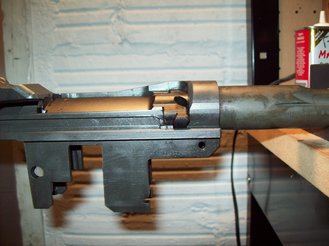
Gratz you just finished reamed your M1

2-3-09 5.8 mill M1 2-55 unissued barrel ME 0.5 bellow 0 TE less than 1 by A. Corapinski