|
One of the most common garand modifications, is the installation of improved sights. in this section I will cover the
installation of the rear hooded NM sight. The NM rear sight is slightly oversized to give it a tight fit in the sight
base. This being said you will have to shave off a small amount of metal to give it a nice tight fit, but also
allow the sight to move with the elevation pinion.
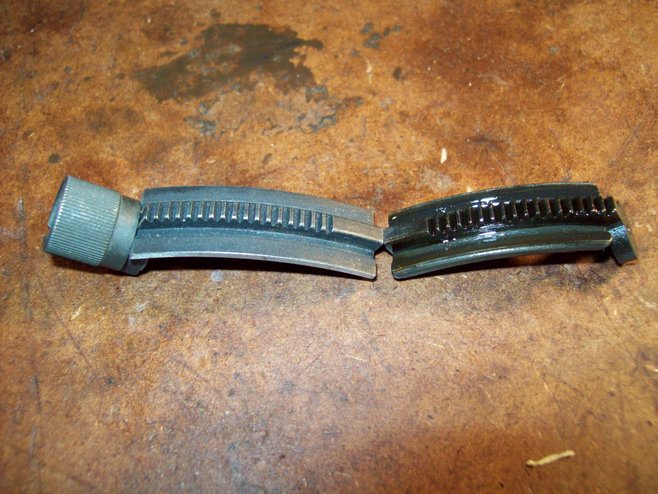
Above left NM right standard. Below standard on post war SA.
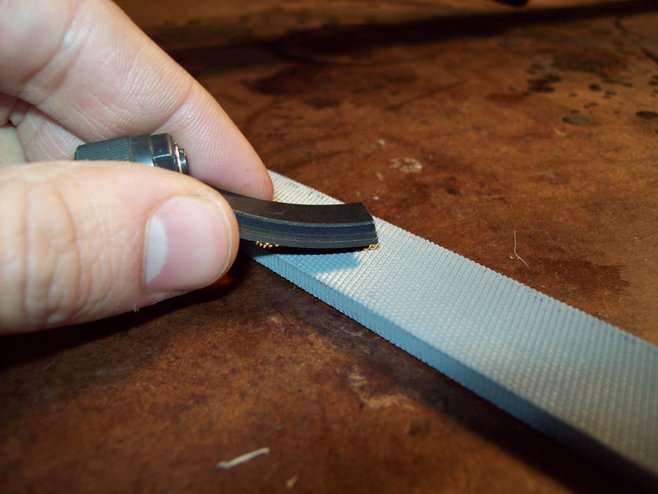
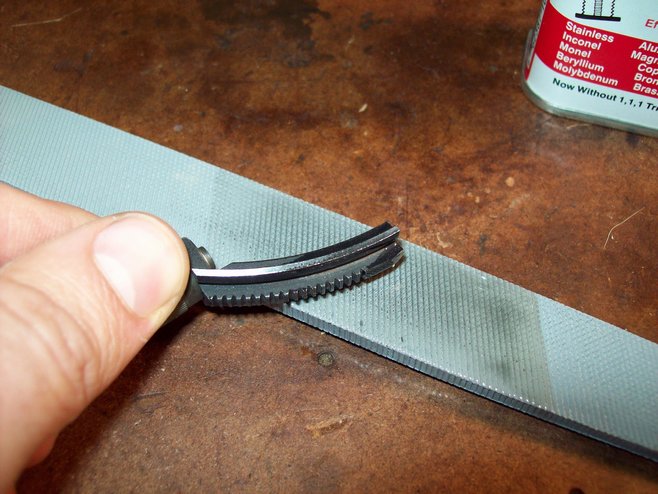
The first thing you want to do is place a small amount of oil or cutting fluid on your file, then file a small amout
of metal off the bottom just forward of the area that engages the elevation pinion(see below) this is done so the sight will
not bottom out..
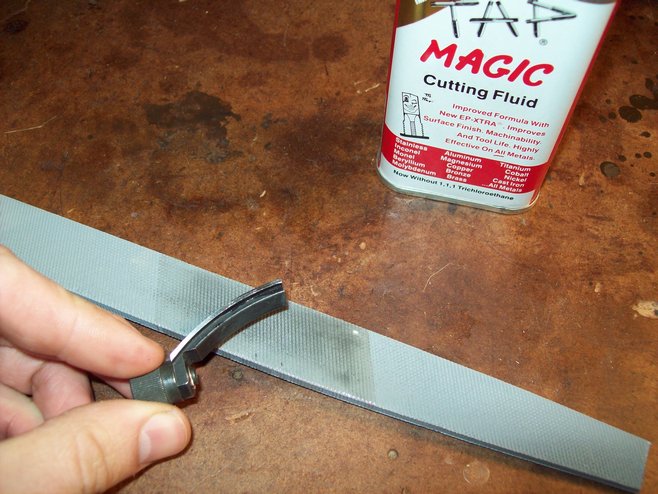
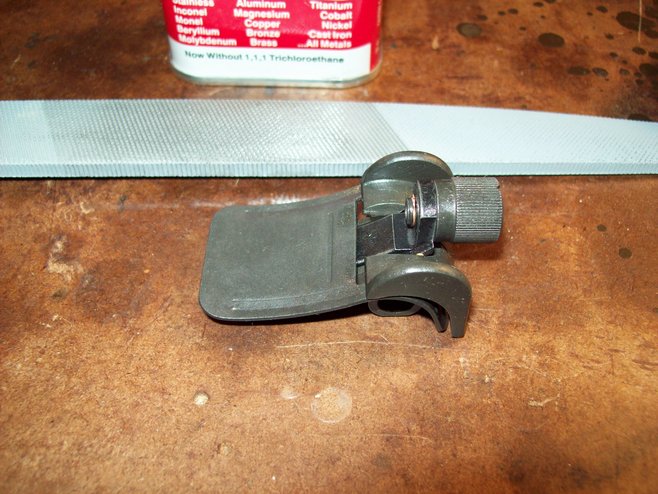
The next step is to slowly take a small amout of metal equally off either side of the sight on the area that rides
in the sight base (see below).
Now check the fit, if it does not go in at all, or binds repeat the last step.
Remember you want the sight to fit in the base tightly, but to still move freely with the elevation knob. The sight should
have no play.
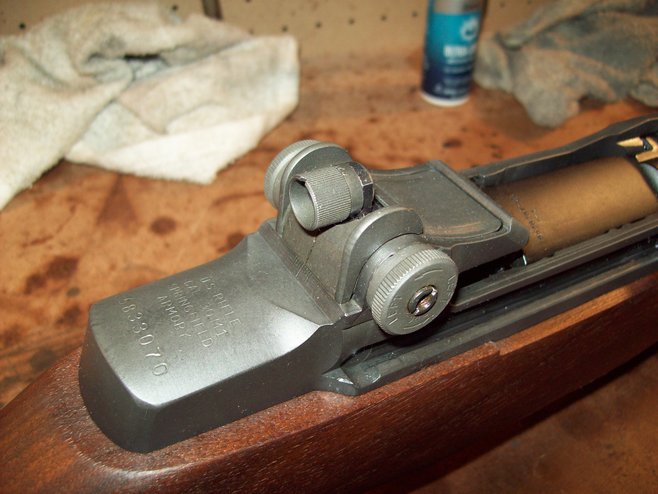
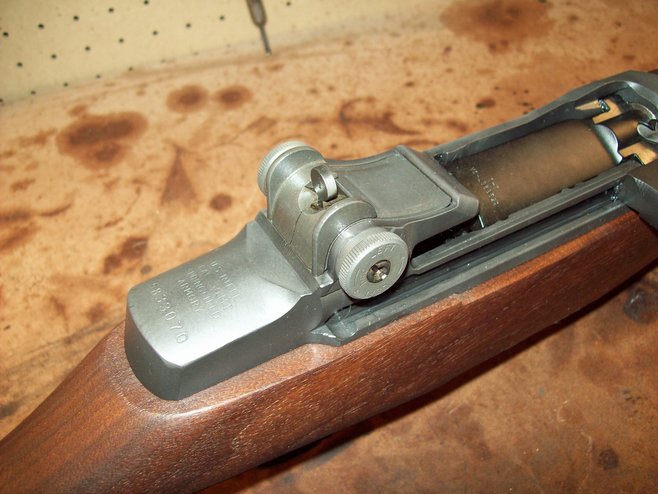
You have installed a NM rear sight, now it is time to re-zero.
|