|
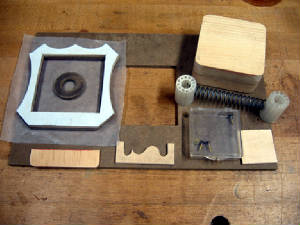
These are the jigs and patterns used in the fabrication of the calendars.
The pattern was created in a CAD program, printed, and pasted on ¼ hardboard. Radii were dictated by my bandsaw capacity.
The wood block (upper right) is to insure that the 4 blocks would fit in the routed cavities.
The 2 plastic dowels joined by a coil spring align the cavities for gluing, prior to sawing
the profile of the holder. The small rectangular plywood is the pattern for the apron that hides the non-current
month and day. The small shaped plywood is the profile of the pedestal base.
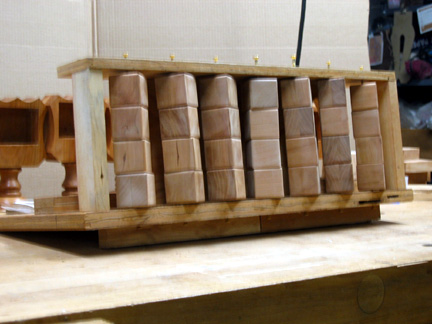
The blocks are held in the frame by screws ground to a point and simple friction.
They can be rotated for staining, then reoriented to expose tops and bottoms when first coat is dry to finish staining
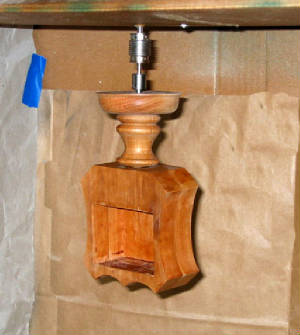
The holder is suspended on a 1 RPM clock motor atop the cardboard box which
serves as an inner chamber within my home built spray booth. The booth is an open frame with plastic sheeting and a front
curtain. There is a small brushless fan to exhaust fumes. As I use a HVLP spraying system, the setup serves me well. For small
jobs, such as these calendars, I use aerosol cans of lacquer and shellac.

The decals are being sprayed with contact adhesive. The numbers, days, and
months were printed with an inkjet on a transparency sheet. Text size was adjusted to fit the blocks. Half of the days
and months were inverted in a desktop publishing program. Planning the number blocks took a little thinking - you need double
0s, 1s, and 2s. A single 6 doubles as a 9.
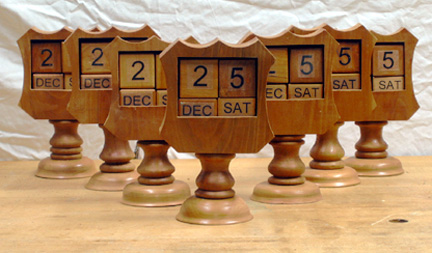
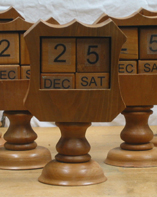
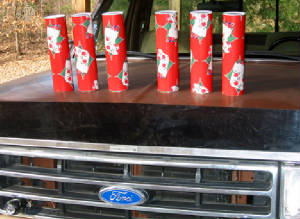
Seven units to distribute as presents. Just a little personal note. Of the
projects on this page and the Gifts page, I do not have a single one. They were all given to persons I hold dear.
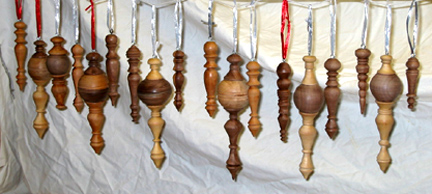
Varied woods, including cherry, walnut, pine, cedar, etc. The globe sections
are hollow to reduce weight.
Ready to go!
|