|
Please ignore the text. I have not bothered to edit the template yet.
How to build an airplane 101
Step 1: Dream a little dream
|
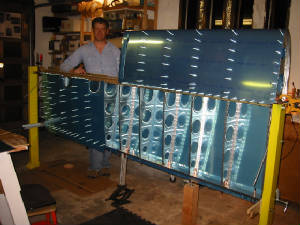
| Left wing and leading edge clecoed together |
Step 2: Spend money
Step 3: Spend money
Step 4: Spend hours and hours
Step 5: Spend more money
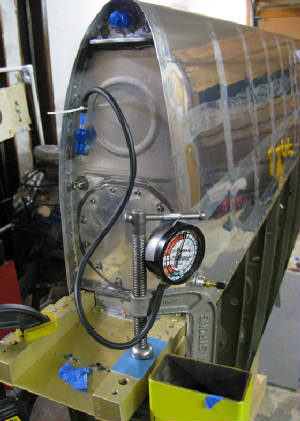
| Pressure testing the left wing gas tank |
|
| I bought a kit from Vans and added my own bailing wire and duct tape. |
|
 |
|
Tools and Materials
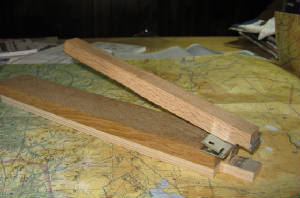
This handy tool, copied from someone else, I will link this when I can, facilitates bending the flanges perpendicular
(90 deg) to the rib web. After fluting the ribs it is important to then make the rib flanges perpendicular to the
rib web. This ensures that the rib flanges will sit flat to the wing skins, which of course is necessary
for good riveted joints. The tool overbends by 3-5 degrees which is necessary due the large amount of springback
by the flanges.
|
| rib flange bending tool |
|
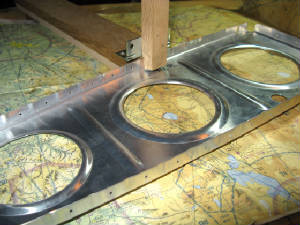
| With wing rib in tool, note that punch fits between crimps |
|
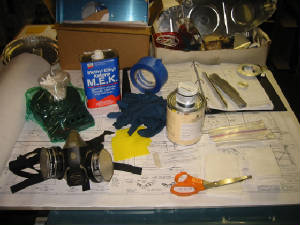
| You will need all this and more to buld the tanks from scratch |
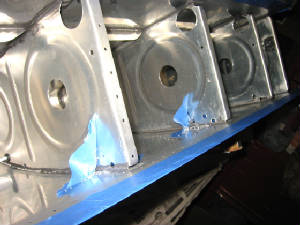
One of the recommendations of the tech advisor I had look over the gas tank and wing before I closed the tank
with the baffle was to add additional vent area along the top of the gas tank ribs. This lets air out of the top of
the tank faster when filling the top third of the tank.
| The ribs were already in place. |
|
| I added tape to catch the debris and keep it out of the proseal |
|
 |
 |
 |
|
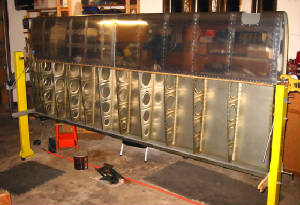
Wing stand
Talk about the wing stand here
Add a picture showing the clearance cuts on the hanger arms
and the reinforcing plate I made for the end rib
|
|
 |
 |
 |
|
|
|

