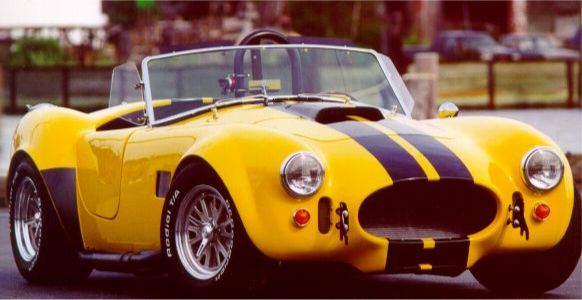
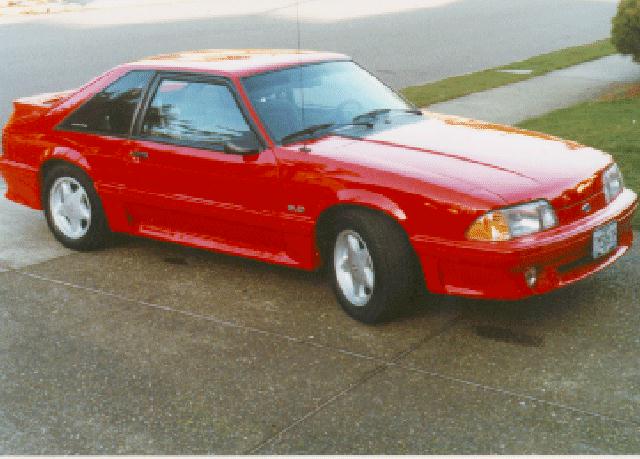
Here's the car that I'm building with pretty much the paint scheme and
wheel/tire combination I'm leaning toward:

I've ordered the kit with a ship date of 11/8. I've gone to U-pull it
junk yards twice now and have nearly all of the parts I need.
I took a bunch of pictures and measurements of how the body fit on the frame for reference during the build and then I was ready to remove the body. But first I needed to trial fit the roll bars to make sure the bars lined up with the frame mounts and the body holes. These things are huge pieces of metal and look easily able to support the car in a roll-over (not that I even intend to test them).
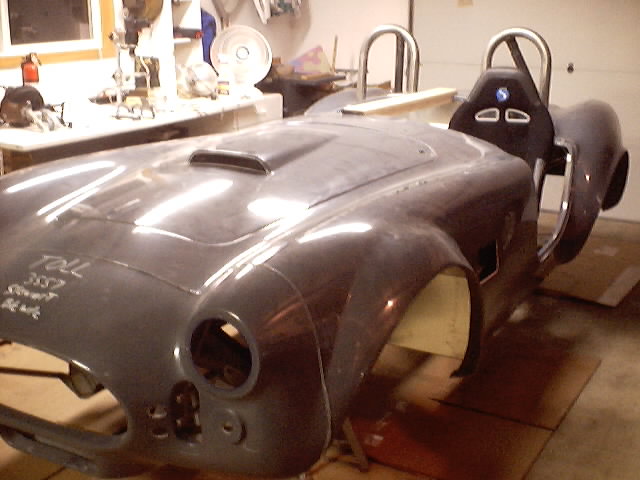
Next I removed the dozen or so bolts that held the body to the frame, the hood and trunk, and a few aluminum panels. Then, with the help of my brother we moved the body onto the body buck (the wood structure I build to support the fiberglass body when it's not on the frame). I also rigged it up so that it could hang from the ceiling so that we could still park the family car in the garage during the frame build up.
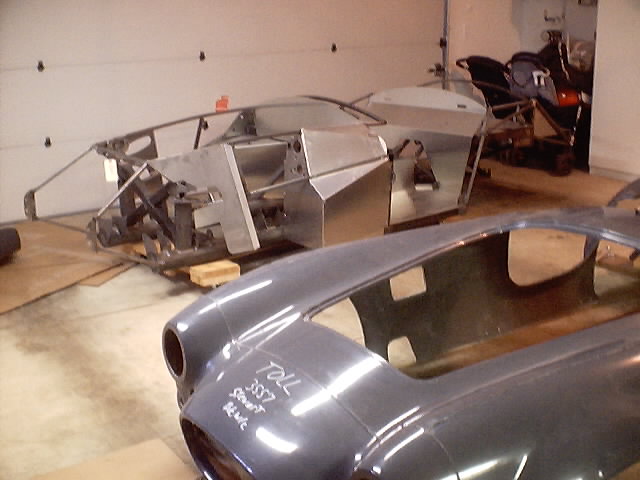
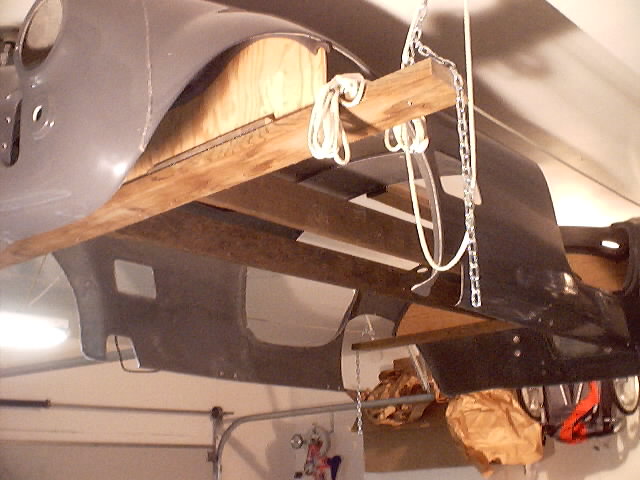
The next step is to remove the rest of the aluminum panels, make the frame modifications and paint it. Then I can start bolting in the suspension.
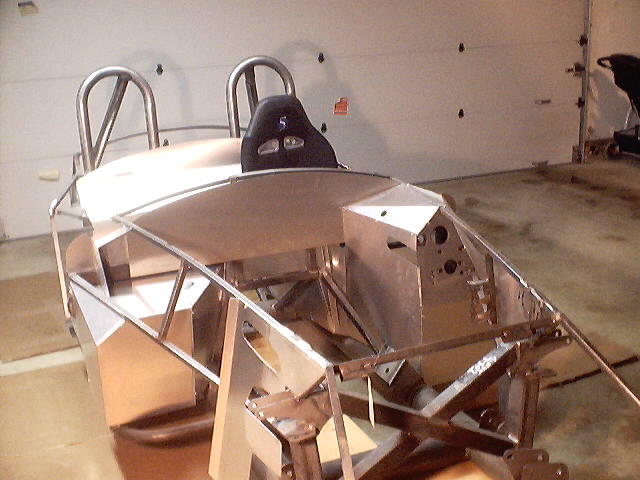
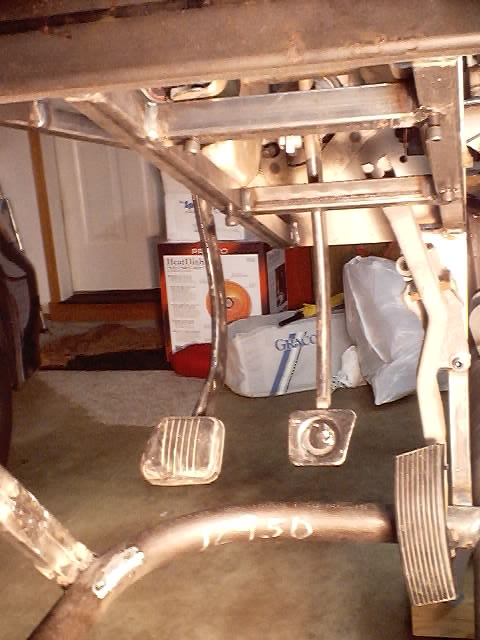
I used masking tape to make notes on the aluminum panels to help me remember how things go back together. I took a whole bunch of digital pictures for records and then removed all of the aluminum panels. The next step was the frame modifications. The first one is the driver footbox brace. As you can see from the "before" picture, there is a 1.5" tube that really gets in the way when you're trying to find somewhere to put your left foot when it's not on the clutch pedal. (also note the masking tape notes on the aluminum panels). I cut out the old tube and replaced it with a pair of 3/4" square tubes that where cut to fit well against the outside of the lower tube. Then I (well, really my father in law) welded them in place toward the outside of the footbox. This will provide about 1.5" more clearance which should be just enough to allow for my left foot to slide between this and the clutch pedal. I have a dead pedal that I will bolt up to this new brace to give my left foot a place to rest.
As long as I was doing a bunch of welding, I decided to weld on some bolts as
grounding lugs. Two larger ones for the battery and engine grounds and
then smaller ones on each corner for the lights. Here's a blurry picture
of the batter ground lug just to give you the idea: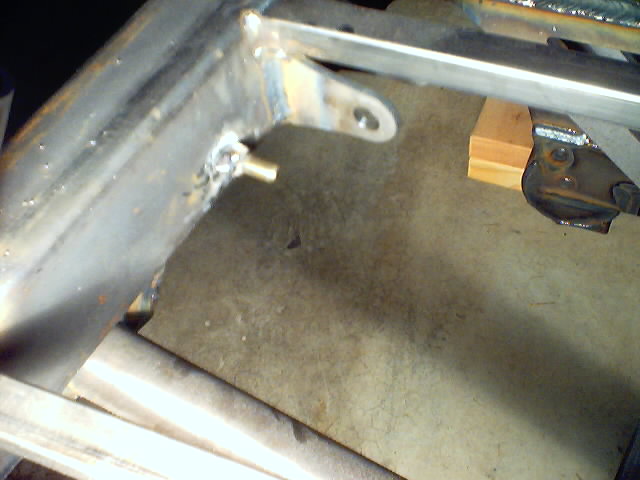
The next thing was brackets so that I can mount the emergency brake handle to the top of the trans tunnel. The "default" location is at the passengers feet and that's not great for a bunch of reasons; passenger foot room, hard for the driver to reach, the high back seats don't fit well.... Here's the welded in brackets and the brake handle setting in place:
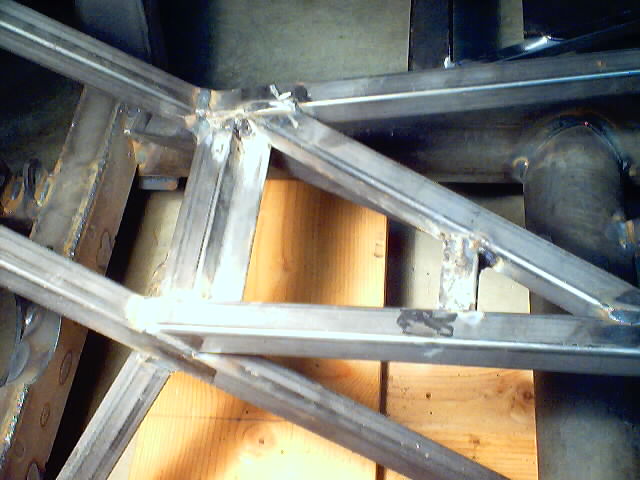
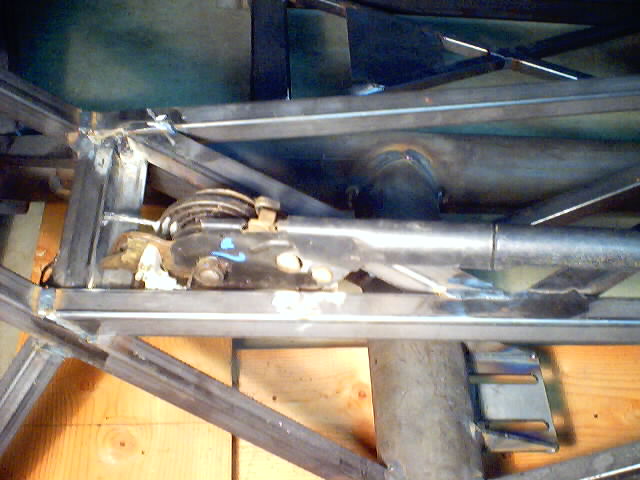
The last frame modification was to allow me to have power brakes. The "default" setup is to dump the power brake booster and just have manual brakes, but it doesn't work all that well because the master cylinder ratios are assuming power brakes so then you have to make a bunch of other changes for things to work well. Anyway, it's not hard to just use the mustang brake booster, but the frame gets in the way. The 3/4" square tube under the booster originally went straight across. In order to fit the booster up there I cut out a piece and made a new tube that routes the frame around the booster. It's probably not as strong, but this is not really a stressed member of the frame so it should be fine (others have done this mod with no problems).
Before I painted the frame I decide to make sure that all the suspension
pieces bolted up OK. I started with the front suspension and ran into a
few snags with the lower A-arms (the black part on the bottom) not quite
aligning with the mounting holes. Nothing a little filing won't fix.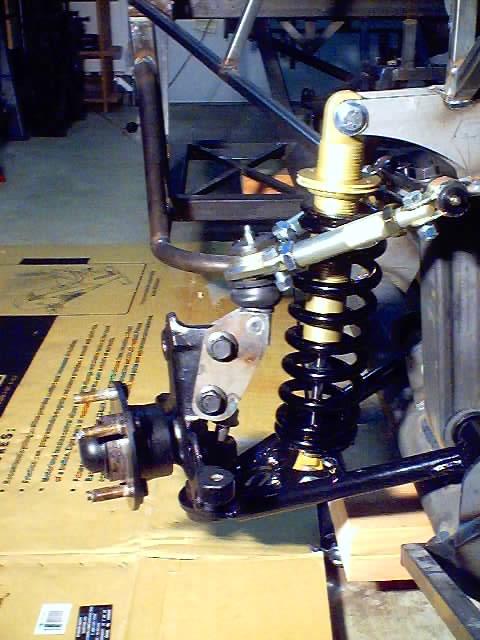
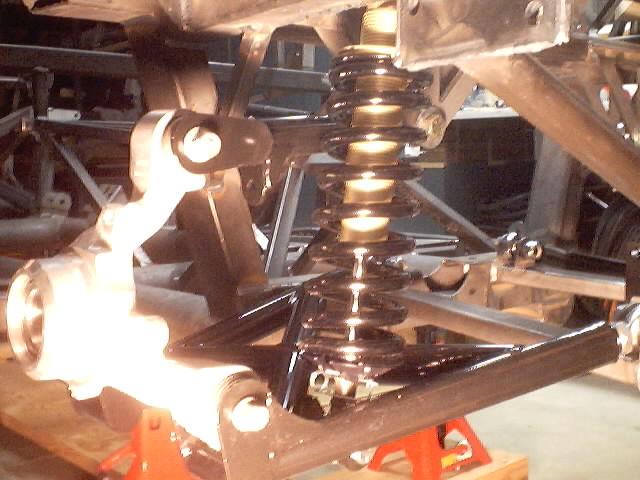
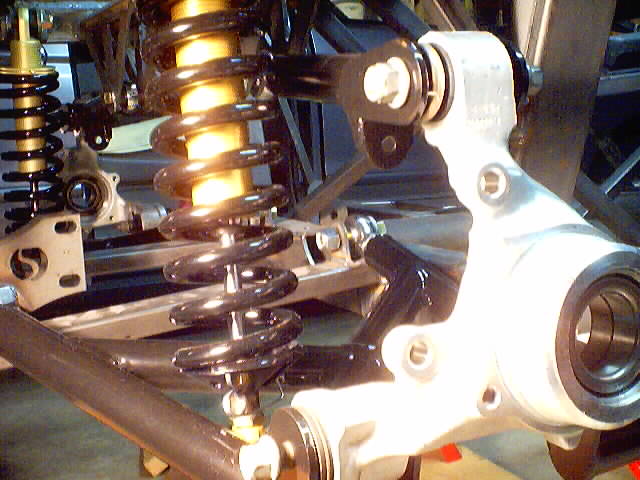
Similar to the front suspension, it was useful to do a test fit of the rear suspension and make sure everything fits. I had to ream out a couple of the 5/8" holes so that the bolts would fit and grind a couple of spacers so that they fit in the mount points (and with the rod end seals that I'm adding). Also did a fitting for the ebrake handle and the pedals and drilled the mounting holes for these. It's warming up here so I think it's time to paint the frame :-)
Go to Page 2 Go to Page 3 Go to Page 4 Go to Page 5 Go to Page 6 Go to Page 7 Go to Page 8 Go to Page 9 Go to Page 10 Go to Page 11 Go to Page 12