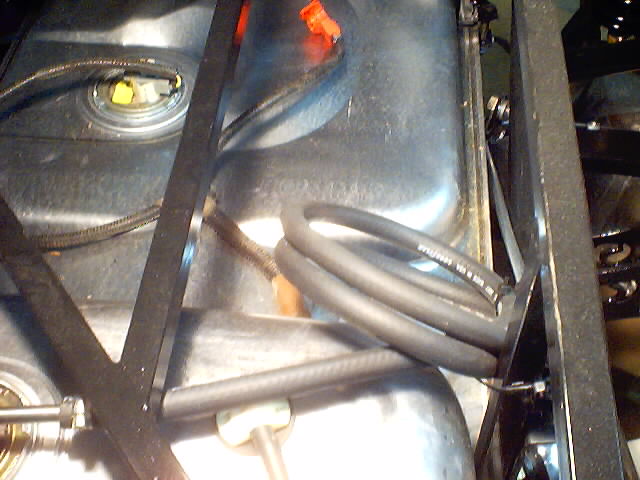
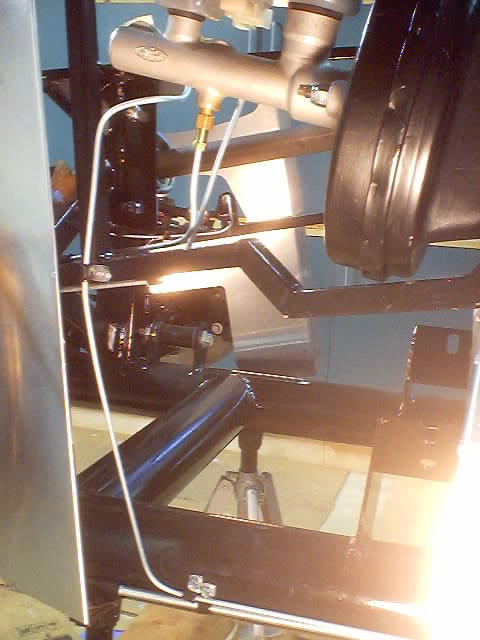
The project for the holidays is to complete the brake and fuel line routing. The kit comes with a roll of solid brake line tubing but the expectation is that you do all of the flaring work as well as bending and routing. I've discovered that for about $25 I can get all the right, pre-flared brake lines from Napa and just bend them into place. After unsuccessfully trying to get the rolled line in the kit straight, the $25 at Napa seems like a great deal so that's the way I went.
I actually started with the fuel line, which also came with the kit in a roll. I spent a lot of time trying to straighten a good length of it and it turned out OK but it was a challenge. I then flared the ends and bent it to wrap from the rear of the car to the front next to the engine. I left a good length of rubber hose from the in tank pickup (lower left of the picture) in case I needed to drop the tank. In the second picture at the bottom you can see where the fuel line ends near the front left of the engine (where the mechanical fuel pump is on Ford small block engines). After the engine is in place there will be another rubber line connecting this to the fuel pump.


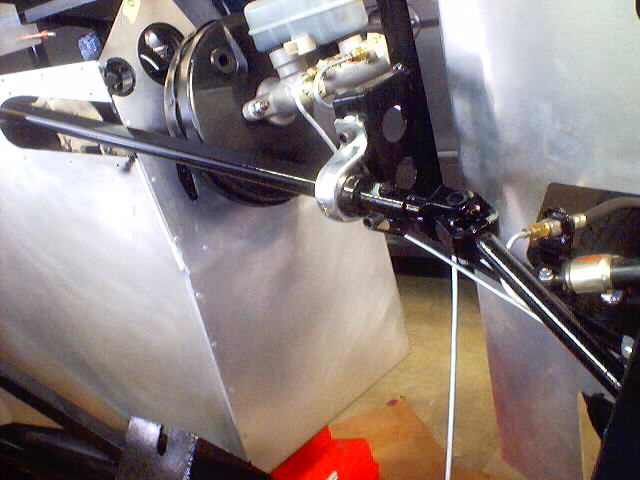
In the picture above is the brake booster (black thing in the upper right) and the master cylinder (top). The 3 brake lines running from this go to front left, front right and rear (combined). The rear brake line runs under the driver's seat on the 4" round main tube right next to the fuel line. In the picture below you can see where it ends up near the left rear at the distribution block (if you look close you can also see the routing of the fuel line along the lower part of the IRS cage). The distribution block splits the line to the left and right side rear brakes. The flexible hose goes to the left caliper and the hard line on top goes to the other side for the right caliper.
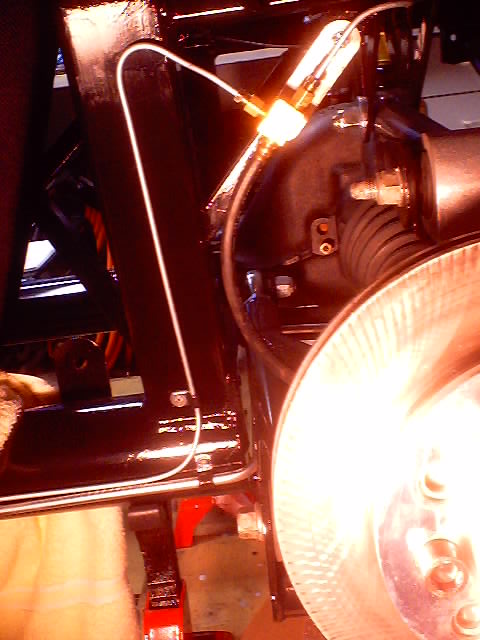
The next two pictures show the routing to the right rear brakes that goes behind the passenger compartment.
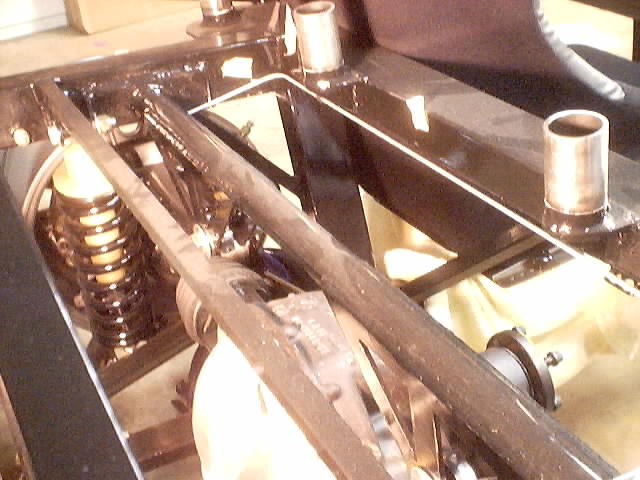
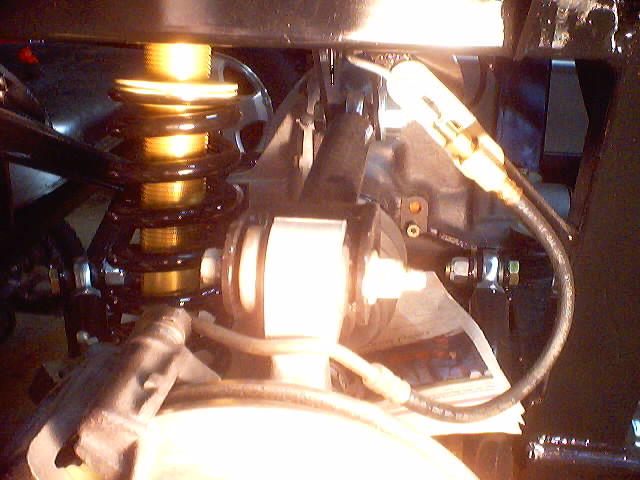
The front left makes just a quick hop from the master cylinder while the front right is routed alone the front of the front X-member.
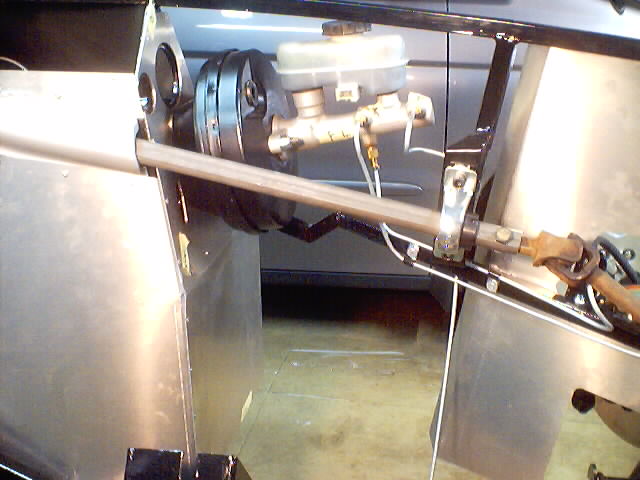
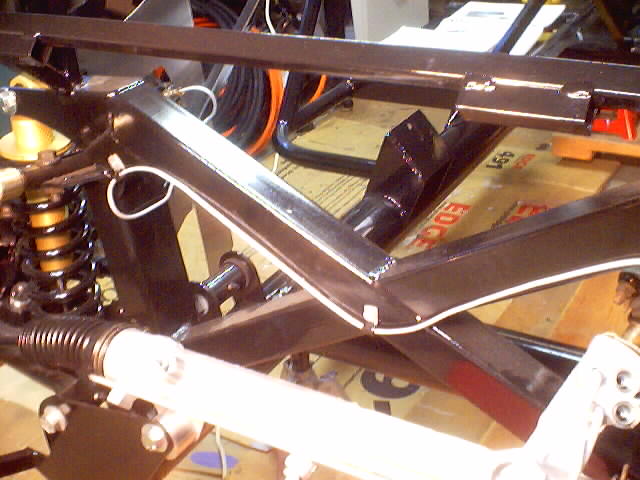
In order to finish up the footbox it is required to get the steering shaft in place and sorted out. Here's the same picture as above but it shows the steering shaft coming from the driver's footbox with the cover in place. The cover is the curved fiberglass piece on the left. I painted it with "alumablast" which is a special paint with quite a bit of aluminum flake in it to provide the appearance of cast aluminum. The shaft runs up through the front pillow block (a bearing in a thing that holds it in place) and into the stock mustang U-joint and finally to the stock mustang steering rack (can be seen in the picture right above) (yes I'm going to paint it all eventually, this is just a trial fit).

Here's a picture of the cockpit side. You can see the rear pillow block right behind the steering wheel. Notice also the "dead pedal" (i.e. foot rest) on the left. I fabricated a bracket to hook that in place as well as modified the clutch pedal so that I could get my foot past that pedal to the rest. It's worked out very well I think. Also take note of the silver knob just to the left of the steering wheel. That's the pull knob that controls the blast gate for the footbox vent (shown in the next picture.
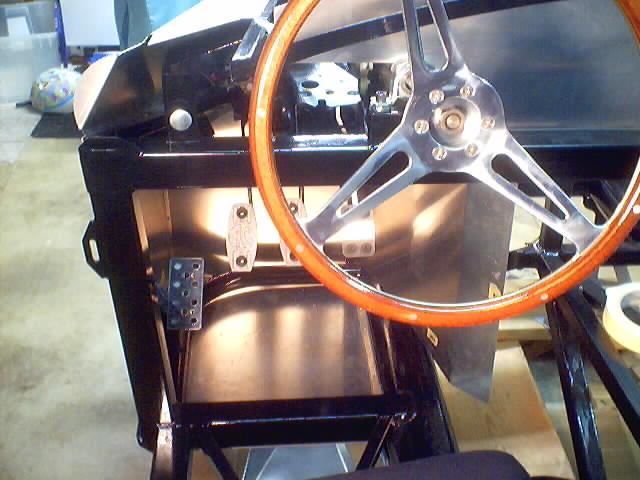
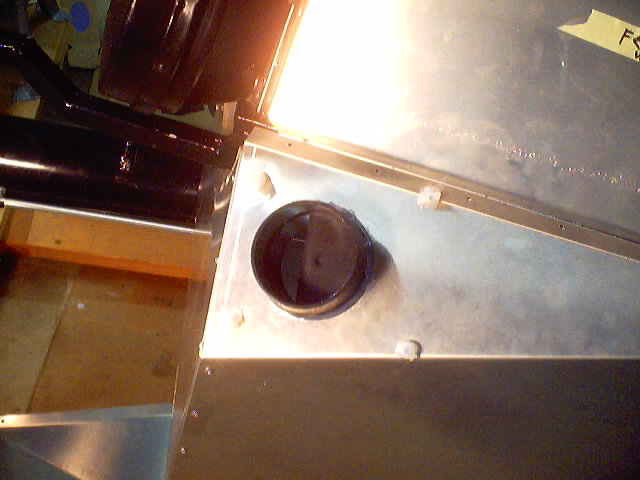
It's been a while since I updated the page, but some progress has been made. The passenger side footbox and air vent were next. Of course I complicated this by purchasing a different footbox that provides more room (it's longer and dropped down under the frame rails) and then chose to install the vent blast gate in a non-standard location. But with a bit of care and lots of test fits everything worked out just perfect as you can see in the pictures. (you may notice a piece of foam taped onto the corner of the dash support. My wife taped that there after the second time that corner drew blood on the top of my head)
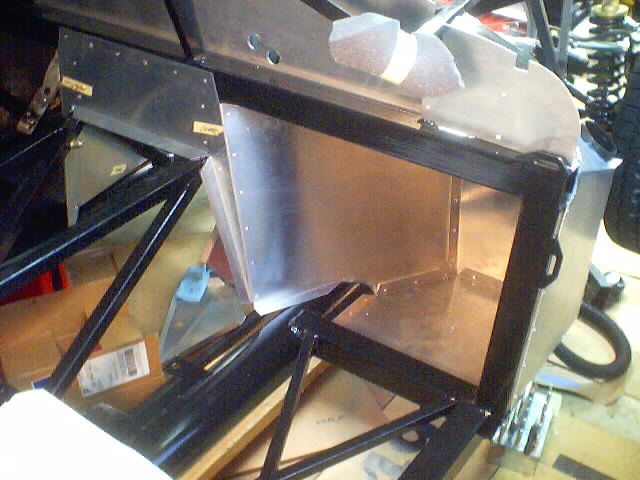
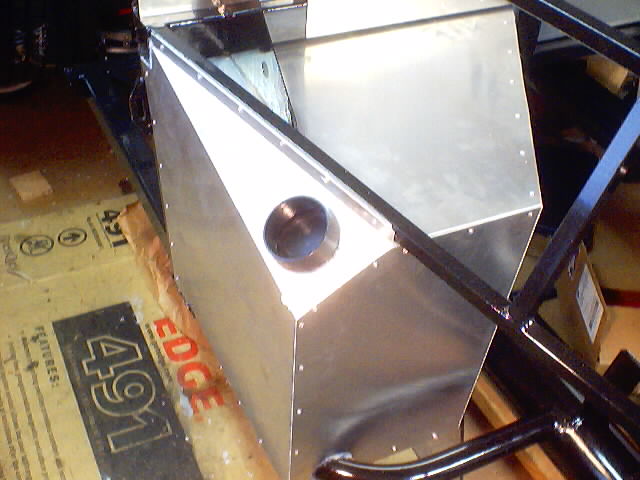
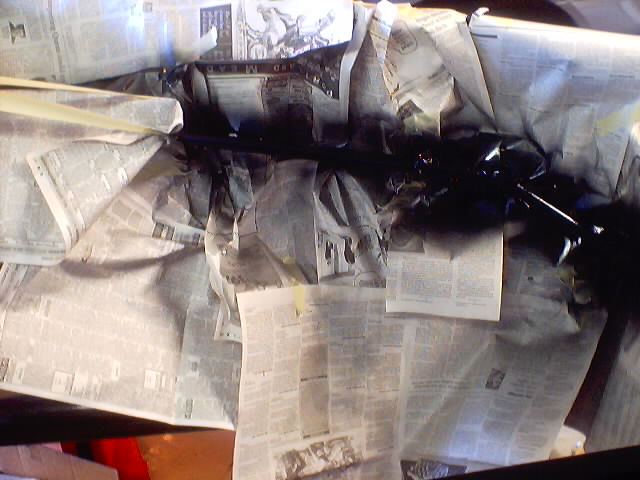
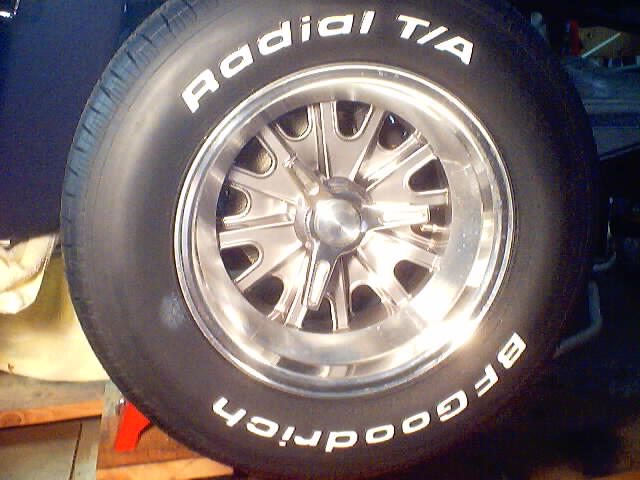
I also painted the steeringshaft (with comical amounts of newspaper for masking because I had to paint it after install) and purchased tires to go with my beautiful wheels. I think the steering shaft turned out very well and the tires are just perfect. Check out the pictures:
Go to Page 1 Go to Page 2 Go to Page 4 Go to Page 5 Go to Page 6 Go to Page 7 Go to Page 8 Go to Page 9 Go to Page 10 Go to Page 11 Go to Page 12