Bret's Cobra - Page 11 (Paint)
Body Work (Fall 2011/Winter 2012)
The
driving season is over and it's time to take it down for paint.
I've selected "Street Rod Painter" AKA Ken Pike and "Ken's Custom
Autobody" (streetrodpainter.com)
in Yuba City CA. He has extensive experience (hundreds of
roadsters) doing body and paint on FFR cars and knows all the tricks
and techniques involved in body and paint on these special cars.
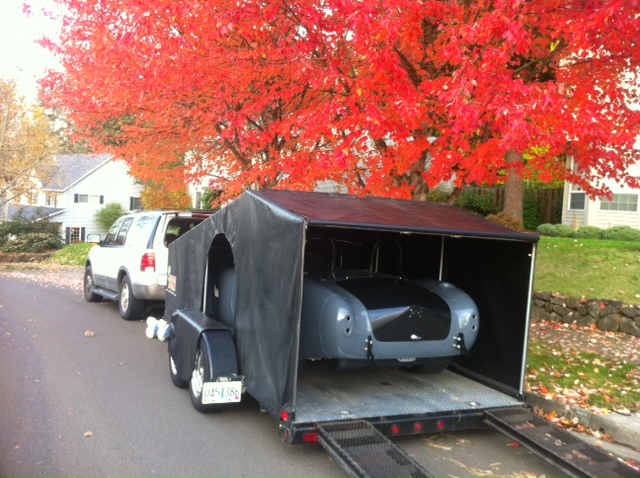
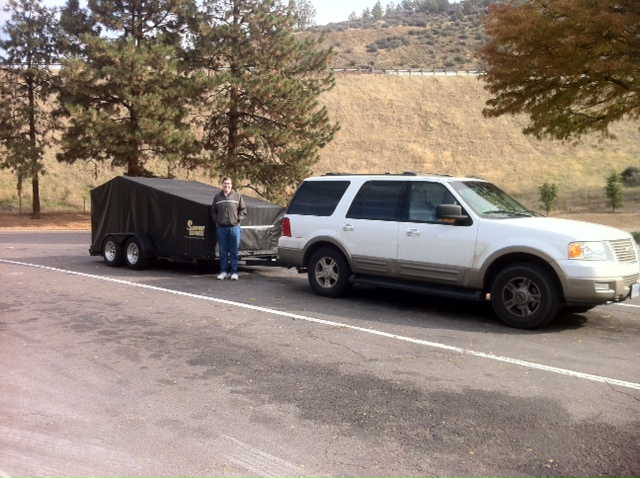
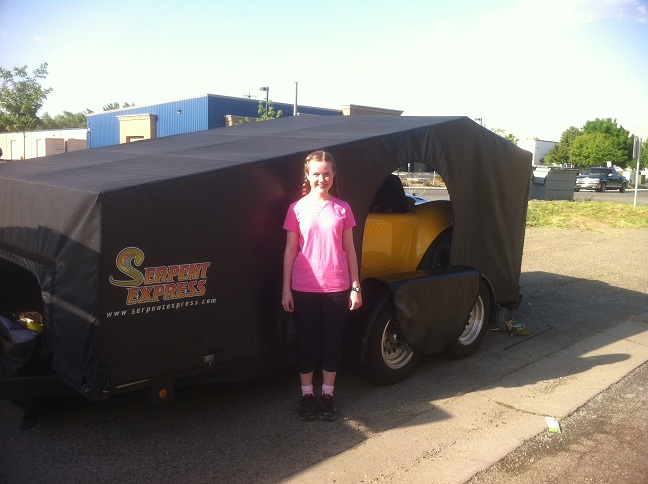
We borrowed a trailer from a local club member and trailered it
down one Friday and dropped it off at the shop. Ken even helped
us reweld a piece of the trailer fender that was coming off so we could
make the trip home. We had to stop in an the local Les Schwab to
pick up a new tire for the trailer and then we were able to make our
way back home that day. Here are a couple pictures from the trip.
 file:///C:/cobra/my_website/cobra12.html
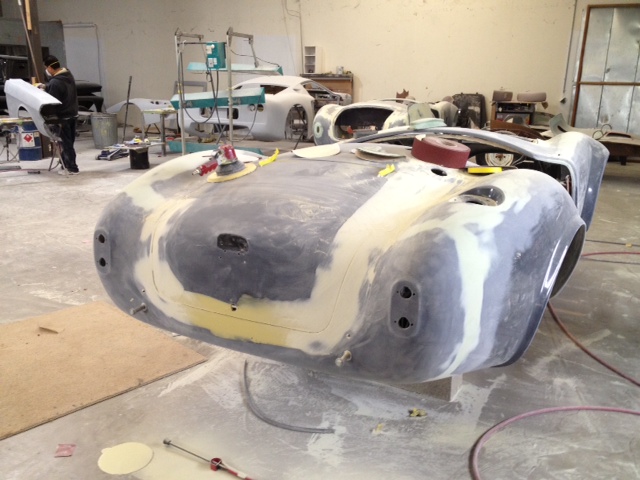
Here
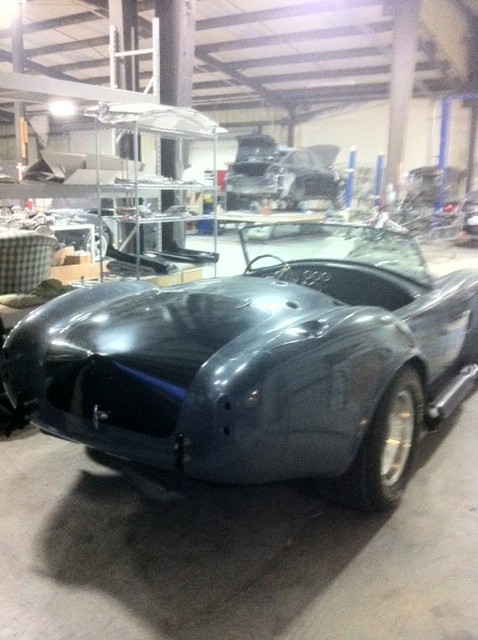
are a couple of pictures Ken sent me of the car in progress. The
molding seams have already been treated and all the panels have been
fitted to the body for a perfect spacing. It's making good
progress.
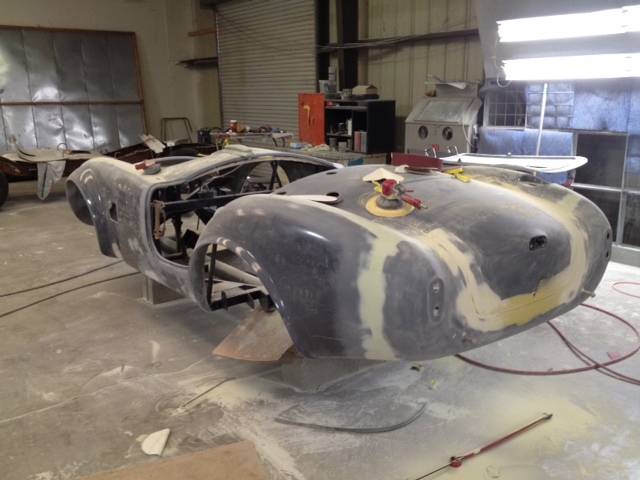
A
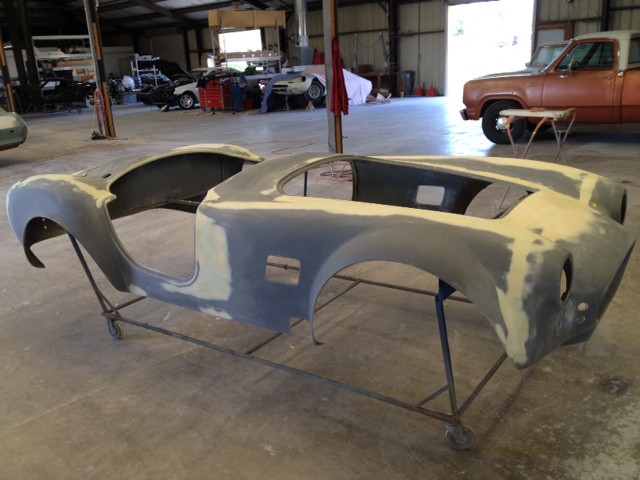
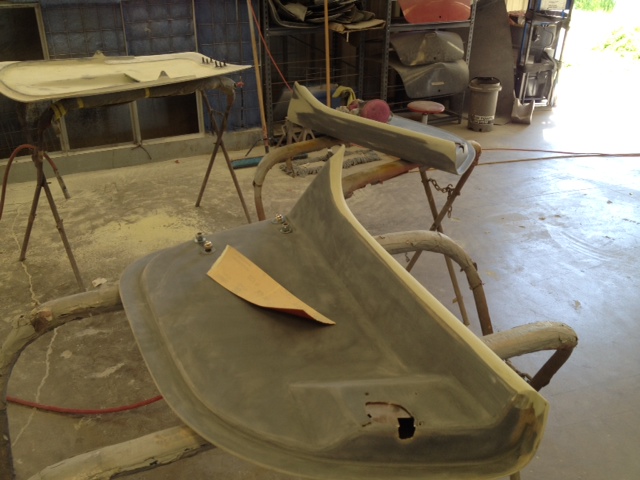
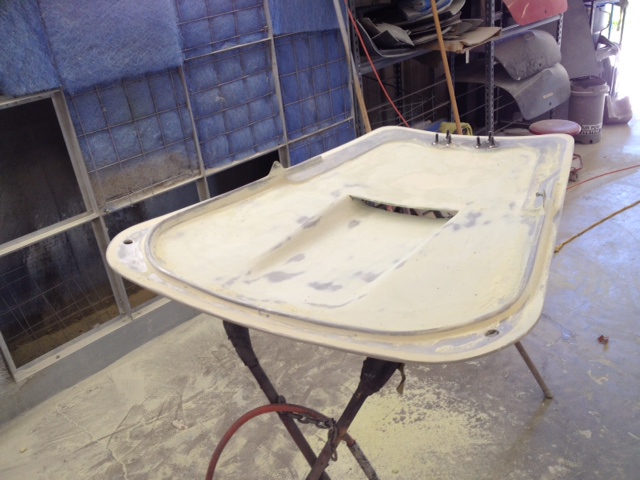
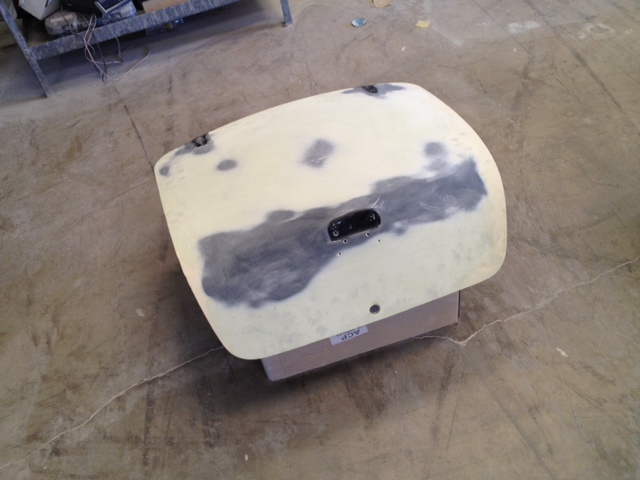
couple more weeks have past and most all of the body work is complete
(with a few more pictures). Now it's into the paint booth for
primer and smoothing then the start of the base coat. The next
pictures should have some yellow in them :-). A final date is set
for the pickup which is very exciting.
Paint (Spring 2012)
90%
of a good paint job is the body work and thus the amount of time spent
on getting the body panels to fit perfectly and the boyd perfectly
smooth. Near the end of the time Ken had the there was more
visual progress so he started sending more pictures. On paint day
he sent many pictures to show the different layers that went into this
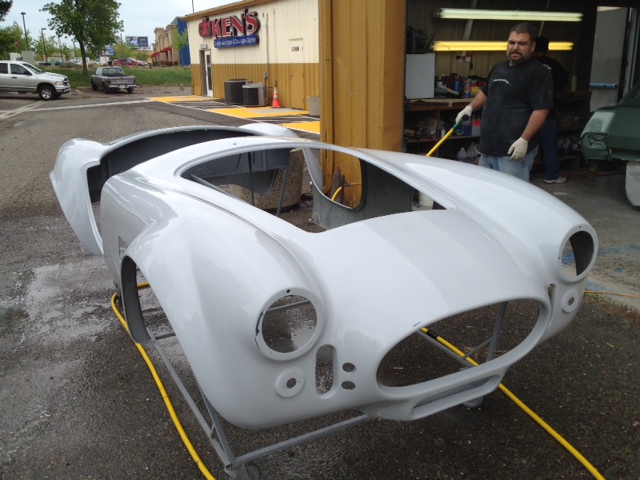
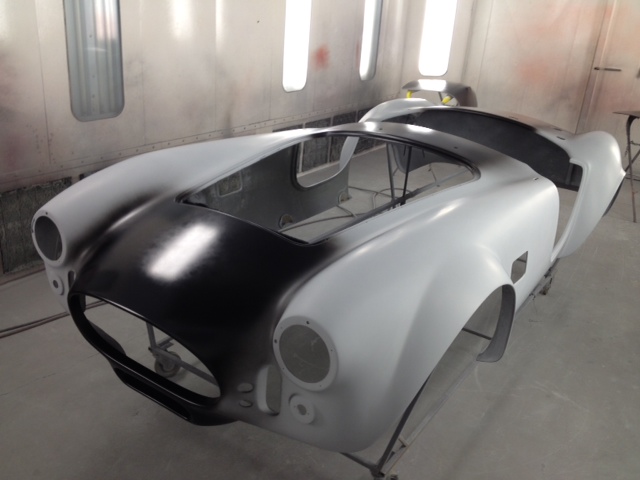
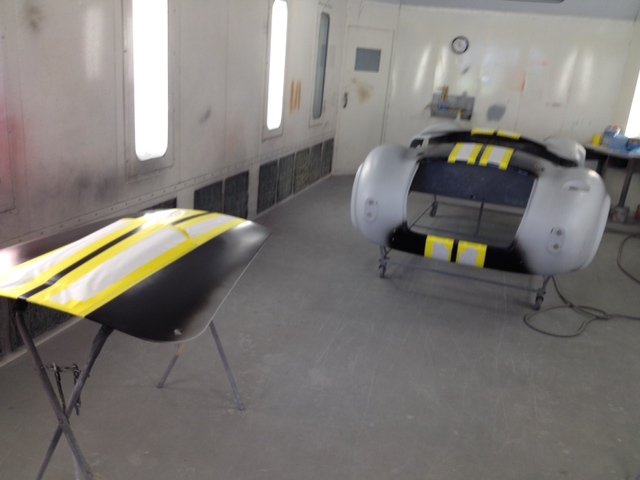
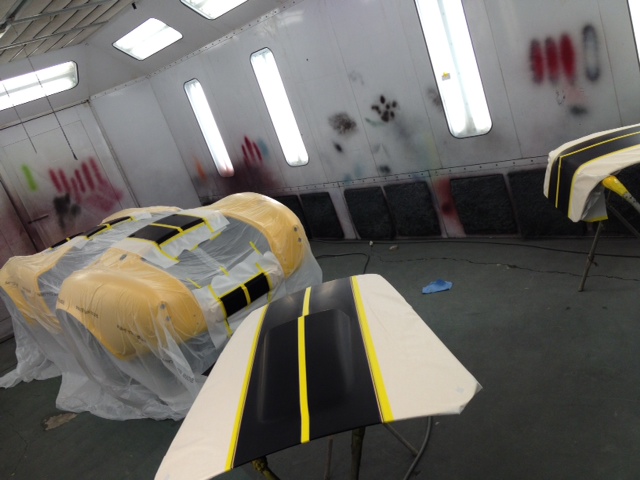
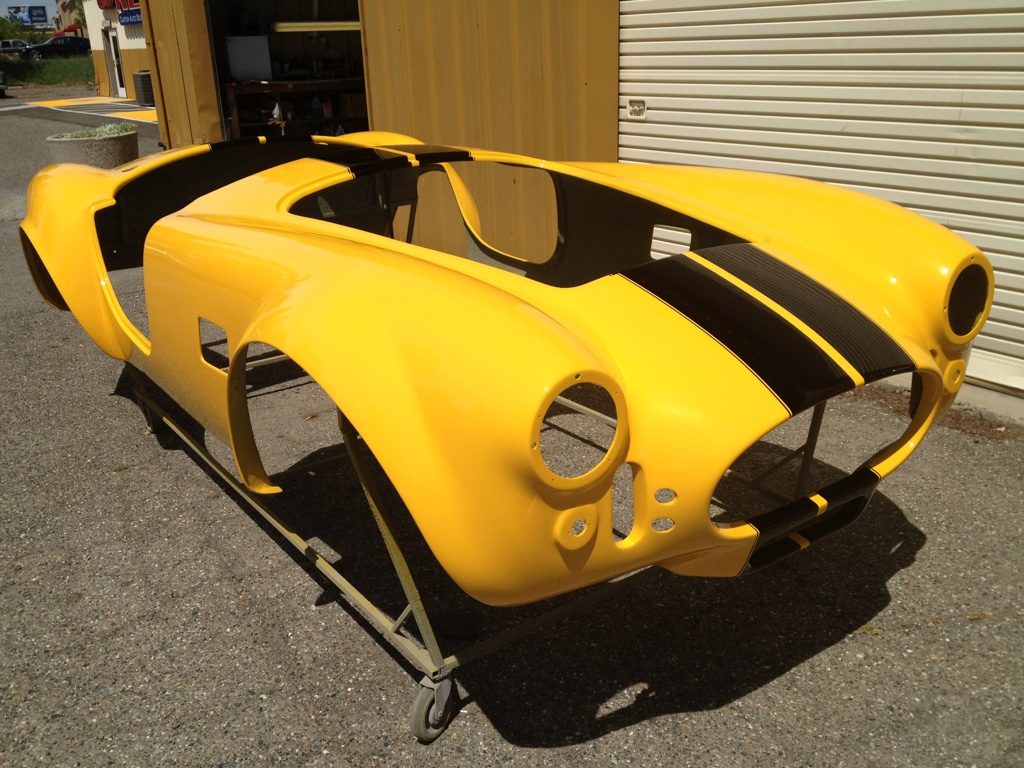
amazing paint job. The first is after the last work in primer and
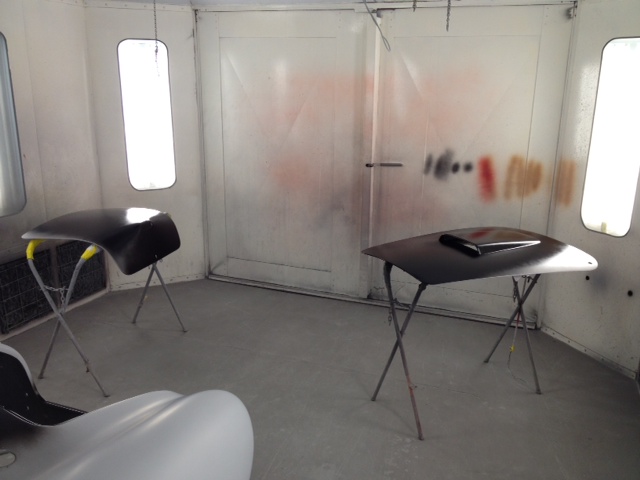
the body is perfectly smooth and ready for paint. They started by
painting the black for the stripes and then taped off the area of the
stripes.
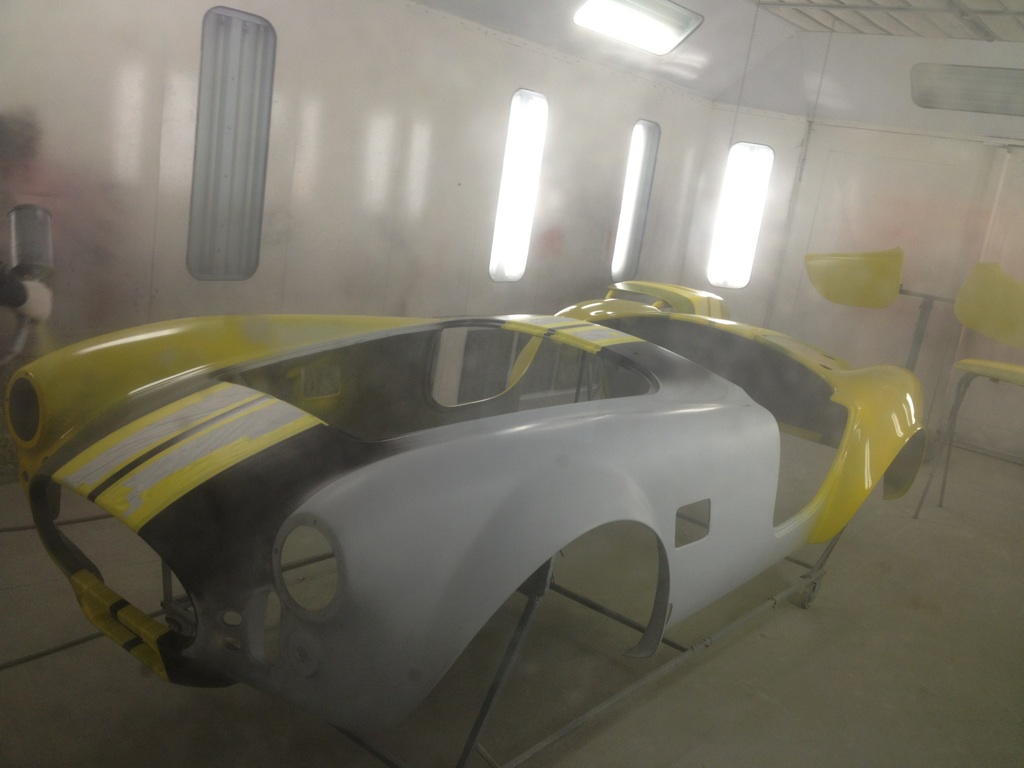
Follwing
that they painted the first stage of yellow and then the second stage
of the yellow (this Lotus color turned out to be a 3 stage paint job
with base/sealer, a translucent later to give it depth, and finally the
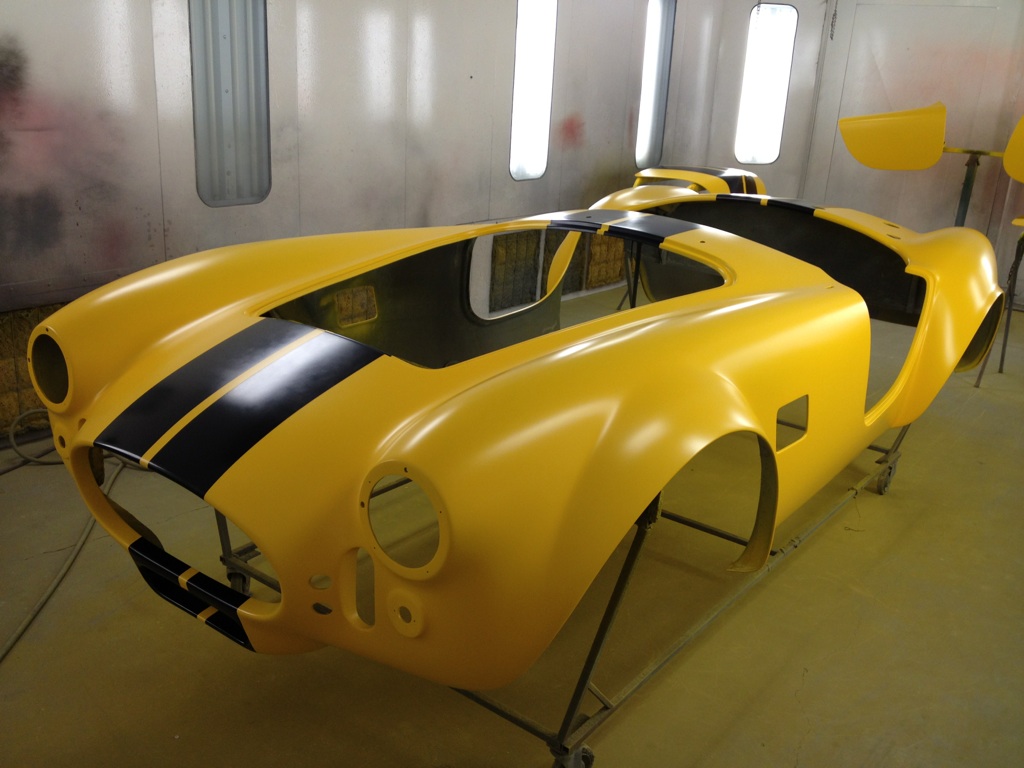
clear. He then put on a single coat of clear and realized that
the thickness difference between the black stripes and extra stages of
yellow made a bit of a step and so needed a second coat of clear in
order to help smooth things out. We also realized that the
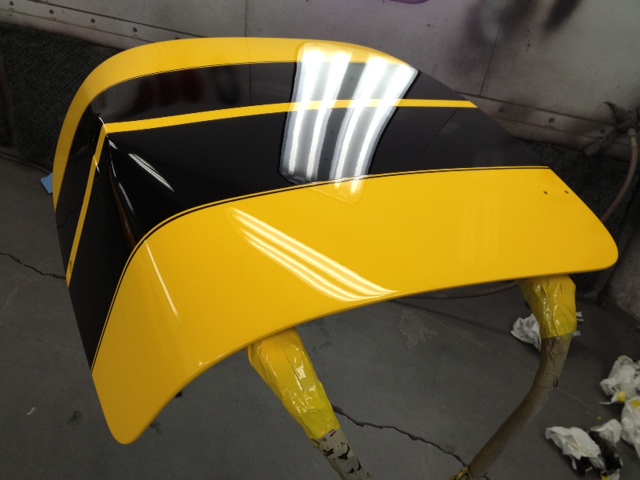
pinstripes had been forgotten in the confusion as they were a late
addition after drop off. Ken kindly offered to put on the
pinstripes and then do another layer of clear to seal it all in and
smooth out the steps around the stripes. Can't wait to see it in
person!
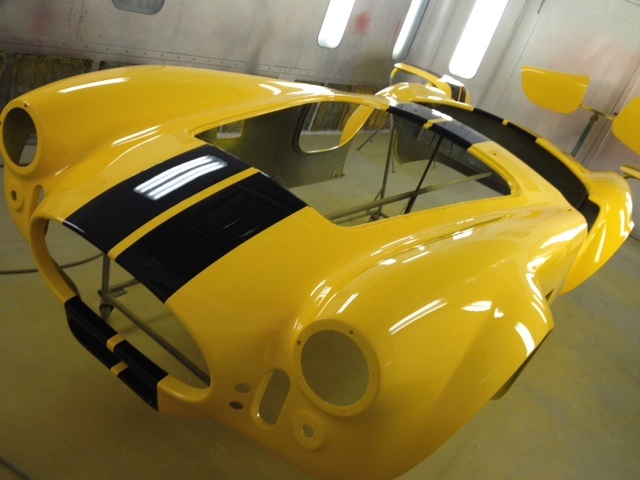
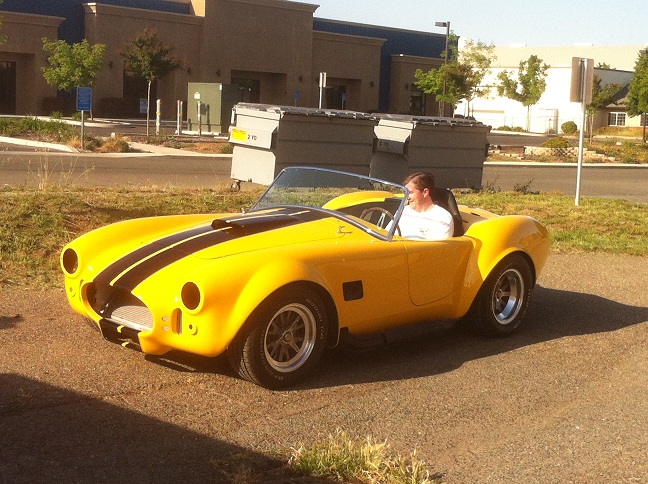
After
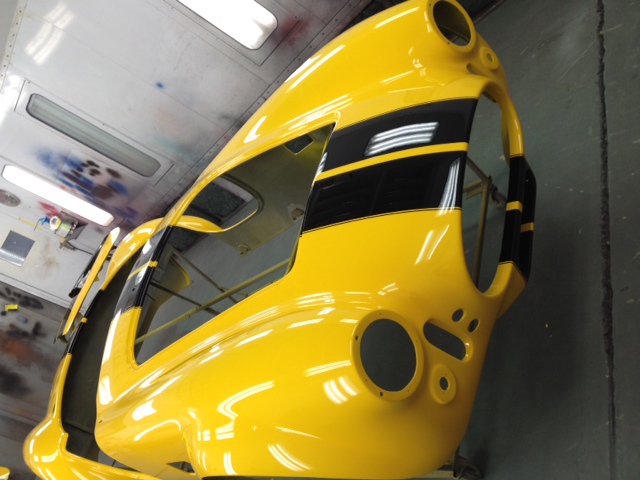
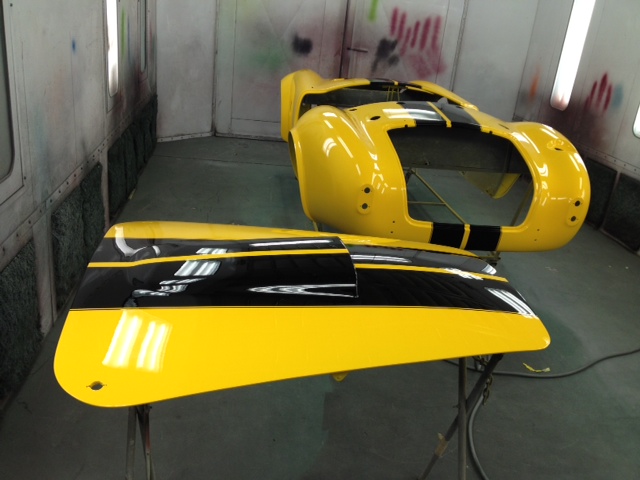
a weekend at the FFR show, Ken taped off the whole car off except for
the 1/8" pinstripes and sprayed black again. After another
clearcoat you can see how nice it looks out in the sun. There is
an undercoat to go on and then the sand and polish on the outside.
After that it gets mounted back onto the frame and the door, hood
and trunk will be fitted and aligned. Almost ready for pick up!
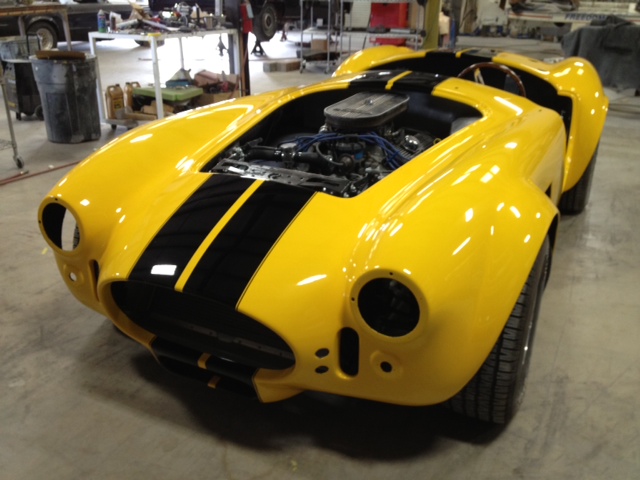
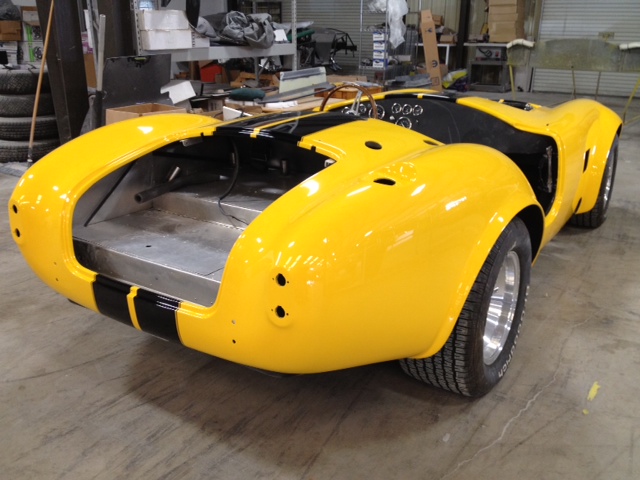
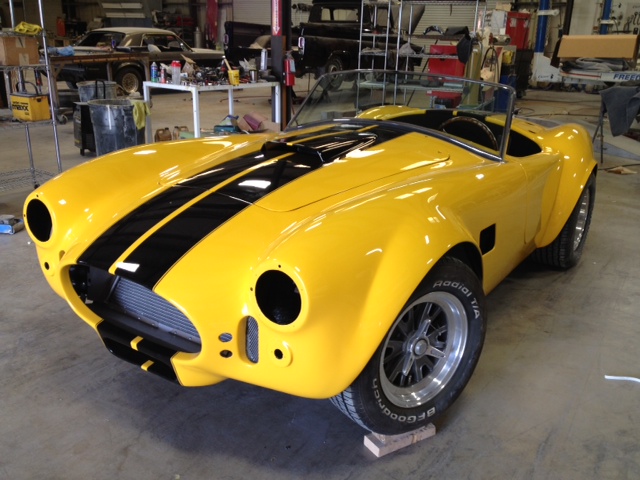
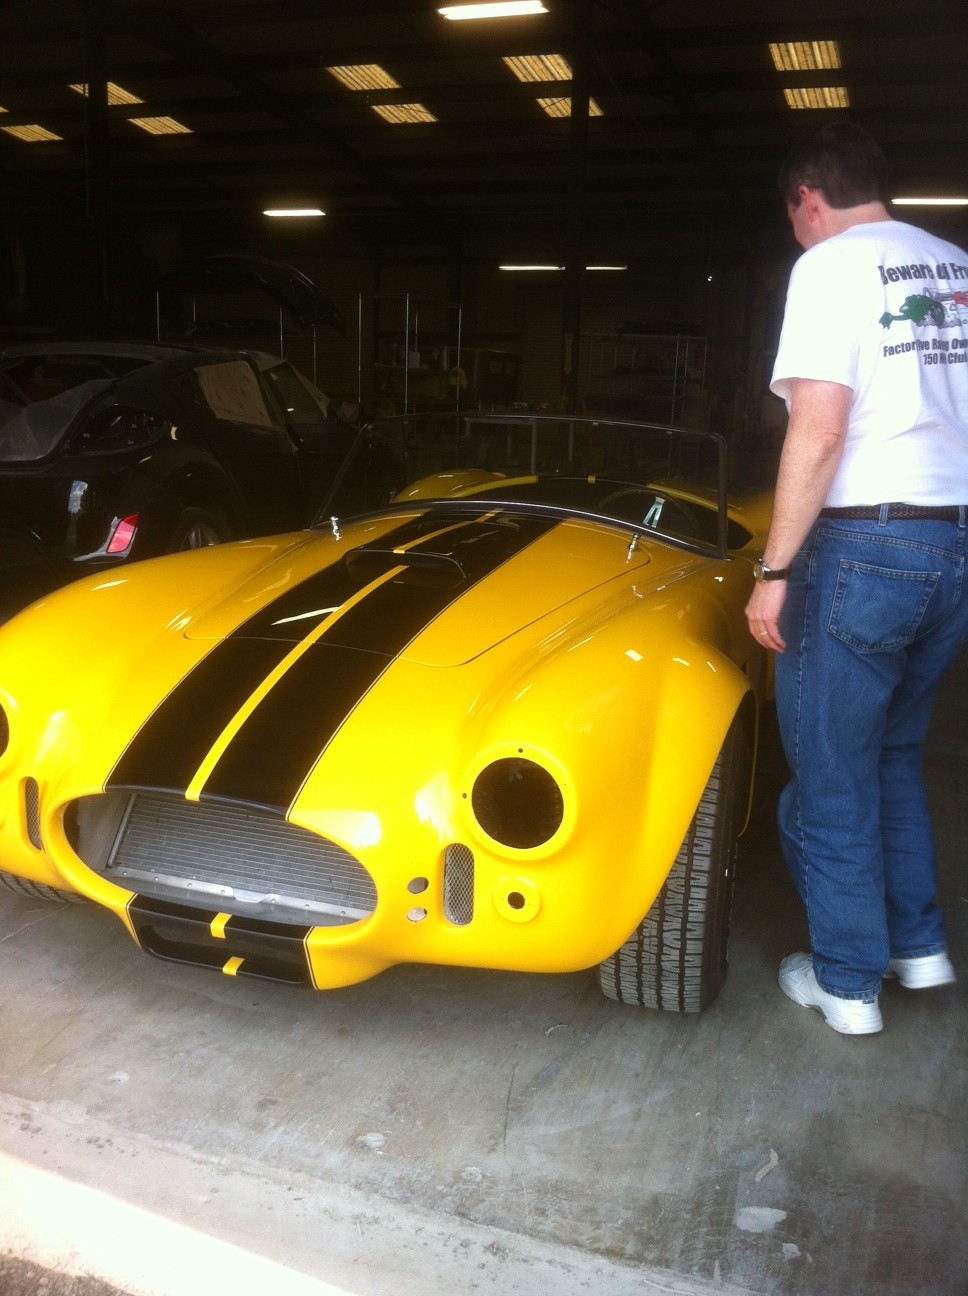
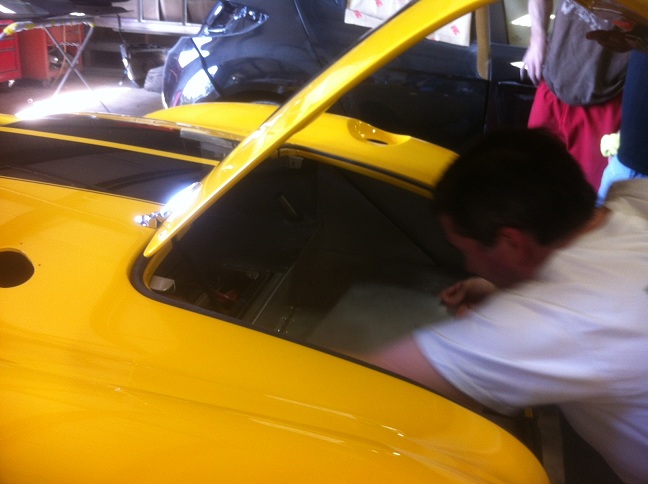
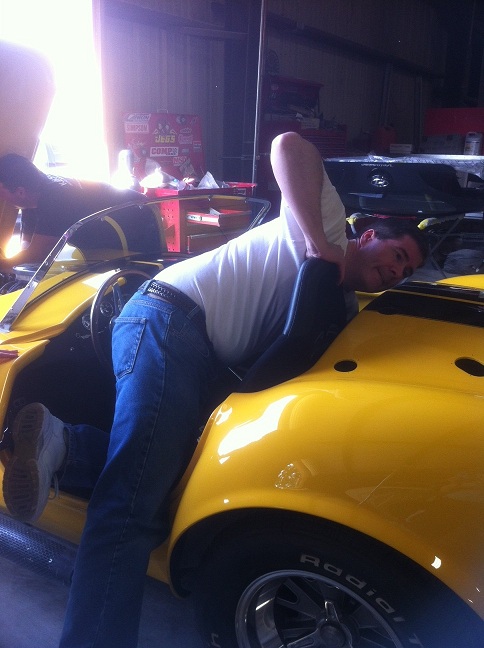
The
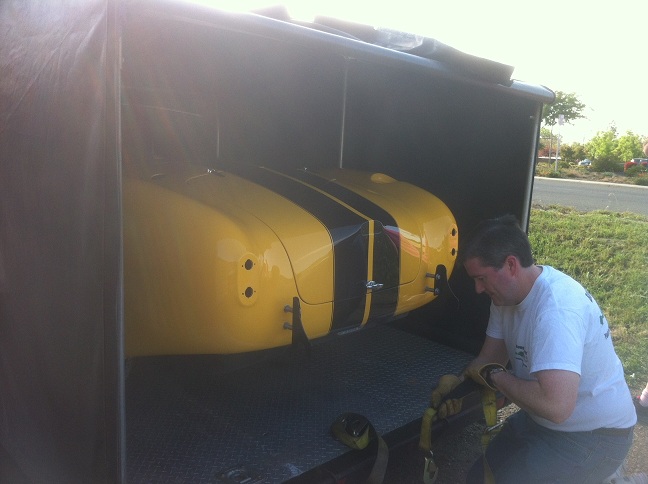
trip to Ken's to pick up the car went fairly smoothly. Don was
kind enough to loan me the same trailer and we did a similar 2 day trip
to pick up the car. The only hitch was that the battery was dead
after sitting for that long. But with a jump start it started up
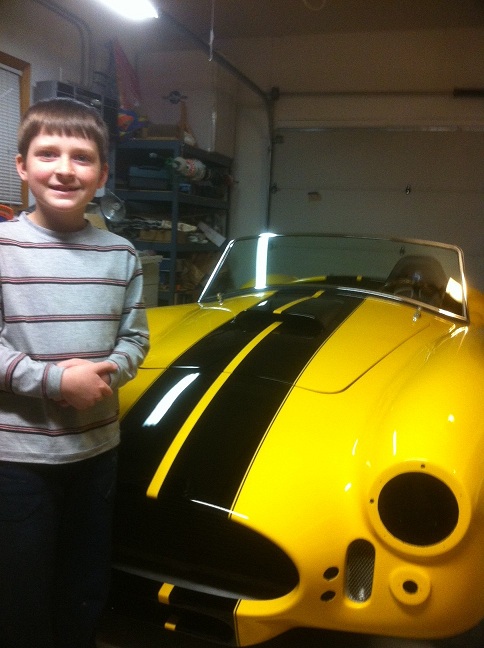
and we packed it up on the trailer and headed for home. It is now
at home in the garage waiting for me to have time to finish the
reassembly. Here are some pics with the body back on the car and
from the trip home. This summer I'll make a point to get it out to some
perfect picture locations and get some great photo's. I also have
some video from the pickup that I'll get posted soon.
Go to Page
1
Go to Page
2
Go to Page
3
Go to Page
4 Go to Page
5
Go to Page 6
Go to Page 7
Go to Page
8
Go to Page 9
Go to Page 10
Go to Page 11 Go to Page 12


