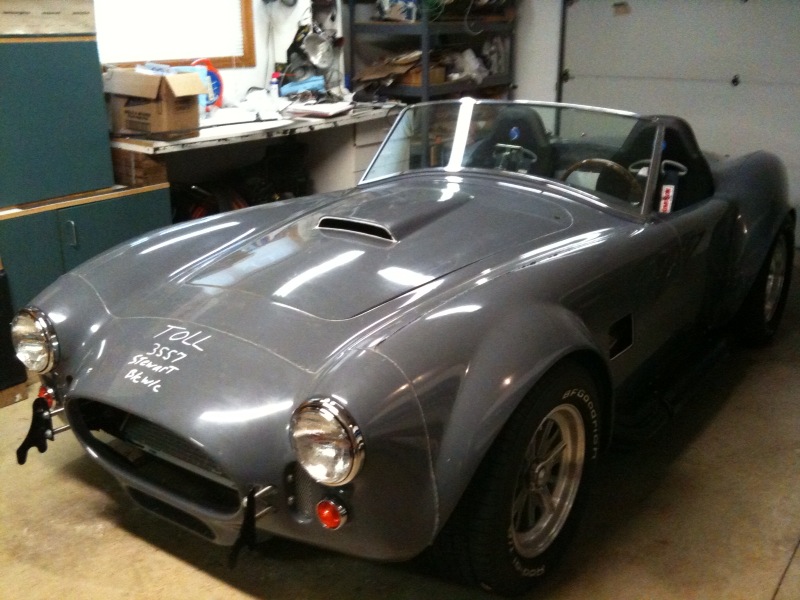
Check out the pictures of the completed lights. My kids
walked out in the garage after the lights, doors and windshield were in place
and said, "Dad, it's really starting to look like a car."
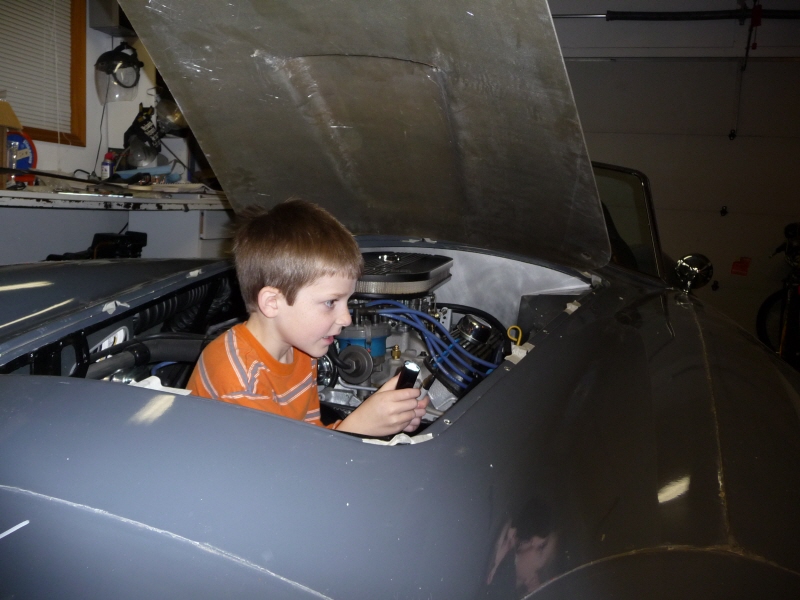
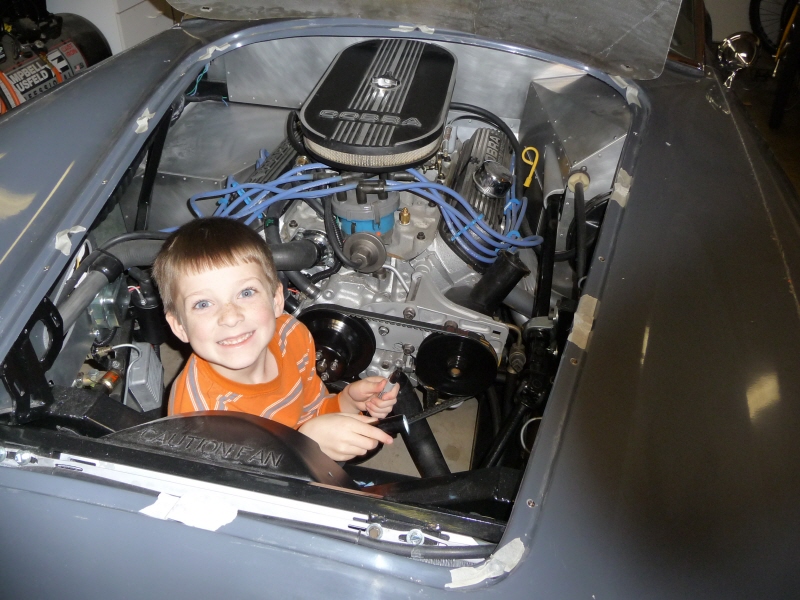
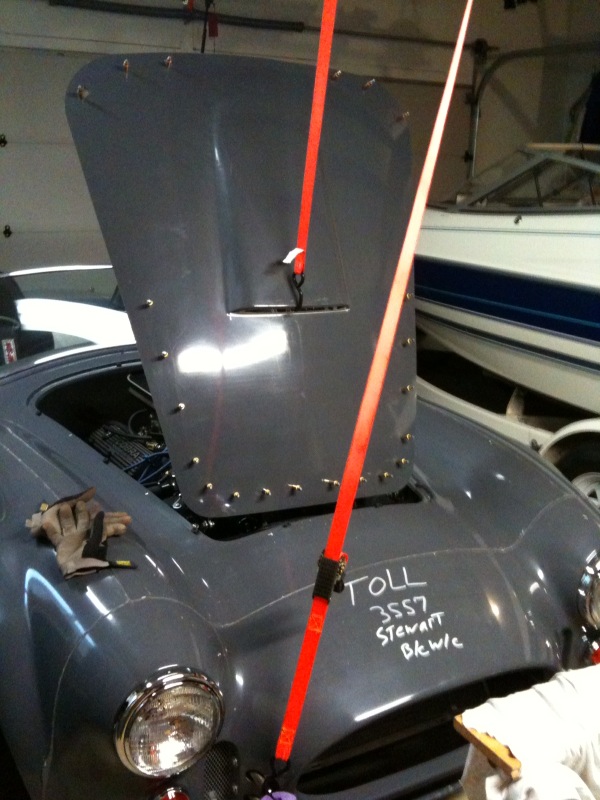
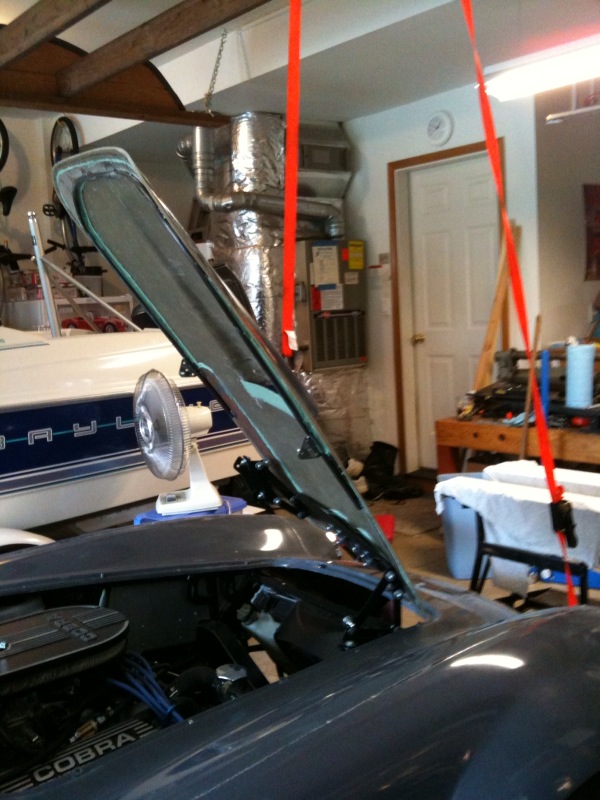
It seemed like everything could line up well so it was time to get to the hard part. The best way to mount the metal hoop to the fiberglass hood is with some very strong (and expensive) Marine epoxy. The stuff dries in around 15 minutes so it must be applied quickly and it needs to stay above 60 degrees (which is difficult even with our mild weather). I had a space heater running right beneath the hood but it kept things too hot and the epoxy dried too quickly making it difficult to work with. After mixing up a few batches and working hard to get off any excess with a hammer and chisel (did I mention that it dries quickly and becomes very, very hard), I used the strap again for another test fit with the hoop glued in place. (The epoxy is that light blue/green stuff). One thing I'll caution everyone about is that this stuff has a very strong smell. I was wearing a gas mask and had no problem directly, but I didn't think to turn off the furnace while working with this stuff in the garage and it pulled in an amazing amount of the smell which caused quite a nightmare (but that's a different story).
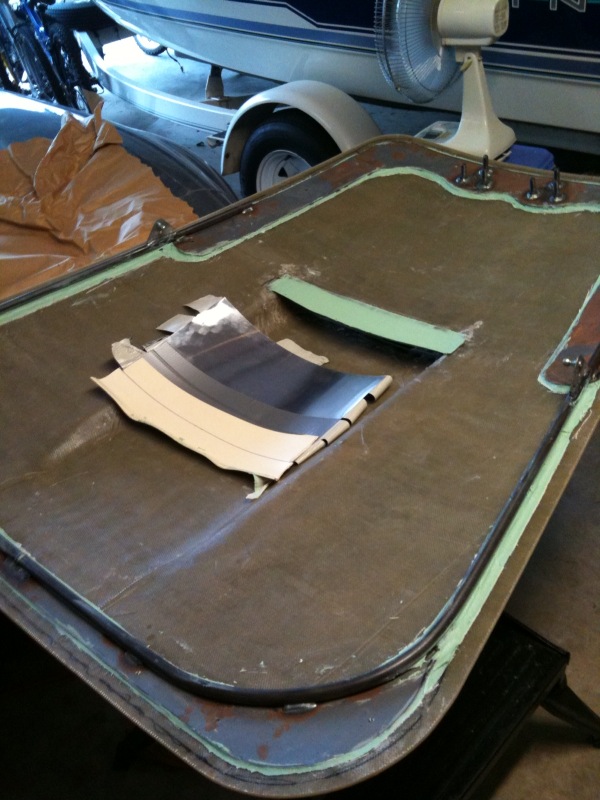
One other thing I did while working with this nasty epoxy and the hood, was extend the hood material under the scoop a little ways. One common complaint about these hoods is that the scoop opening is simply a cut slice, so the front hood edge lines up vertically with the front of the scoop. While it hasn't really annoyed me, it was easy enough to fix while I had this goop out that I figured I'd fix that as well. A trick I learned from another builder was to get small piece of vinyl edging (like for bathrooms) and tape that, with some metal backing for support, through the scoop, extending the lower surface of the hood and creating a mold with a curved back edge. Then just fill this from underneath with this epoxy and you now have an extended hood area under the hoop.
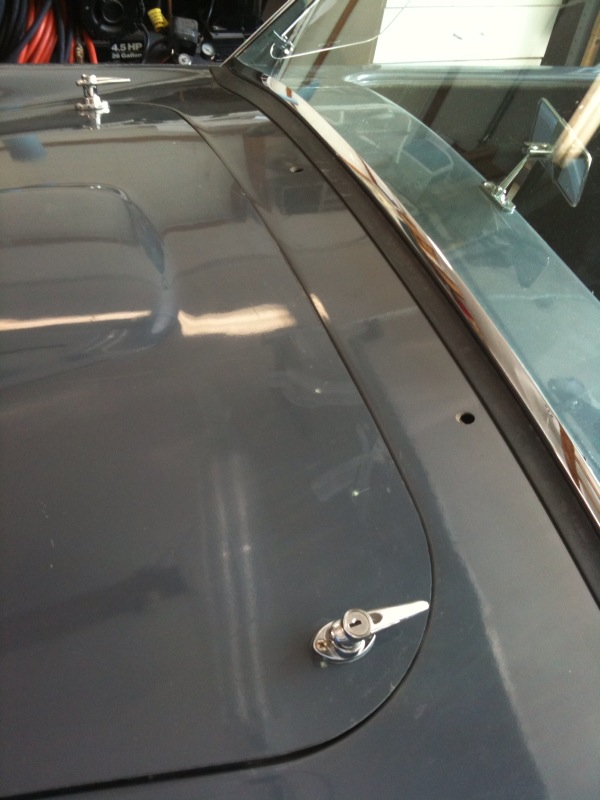
After getting the hood installed on the hinges, it was time to put on the locking latch handles. It was pretty straight forward except that the footbox for the driver has sheet metal up pretty high for covering the pedal box and much of the electricals and it made it very tight for the shaft of the latch. But it all fit in fine and seems to function quite well (the hood hasn't popped up on me yet). There is still some adjustment work to be done to get the hood to fit well, but at least it's in place and functioning.
Running out of gas: The first thing to do now that it was road legal was to head to a gas station and fill the tank. I had put in a couple of loads from the lawn mower's 2 gallon gas can, but it had done quite a bit of idling and adjusting over the months so I knew the tank was trending toward empty. My son wanted to ride with me to the gas station so we loaded up into the car. I was very nervous about the trip because it was by far the farthest it had driven and I really wasn't sure that it would make it without problems. But It started up just fine, but I was surprised when after backing it into the street the engine just died and would not restart. We got out and pushed it back into the driveway and I took the gas can to the station in one of the other cars and put another couple gallons in the tank. It started right up after this and we made a problem free run to the gas station.
Exhaust Leak issues: With the car this close to complete I did quite a bit of driving. At the superbowl party this year I gave rides to nearly 20 people and put about 50 miles on the cobra. When there were nice breaks in the weather I drove it quite a bit and now have over 100 miles on the clock. After driving these miles the exhaust header bolts loosened up and allowed the gaskets to blow out. I knew there was a "bit of a leak", but I hadn't realized how many issues it could create so I chased a red herring of some kind of ignition issue that I thought was at the root of the rough running. But it turns out that it was just the exhaust leaking at the headers causing the poor running issues. Some new "Remflex" gaskets and locking header bolts (and some scraped knuckles) seems to have taken care of the main problem. There still may be some leaks around the header to side-pipe connection, but I haven't addressed this yet.
Sorry, no pictures of these fun events. I really need to get a new video of driving around now that it's road legal :-)

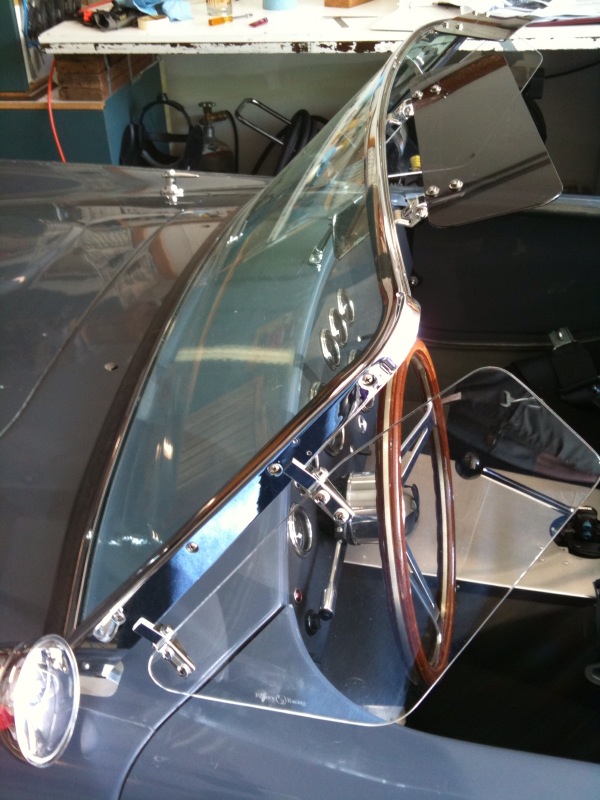
After quite a few trips around the neighborhood and nearby 45 MPH streets I felt confident enough to run it up to 55 on some nearby country roads. Everything worked perfectly and it was a fun drive, but it became apparent that the wind can start to get pretty bad at highway speeds in this open top roadster. I had earlier purchased some wind wings and sun visors because of advice about this particular issue. The install of these items went pretty smoothly and the only issue was with slight interference with the doors and the wind wings, but that was easily solved. The clamp method of installing the wind wings is much easier than the older style of screws into the windshield frame with much less risk of cracking the windshield. But it does have the downside of leaving marks in the post where the screw tightens down.
I also forgot to mention the Mirror installation earlier in the winter. The center mounted mirror actually screws through the body and into the frame with some nice spacers. It's surprisingly useful even though it is mounted so low and the vibrations don't seem to be too bad. The drivers mirror mounts on the fender near the windshield, but this places it so far away that the small mirror becomes nearly useless (too narrow a view). To solve this I purchased a small convex mirror and with some simple double sided tape stuck it to the original mirror. The end result looks completely stock and makes the mirror far more useful. I think the end result is quite nice:
Go to Page 1 Go to Page 2 Go to Page 3 Go to Page 4 Go to Page 5 Go to Page 6 Go to Page 7 Go to Page 8 Go to Page 10 Go to Page 11 Go to Page 12