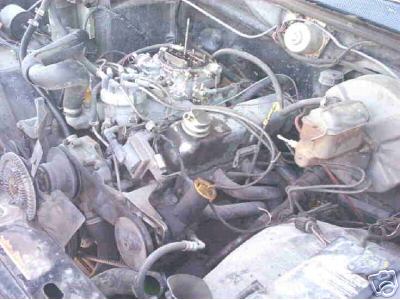
I've been following the classifieds and ebay for quite a while watching for engines and just happened to run across an engine in a F150 that was still running ("excellently") and it had a new edlebrock carburetor and intake. It looks like the owner had put on headers as well and reportedly maybe a mild cam (I don't know). A repair/junkyard place was selling it after they replaced the differential but the owner never paid for the work (so they're parting out the car to recoup the loss). He's throwing in all the accessories (alternator, power steering pump, water pump, starter) and the flywheel. For $450 bucks plus $182.51 shipping (from Montana) it didn't seem like I could go wrong. Here are pictures while it's still in the truck.

Now I just need to run some tests (compression and leak down) to see what work it needs.
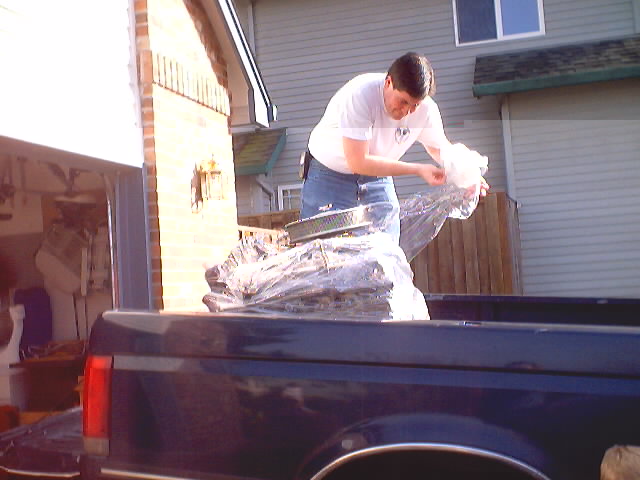
Well, the engine finally arrived and I fortunate enough to call a day earlier to find out it was already at the shipping terminal and they had planned on brining it to my house assuming I had a fork lift. I borrowed a friend's pickup and drove it home. With a little work I managed to use the (also borrowed) engine hoist to get it, still on the pallet, out of the pickup.
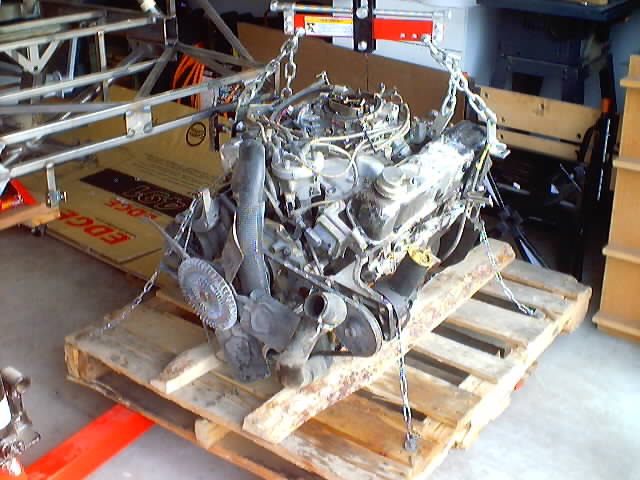
It's harder than it looks to get the engine up and attached to the engine stand. It needs to be level to bolt up well but with all the accessories on the front of the engine I couldn't get it to hang level. With some work and a 2x4 as a brace I managed to get it level enough to thread all the bolts and tighten it up. My mind was reflecting back to my "static forces" class as I was releasing the engine hoist...... ~650lb of force at the center of gravity of the engine, all supported by about 20" of lever arm, totals up to more pressure on the lower angle of the engine stand than I wanted to consider... I think that would be 2200 ft-lb of torque on the lower joint...
April 2004
Over the past weeks when not doing more exciting things like moving engines and things, I've been sanding and painting the frame. It really needed sanding to get a good surface and to get the layer of grunge off of some of the larger tubes. Here's some pictures of the frame when it was completely coated with primer. The black gloss is going on now and it looks great and I hope it's durable.
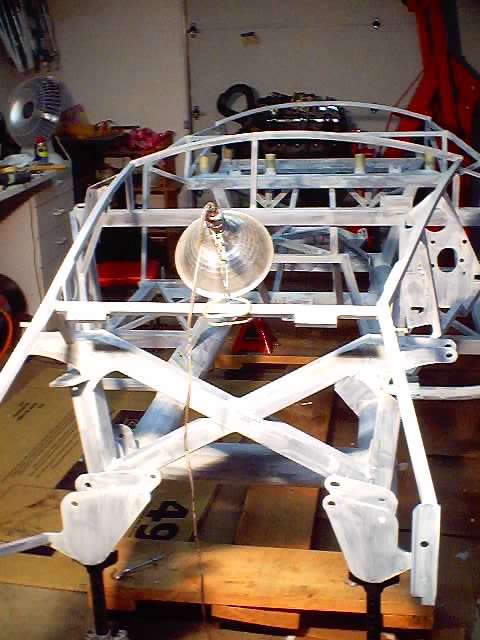
After many, many hours of frame prep, it's finally complete. The gloss black went on fairly well and looks good. I also put some "wax-oil" type rust protector on the inside of the frame tubes where I could. It's a spray in oily stuff that fills in the cracks and coats to a waxy film so it stays in place and protects the frame pieces from rust. I also discovered that when spraying through a horizontal tube the stuff travels a long way. I was spraying from one side of the car and assumed that it wouldn't go more than a couple feet, but was surprised to discover that it has sprayed all over the side of my wife's min-van. Ooops, I had to wash the van quickly but it doesn't seem to have left any marks.
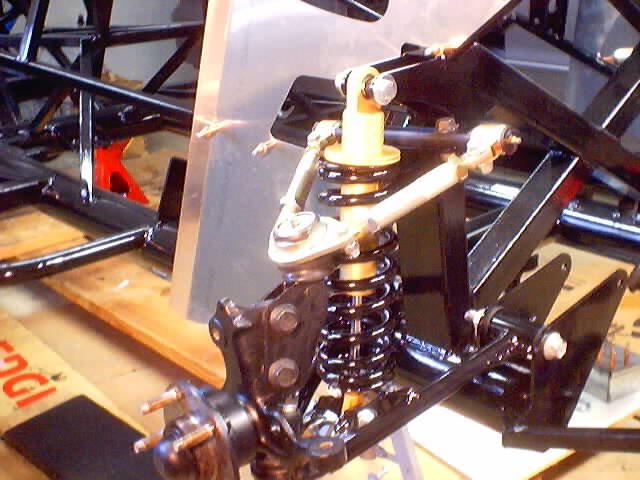
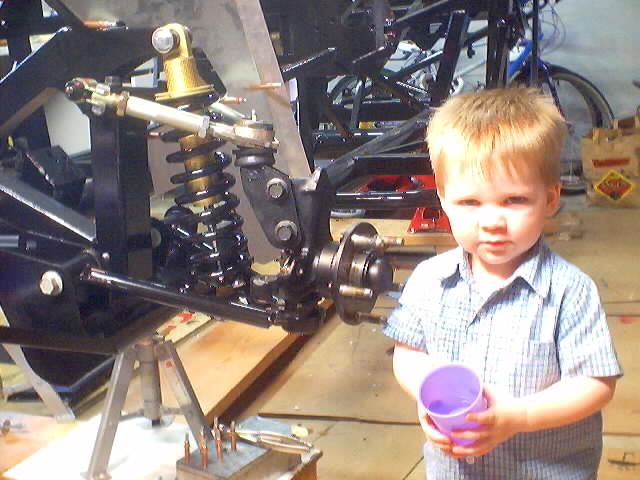
Final (hopefully) Front Suspension Assembly
It's been a long time since I was able to work on the car (big family vacation, trailer prep, busy at work....) but I've been able to spend enough time to do the final bolt on of the front suspension. At least I hope it's final. It all went together without too much of a problem, just a few assembly ordering issues that I didn't discover in time. I also drilled the holes for the aluminum "F" panels that go right behind the front suspension. I'm using Cleko's to hold them up now (temporary rivets) because I might want to remove them a few more times during brake assembly. Here are the pics (one even includes a helper :-):
Steering Rack and front brakes
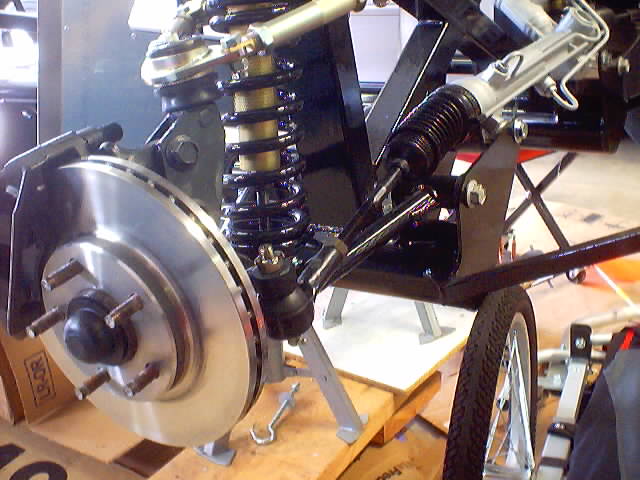
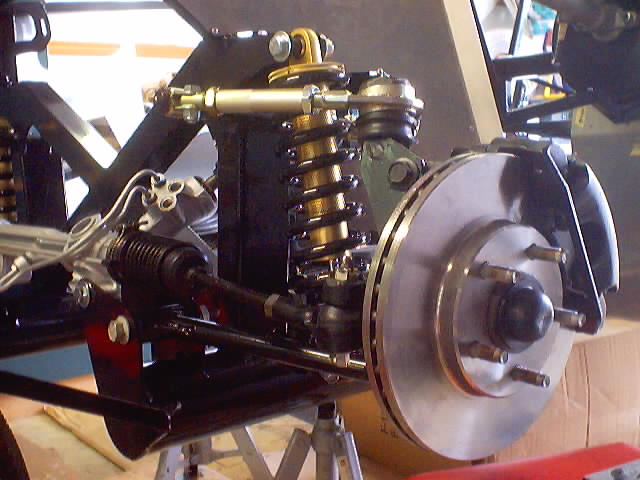
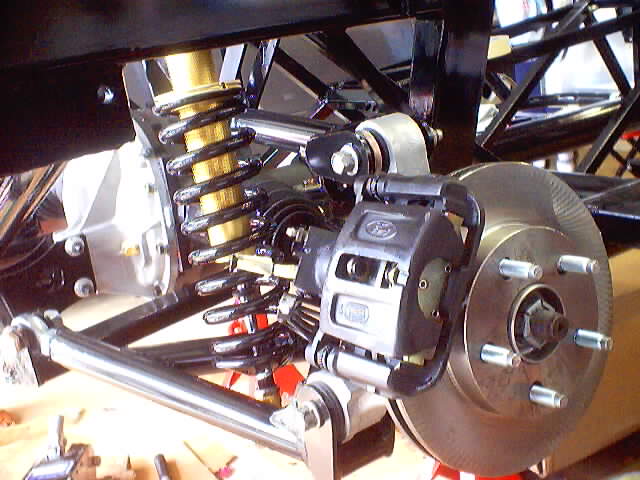
The next thing to go in is the steering rack. It went in without much fuss but I did have to order some different tie rod ends because the ball joints on the ones from the junk yard were rusted beyond repair. I also purchased some high temp black paint and made the junk yard brake calipers look nice. The front calipers came from a 96 Mustang in a junk yard and were in nice shape just a bit dirty. I needed brake calipers from a 94 or new mustang to work with the 95 mustang spindles. These are new rotors for a 95 mustang. In planning this setup I've become quite an expert on all the different parts of mustangs and what is different between which years. just let me know if you have any questions :-). Here are some pics of the front end after all this was installed:
Independent Rear Suspension and brakes
I then installed (with the help of my wife) the rear differential from a 91
Thunderbird SuperCoupe. Followed by the rear suspension components
(supplied with the kit) and the T-bird axles after I'd replaced the shaft with a
shorter one supplied from FFR. I also cleaned and painted everything
so it looked nice. I had Stu (another FFR cobra club member from
Vancouver) convert the T-bird hubs to the correct bolt pattern to match the
front and the wheels I want (5 on a 4.5" circle) and then I used a die grinder
to slightly enlarge the holes in a new set of rotors so they would fit. I
did the same reconditioning on this set of old T-bird brake calipers as the
front and I used my new 12-ton press ($20 at a garage sale) to press out the old
an in new bearings on the T-bird spindles. All in all, I think it turned
out beautifully and will work quite well. Here are some pics of the rear: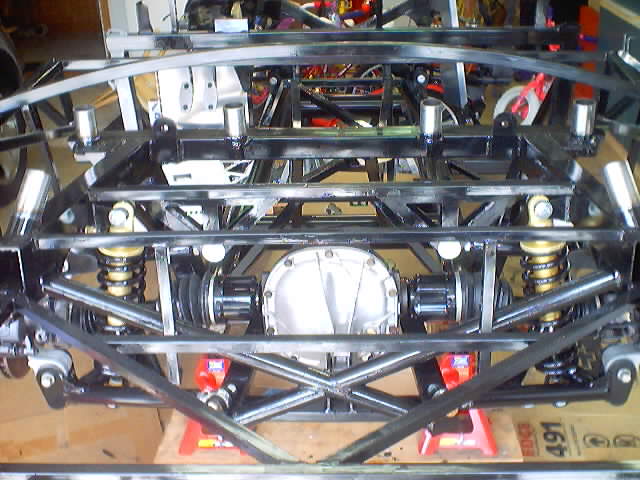
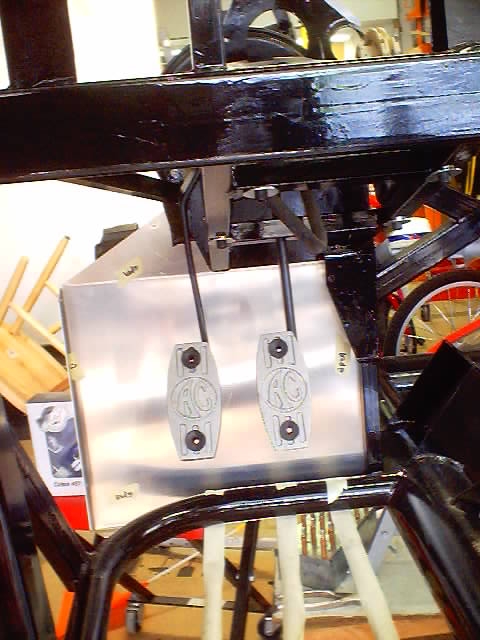
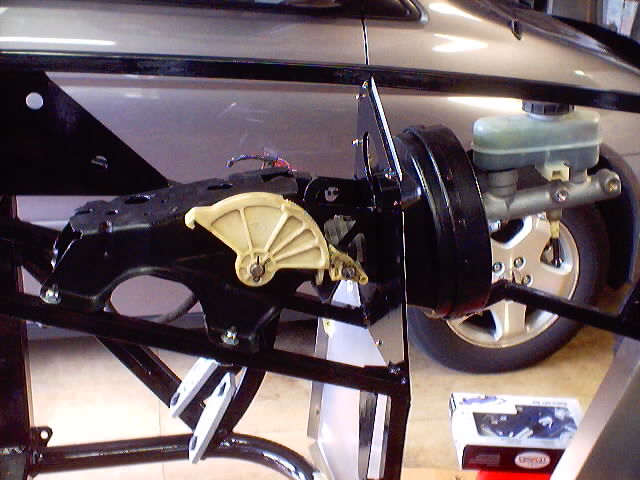
I also worked on mounting the new "AC" pedals in place of the stock mustang pedal pads. I decided to mount them to the left of the shafts to provide a bit more space between the pedals. I trimmed the mounting "hump" on each of them to be nice and square and for the clutch pedal I cut the "hump" to match the angle of the pedal shaft at the mounting point (I wanted to keep the pedals close to the height of the mustang pads). Then I drilled a hole through the mounting hump and the pedal shaft and bolted them in place. This procedure too many trial positionings of the pedal box but once complete I was easily able to mount the box, power brake booster (remember the frame mod for this?) and the stock mustang master cylinder. I then discovered how nasty brake fluid really is because I guess I didn't get the MC completely cleaned out and it dripped on the frame paint and stripped it right down to the bare steal. Time for some touch-ups....
October 2004
Engine Tear down and new Wheels
Fall has been a very slow time for car work. I did manage to get most of the engine torn down and much of the clean up done. I discovered the engine had been rebuilt 6 years ago. It was bored .060 over and the valve guides were bored .015 over. It won't be rebuilt anymore :-), but it is in really good shape. The only issue seems to be huge amounts of carbon buildup. This was what caused a couple of cylinders to read poorly on my leak down test. Check out the picture of the huge carbon pile-up on the intake valve:
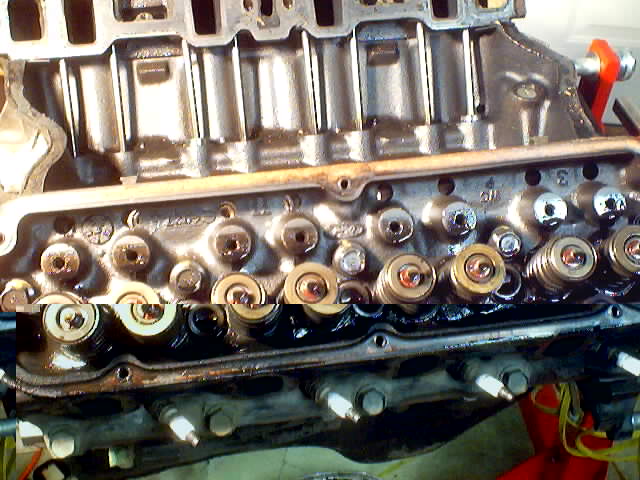
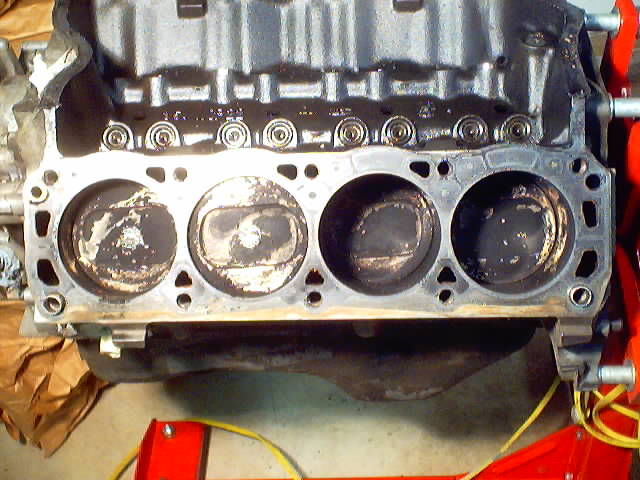
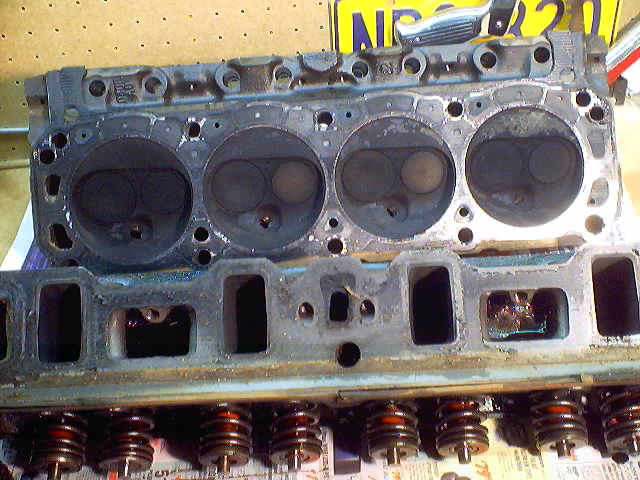
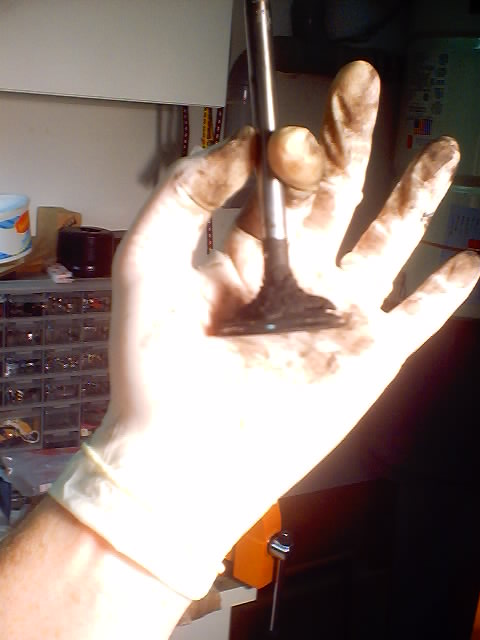
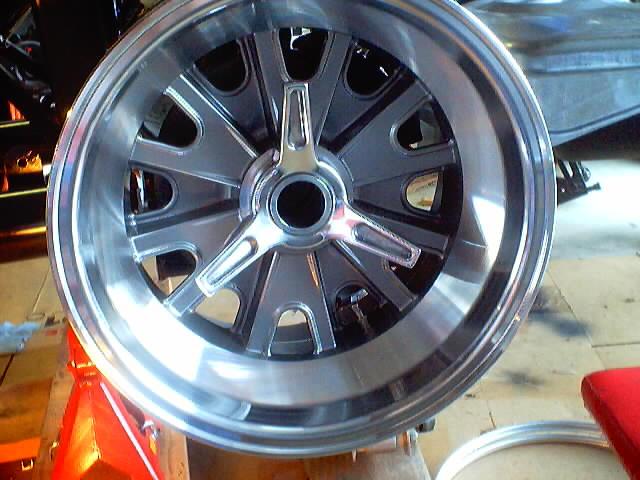
I also received the beautiful "Pin Drive" wheels. After some struggles with the wheel studs being too long, I've got things all setup for these wheels. Now I just need to decide which tires to put on them :-). BTW, these are from Vintage Wheels and are absolutely the best value in replica wheels.
Go to Page 1 Go to Page 3 Go to Page 4 Go to Page 5 Go to Page 6 Go to Page 7 Go to Page 8 Go to Page 9 Go to Page 10 Go to Page 11 Go to Page 12