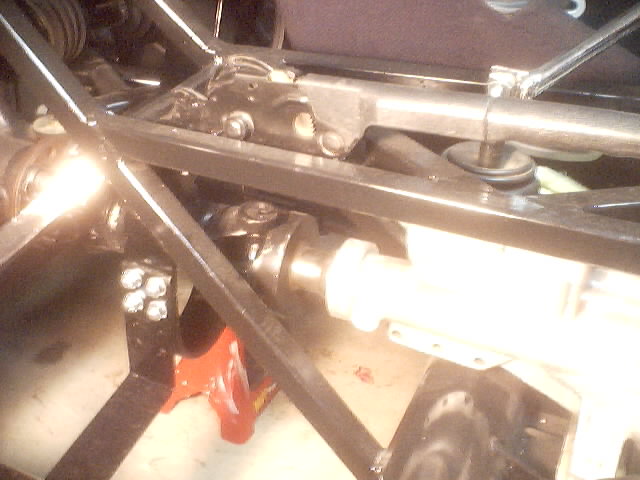
Emergency Brake & Safety Loop
I spent an amazing amount of time bleeding the brake system and getting all the connections tight and leak free. I believe it's all done now, but it doesn't really look any different than in the past pictures so there's no new picture. I did mount the emergency brake, fabricate a new bracket to connect the two rear cables to the one pull arm, and completely manufactured my own pull cable. As is normally the case, fabrication takes an amazing amount of time, but it is all working flawlessly (although you can't see much in the picture other than the e-brake handle).

You may also notice the driveshaft safety loop that is mounted around the hilariously short driveshaft. This is a piece from Summit Racing that I had to modify to fit correctly for me. But now that it's in place I think it looks good and should function well. It's purpose is to protect the passengers in the event of a U-joint failure. Sure the driveshaft is short, but it's also very close to the passengers.
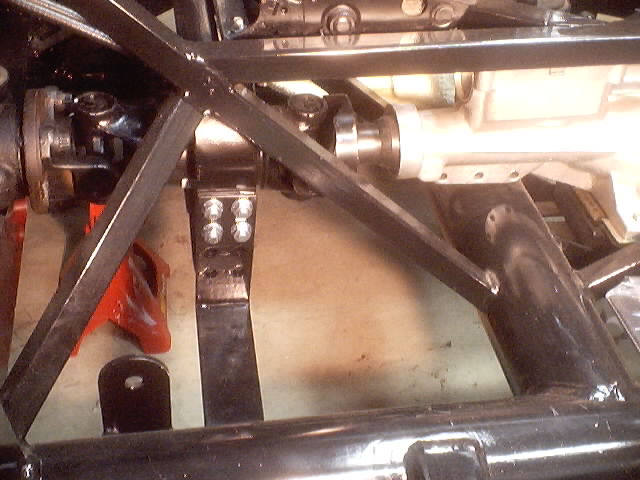
Heater & Rollbars
I also had purchased a heater unit that was originally a small cube. It's basically just the heater core, a fan, and a few openings for the air distribution. I didn't want the heater to extend into the engine compartment but I wanted it to completely fit behind the dashboard which means I was back to the modifying/fabricating that can take so much time. By turning the unit upside down and hacking up the sheet metal box in the "air distribution" end, I was able to slope it enough to completely fit between the dashboard (which will extend down from the angled top bar) and the firewall. I used bathroom sink plumbing fixtures for the air vents on the side and have flexible vacuum cleaner hose to use to get the warm air to the footboxes. (BTW, that white blob in the foreground is foam taped to the corner where I've whacked my head on several occasions.)
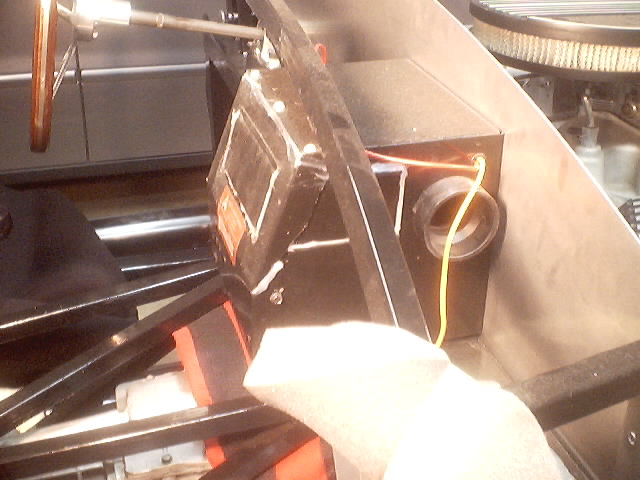
I also did a bunch of work to get the roll bars to fit perfectly and even got to play with my new welder. The normal setup is to use a through bolt to hold the 2 pieces of each rollbar together. But the bolt and nut sticking through look a bit tacky. So I purchased short, button head bolts and welded nuts in place on the inside of the roll bars. This way both sides have a small, button (rounded) head sticking out rather than the ugly bolt and nut. I then had the rollbars powdercoated a semi-gloss black (along with the quickjacks and several other pieces). They are bolted in place currently but I don't have any pictures that do them justice.
Engine Accessories
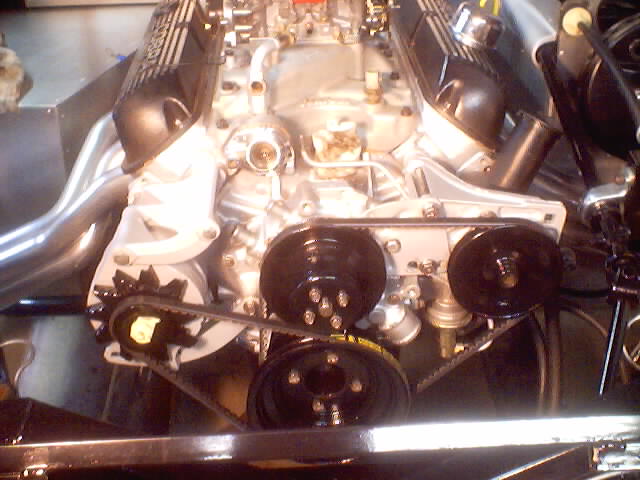
With the help of Ray (from California), I managed to get a nice and clean crank pulley. I engine came with all the other pulleys but they were in pretty bad shape so I cleaned them all up and had them powdercoated. The alternator bracket had a big extension for some kind of smog pump or something so I hacked that up to make it look a little cleaner.
The largest pain was the power steering pump. The one that came with the engine had busted during shipping but the one I had form the junk yard had the wrong kind of pulley so I had to do a swap. If you've ever tried to remove a power steering pump pulley you'll know how hard that is. The next problem is that the stock PS pump location is where the steering shaft is on the FFR. Back to fabrication. With some serious work and several attempts I managed to create a bracket and the correct spacers that hold the PS pump in just the perfect location. Then with only 2 trips to Napa I managed to get the right length of belts and the accessories are complete! (The blob on the alternator pulley is tape to remind me that it's not tight).
Carb, Dipstick and Fuel line
I installed the carburetor and discovered that the secondaries would hardly move and would then get stuck open (not a good thing). So I removed the carb and started a small rebuild. I didn't do a full rebuild but I pulled all the valves off and gave it all a good cleaning. Things worked much better after the cleaning so I intalled it and then installed the throttle cable. Now all the pedals are functional.
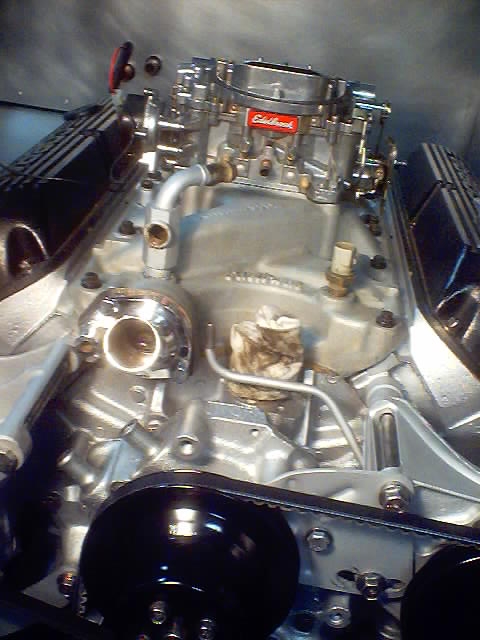
I then fought with the dipstick. It's amazing how tight things are on the driver's side of the engine. The footbox needs to be as big as possible, but there is also the steering shaft, headers, dipstick, throttle cable, and clutch cable that are all fighting for space. The stock bend on the dipstick (came with the oil pan that was for putting a 351W in a mustang) wouldn't work at all. Several hours of fine tweaks were required to get it to feed though this tight path and then there was no way the stock bracket was going to work so I had to fabricate a bracket to hold it in place. (you can also see the throttle cable in this picture)
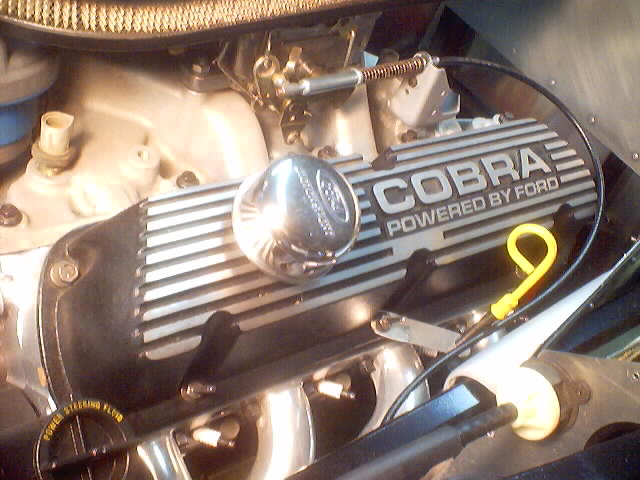
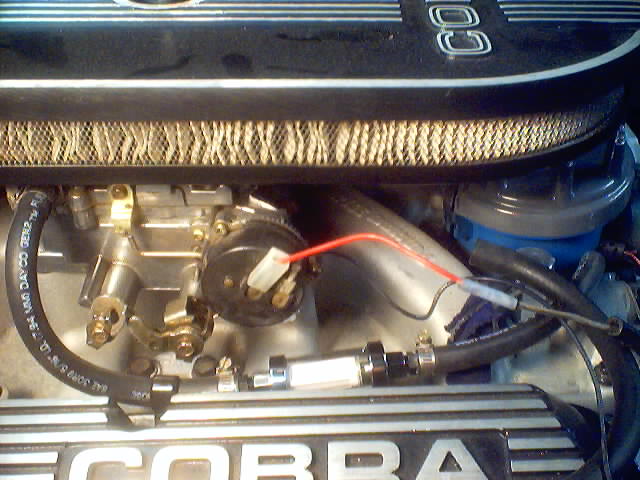
The mechanical fuel pump is on the front, driver's side of the engine and there is a hard fuel line that routes behind the distributor and over to the carb on the passengers side. I had new hose and a new, fancy, glass fuel filter and installed it all along the passenger side valve cover.
Distributor and Radiator
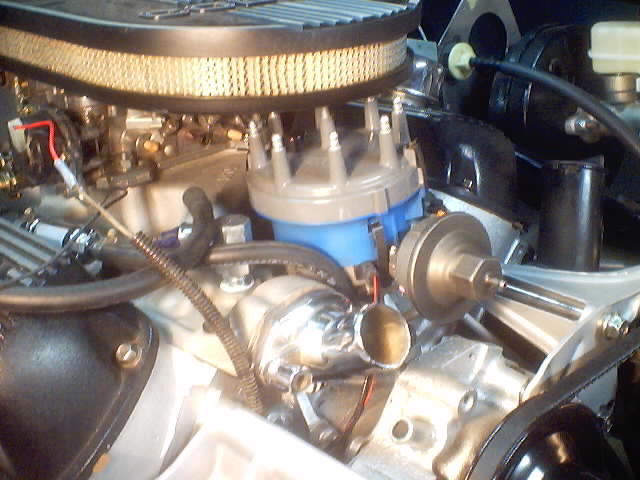
I started examining the duraspark 2 distributor I'd picked up from a junk yard and discovered it didn't turn as smooth as it should. I started the process of rebuilding it and found that the vacuum advance unit was toast. I knew there were going to be other pieces that would need replacing and the cost of the vacuum advance unit was almost as much as a full rebuilt distributor so I went that way. The distributor fit in nicely and is now installed a the correct orientation with respect to timing.
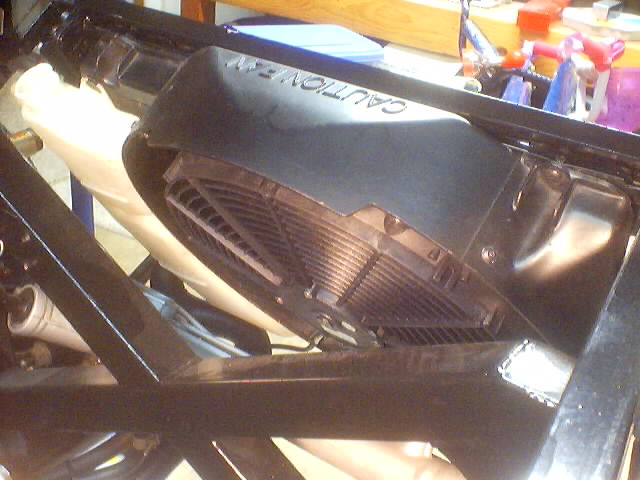
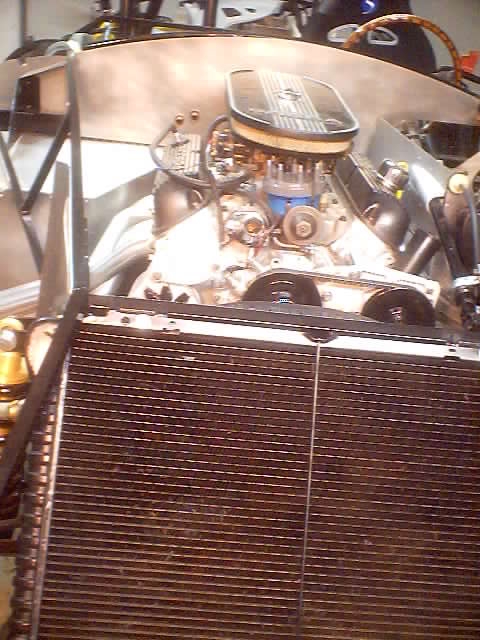
This is the stock radiator from my '93 mustang GT (a piece of history). I cleaned it all up and put on a stock mustang radiator shroud. The kit came with an electric fan so I fabricated a way to mount the fan into the shroud and mounted the radiator to the front of the car. This will be right behind the large intake in the front of the cobra body.
Coolant system
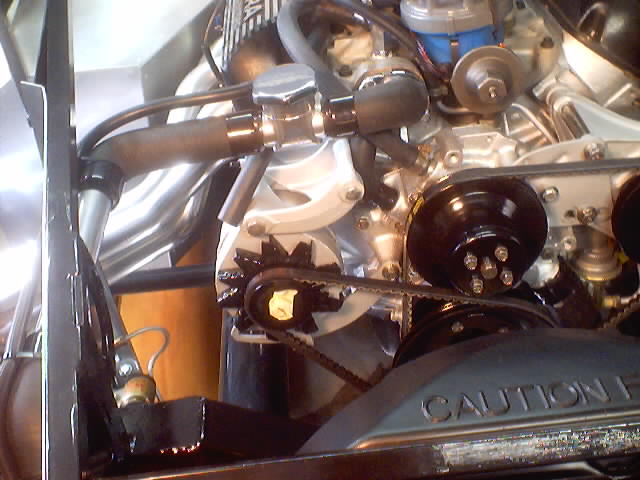
I collected all the hoses for the coolant system mostly from the junk yard and cleaned them up so they look nice. The kit came with aluminum extension tubes and I purchased a nice billet aluminum "T" filler so there is access to the highest point in the coolant system. Someone in the local cobra club used these trick "shrink wrap" hose clamps that you can only get from Napa. These look great and seem to work well. In order to work properly, the recovery tank hose needs to be connected from the highest point in the system as well so that line runs from the T-filler along the main hose and down to the recovery tank on the driver's side of the radiator. Here's a great shot of the trick hose clamps and the upper radiator line (you can see just the top of the lower hose in the bottom right of the picture).
Go to Page 1 Go to Page 2 Go to Page 3 Go to Page 4 Go to Page 6 Go to Page 7 Go to Page 8 Go to Page 9 Go to Page 10 Go to Page 11 Go to Page 12