Bret's Cobra - Page 12 (Done!)
Final Assembly (Summer/Fall 2012)
With the
car back with paint, it was still surprising how much work there was
left to get everything back in place. Especially considering how
careful one has to be now that it is painted. Every installation
took 3 times as long due to the process of taping and placing
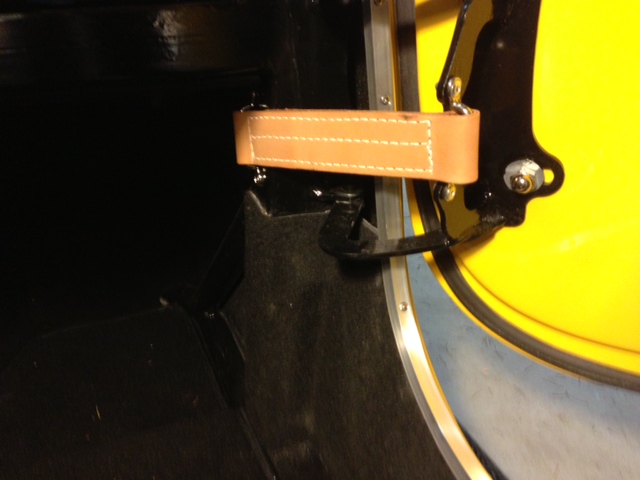
protective cloths anywhere near the work space. One of the first
things to install was the door straps. These prevent the door
from opening too far and were a requirement now that there was paint on
the car otherwise the doors will swing wide enough to ding the perfect
paint job.
There
are many other deatils which were not interesting enough for pictures.
Things like the roll bars, gas cap and windshield wipers.
These were thigns taht were all sorted out before paint but were
painstaking to install with a painted body because of how careful you
need to be with the fany paint job.
Snags in the Progress
There
were a couple of snags in the progress and excitement of getting the
car back from paint. The first thing that showed up was that they
had lost the spacers that fit between the hood hinge plate and the
bracket that I bonded to the hood. This meant that as the
tightened the bolts it pulled the bracket away from the hood.
After consulting with SRP (Street Rod Painter) via email and
other research, I decided to pull the hood and hinge pieces completely
off the car, rebuild the precise spacers, and then use marine epoxy to
bond the bracket back to the hood. This was a very difficult
process but was well worth the time and I think turned out very nice.
The epoxy seems to be holding very well and after some touch up
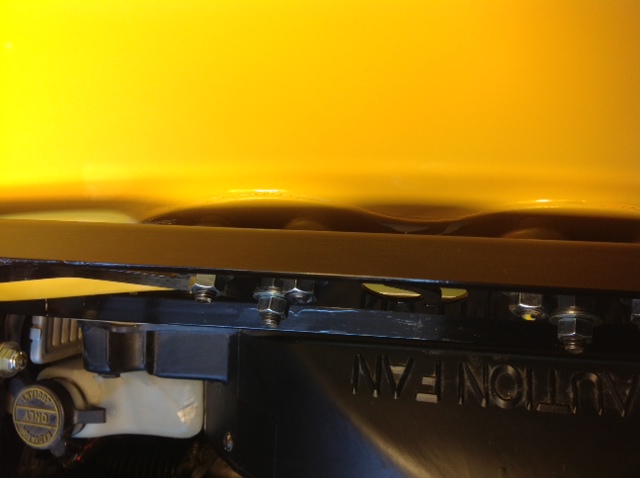
paint it all seems to be nearly invisible. Unfortunately a poorly
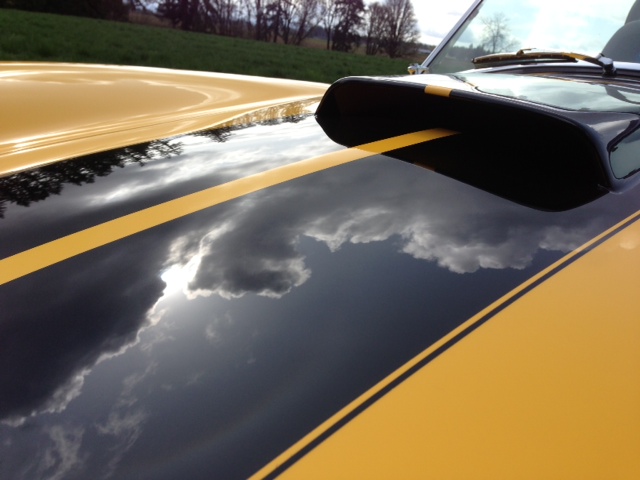
timed hard drive crash caused me to lose my pictures of the process,
but here's a good one showing the end result. The black
horizontal bar is the hinge plate. The curved part in the shadow
is the bracket that was bonded to the hood and then pulled away (the
spacers fit between these two to match thr curvature of the hood).
If you look very closely, at the edge of the bracket (curvey part
in the shadows) there is a faint crack where the paint separated when
it was unbonded. But being behind the hood hinge plate it's very
difficult to notice :-).
Snag part 2
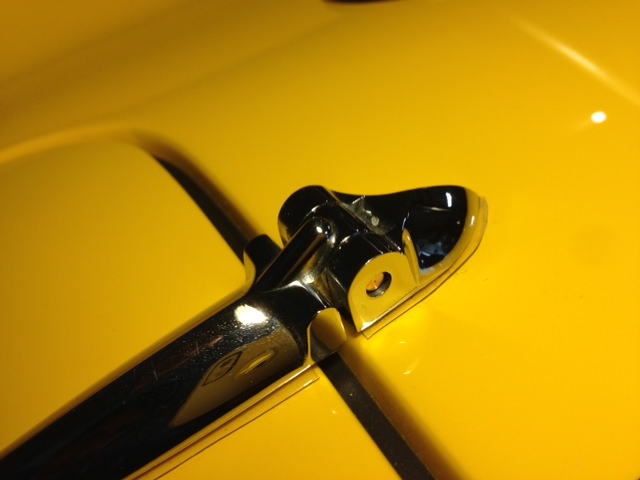
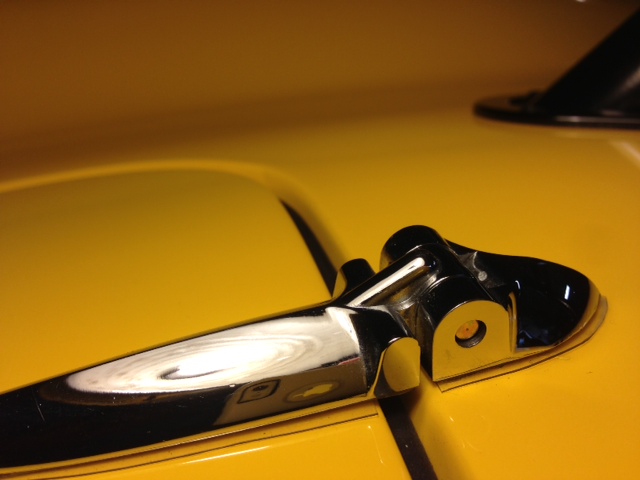
The
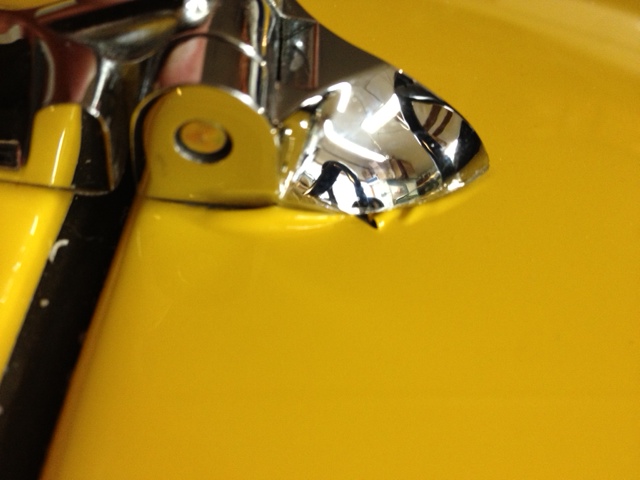
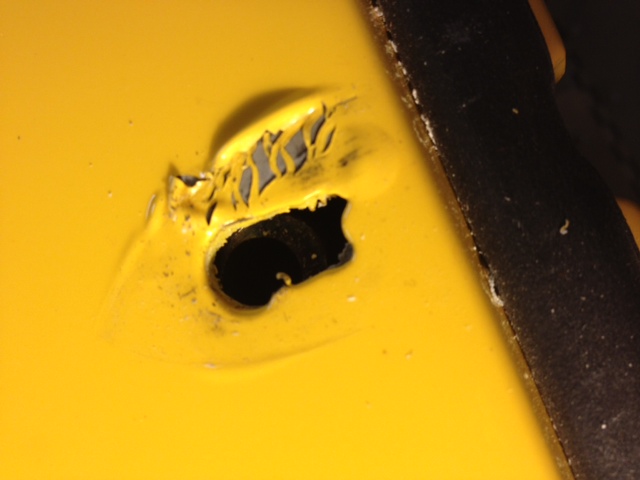
second snag was that the paint was so fresh that after several
open/close cycles with the trunk one of the hinges ended up peeling the
paint away from the body. The curve of the body/trunk at the
point of the hinges makes it so that the hinges twist a little as the
trunk lid moves. With the fresh paint this caused the peeling.
After more consultation with SRP I was able to address this with
3 steps: 1) stick the paint back down using clear fingernail
polish and touch up paint, 2) limit the height to which the lid opens,
and 3) use some slick plastic as a "washer" or gasket to allow the
hinges to twist without scartching or peeling the paint. I found
some clear plastic take-out containers that were very slick and just
the right thickness and cut out my own gasket material. Here are
a couple of pictures of the problem and the end result after the
repair. It has held up for months now so I think it's in great
shape and nearly invisible.
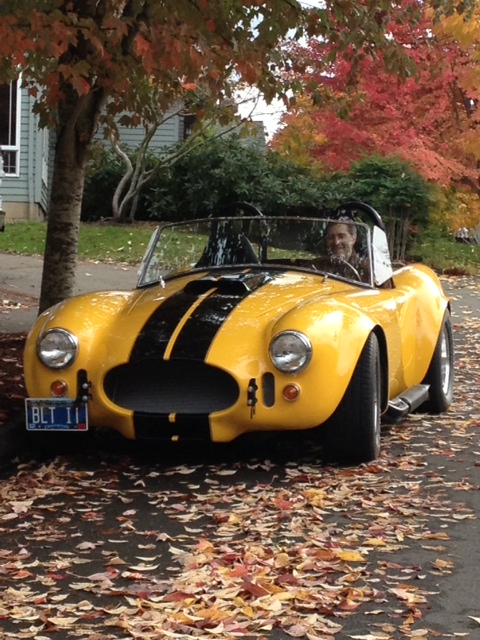
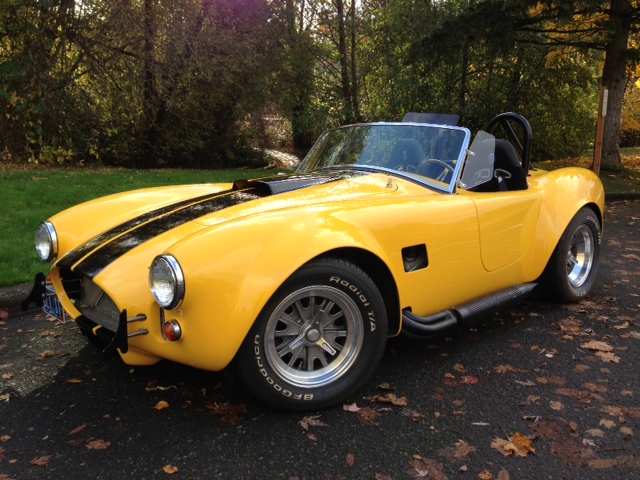
After
getting the snags fixed up I was able to take it out for spin and snap
a couple pictures of the "not quite" done car in the fall colors.
Louvers
After
seeing how nice everything looked with the fresh paint job I had to
replace some of the exterior trim. The windshield bezels that
came with the original kit were just aluminum and I had polished them
as best I could but they looked wrong next to the fresh paint. So
I ordered the new bezels that factory five includes with their new kits
and was very happy I did (but it did take another afternoon as I had to
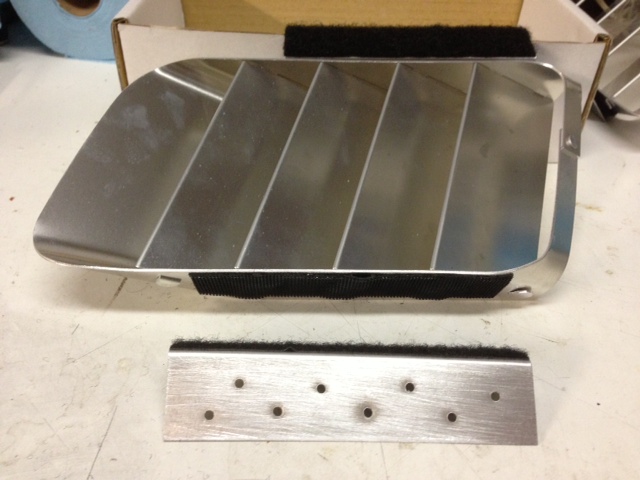
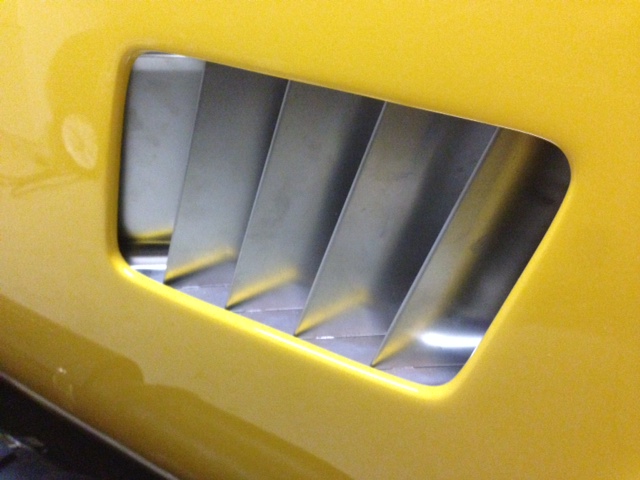
remove and reinstall the windshield). The bended aluminum louvers
filled me with the same feeling so I splurged and got a much nicer set
from finish line. Then the question was how to mount them.
SRP to the rescue again. His suggestion was to use the
included angle brackets but to make it removable with velcro. As
velcro can sometimes come loose with heat, the plan was to provide a
permanent "shelf" so it is not fighting gravity. Marine Epoxy
holds the bottom "shelf" in place and the louver sets on top of it with
velcro holding it in place. The top angle bracket is riveted to
the louver and then velcro is used to hold it to the side of the
fender. Here's the prepped pieces and the finshied result.
Interior Trim (Winter 2012/13)
The
kit came with an e-brake boot, but no trim ring and a shifter trim ring
but no boot. My wife kindly made a shifter boot out of the door
pocket material (see below) but I still needed something for the
e-brake ring. I searched online in hopes of finding something
suitable, but all that I could find were much smaller ones made for
after-market e-brake handles rather than the beefy one from the mustang
that I had used. I considered changing the e-brake handle to one
of the aftermarket ones but that was a lot of work too so instead I
fabricated my own trim ring out of aluminum. It is very difficult
to get something precise and polished so that it looks good, but with
tons of work and care I came out with something that looks OK even next
to the chrome plated one for the shifter. Here's the end result
and I think it turned out nice.

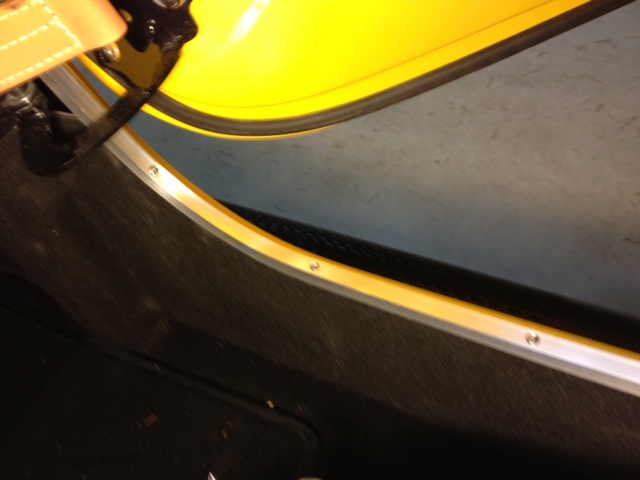
The
kit included some pretty sad black trim to fit over the door sills and
cover the section between the carpeted interior and the body. But
after everythign else looked so nice it seemed like a shame to put on
such a poor looking cover. I've also heard that it pops off if
you brush it with your feet getting in or out. Not a good
solution. So someone on the forum sells some shapred angle
aluminum that fits perfectly and screws into place. With some
care and plenty of painters tape for the trial fits I was able to get
the door trim pieces installed and it really gives the interior a
finished look.
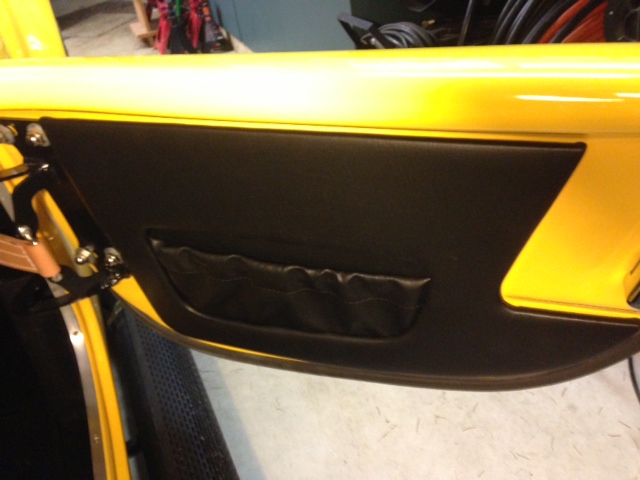
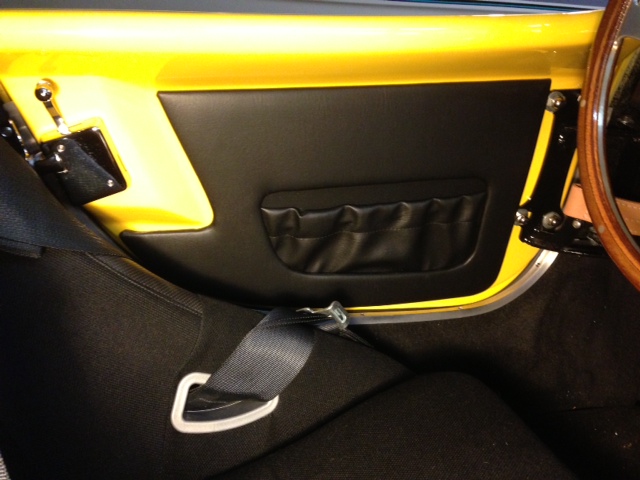
The
next piece to add the final finished feel to the interrior were the
door panels. The kit came with material that matched the dash
that was for installing as pockets on the doors. But another
forum member designed and manufactures very nice door planes which fit
perfectly and really provide a "factory" look to the interior.
DONE!
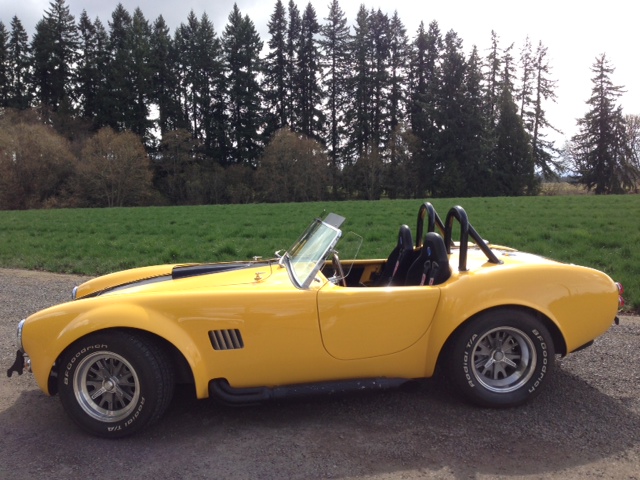
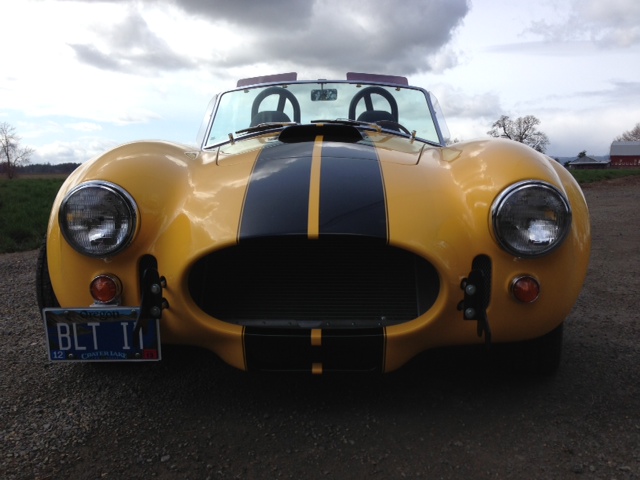
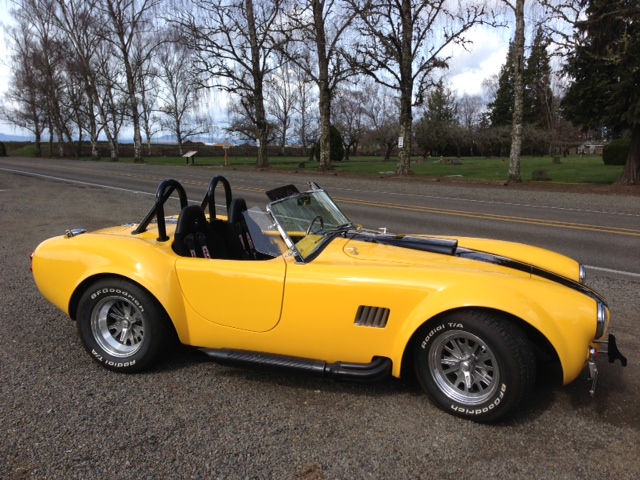
I'm
sure there will always be upgrades and work to do. I can
already list many things (need to repaint the side pipes, center the
steering,...). But I believe this qualifies as "done" and I now
consider all the others as upgrads or maintenance. Here are a
bunch of pictures I snapped while I was out for my first "it's done"
drive.
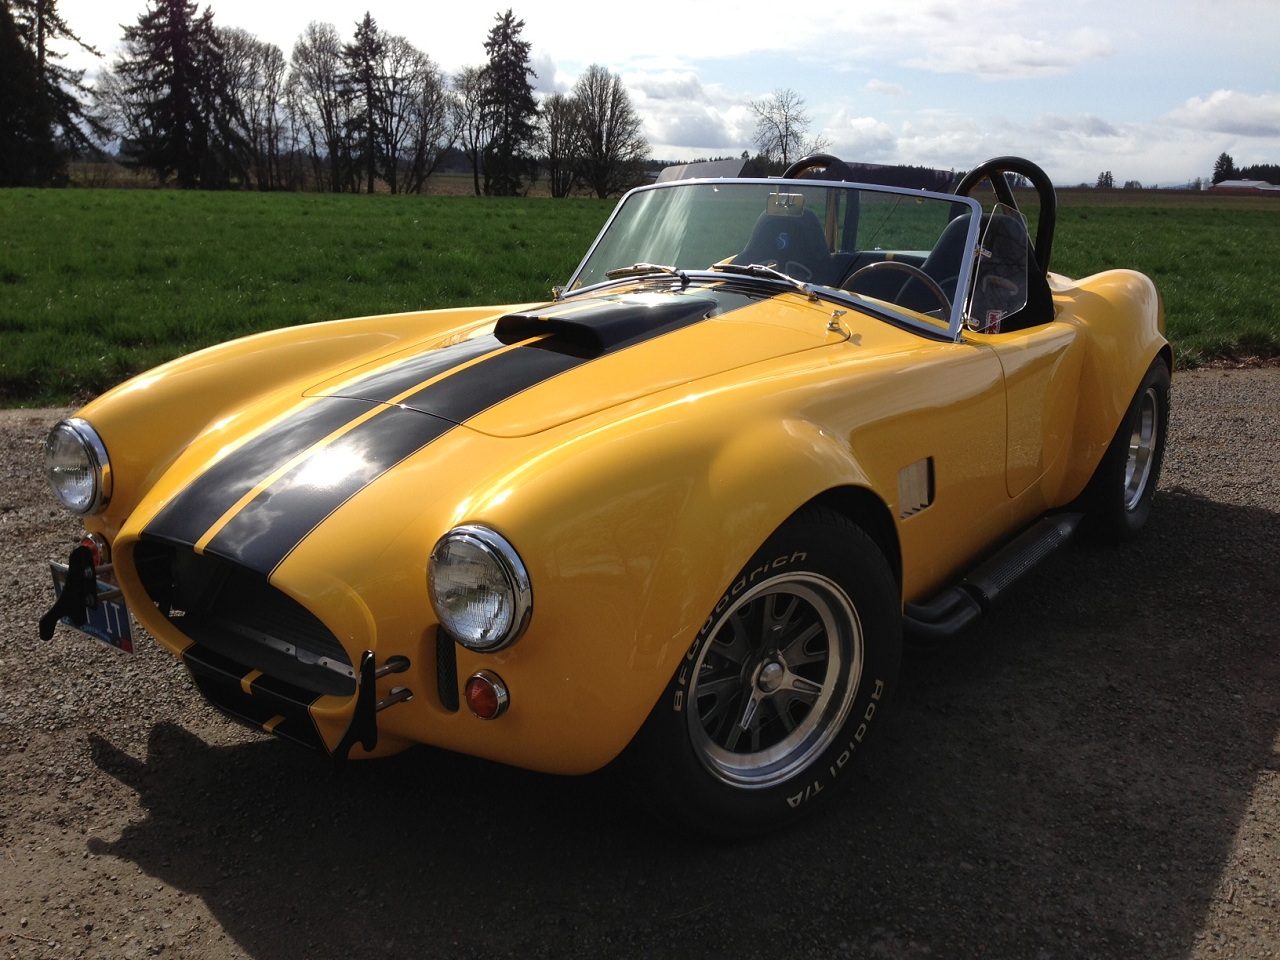
I'm sure there will be more adventures and great pictures from fun drives in the future.
Go to Page
1
Go to Page
2
Go to Page
3
Go to Page
4 Go to Page
5
Go to Page 6
Go to Page 7
Go to Page
8
Go to Page 9
Go to Page 10
Go to Page 11