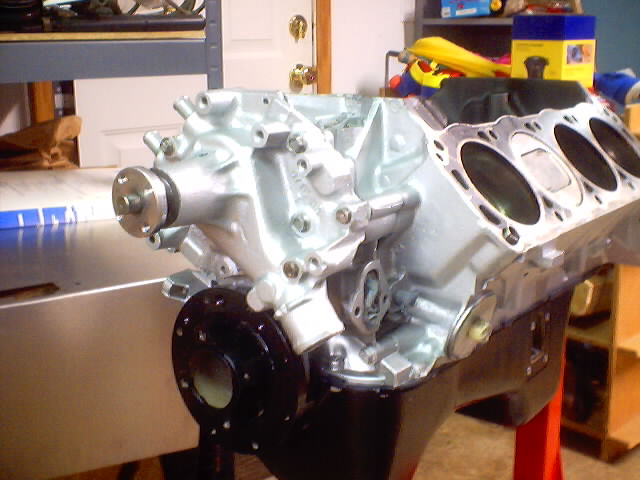
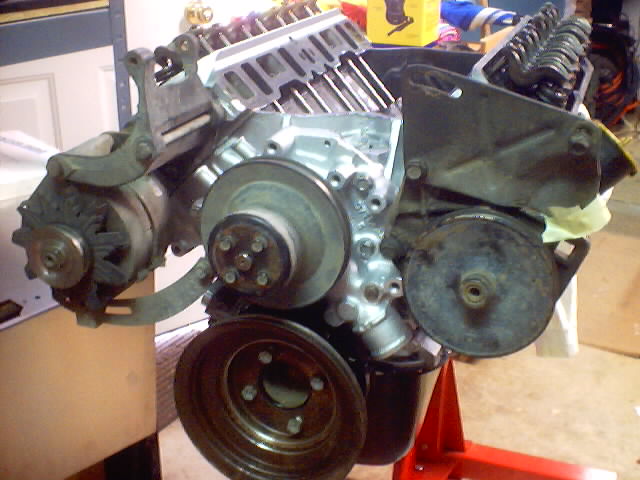
Now it's time to put the engine back together. After cleaning up the valves (see page 2) and putting the heads back together, I cleaned up the rest of the lower end, taped off the block and painted it with a nice, "aluminum silver" colored engine block paint. Hopefully it will stick well and handle the heat. I painted the harmonic damper (balancer) gloss black and then my wife (with a steady hand) painted the timing numbers back on. I painted the water pump the same as the block and the heads while I was at it. I even installed the new oil pain before I thought to take pictures (silly me). So here's the shot with all this done.

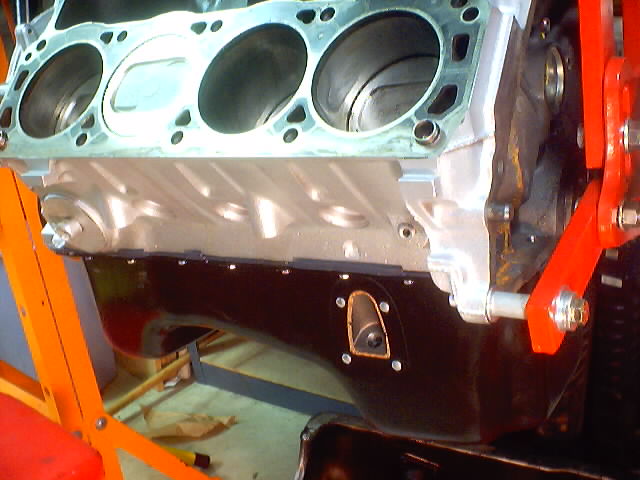
After this I put on the heads which weren't that difficult, just heavy and time consuming due to the long torquing procedure that needed to be followed. Now it's really starting to look like an engine again :-)
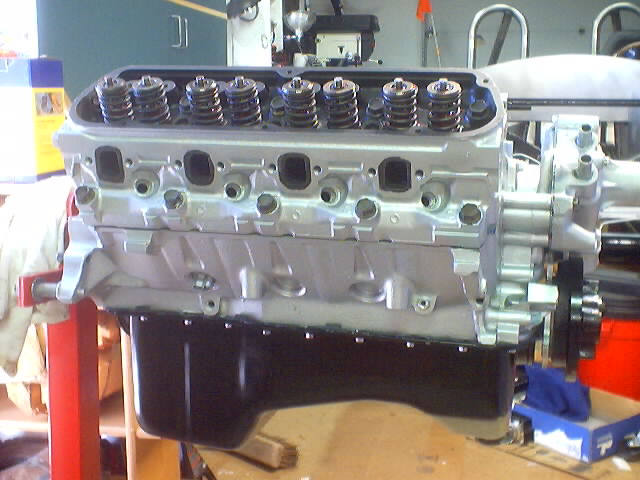
Next I put in the lifters, pushrods and then bolted down the rocker arms. The torque sequence was complex for the rocker arms because they had to be done when the valves for that cylinder were fully closed so I had to use a wrench to turn the crank to get the valves in the right place before I could torque down the rockers
.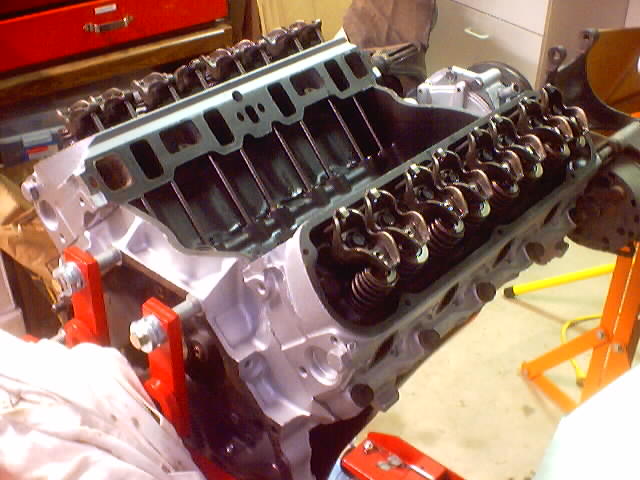
The intake, carb and valve covers come next, but I haven't done those. I did try a test fit with the accessories and pulleys. A nice person from the ffcobra.com forum used his lathe to shave the outer grove off of the alternator and crank pulleys that I didn't need which will really help the looks (once I get things cleaned and painted). I need to cut off the extra connection on the top of the alternator pulley that must've been from some other accessory on the engine originally. I also need to fabricate a bracket for the power steering pump (on the right) because the stock location would land right where the steering shaft is located when it's installed. In the picture I have it moved over to the left by about 4 inches but it's only secured with one bolt so I need to fabricate a bracket to make it more secure.
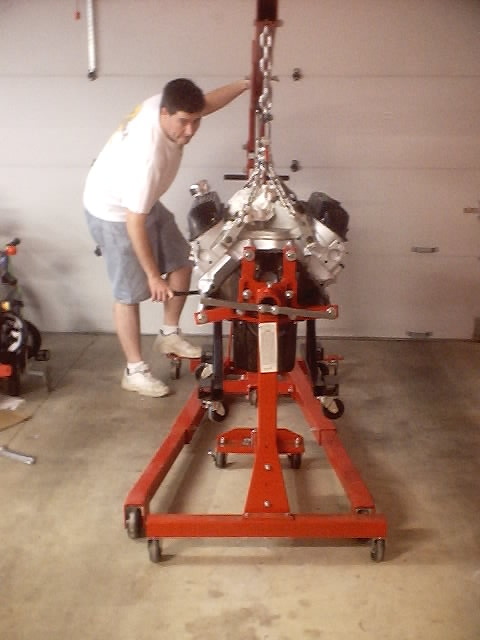
The next step on the engine is to install the flywheel, clutch and
transmission. But the current engine stand is holding the engine by the
bellhousing bolt holes. So I borrowed an engine cradle from a friend that
holds the engine from the normal mounting points. I used the engine hoist
borrowed from another friend to move the engine from the stand to the cradle.
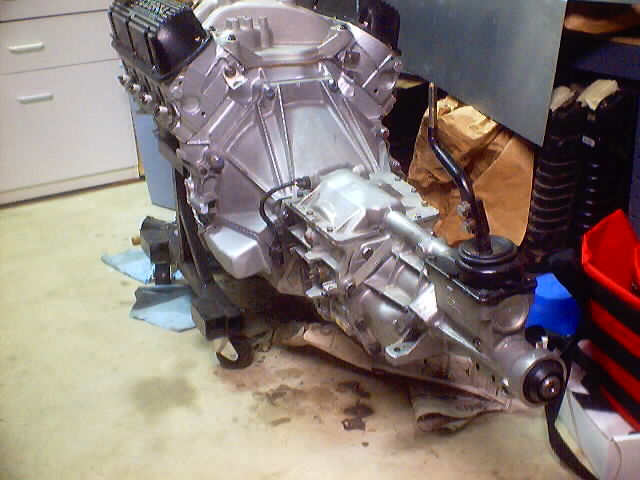
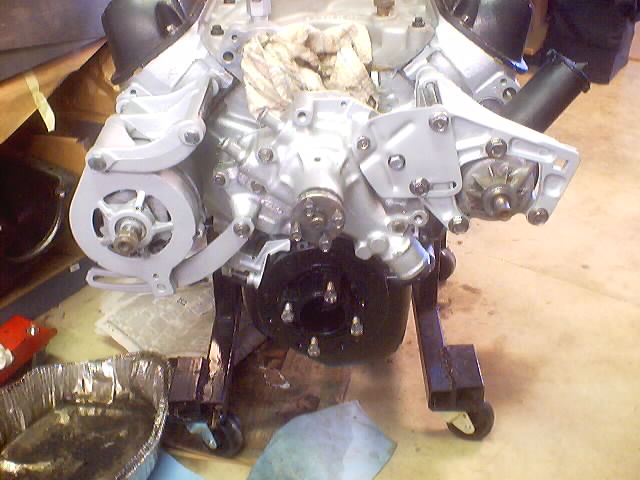
Next I bolted up the flywheel and clutch, but unfortunately I failed to get any pictures of this process. I had to use a special flywheel that made the transition from the 351W truck setup (28oz imbalance) but had used a Mustang clutch and starter setup. I then installed a normal mustang clutch and pressure plate but discovered that while the flywheel had the mustang clutch bolt pattern, it used standard size bolts instead of the metric ones that came with the mustang kits. Another trip to NAPA and everything was back on track. I then installed the clutch fork and standard mustang bellhousing. Finally the Mustang T5 (from a '92 GT) transmission was bolted into place. It's nice to have something to shift :-). Here's a pic of all these pieces completed. In the process I hit a few parts snags and had to wait for parts to be delivered so in the mean time I worked on prepping and painting the accessory brackets. Here's some pics of the engine and trans all setup on the cradle.
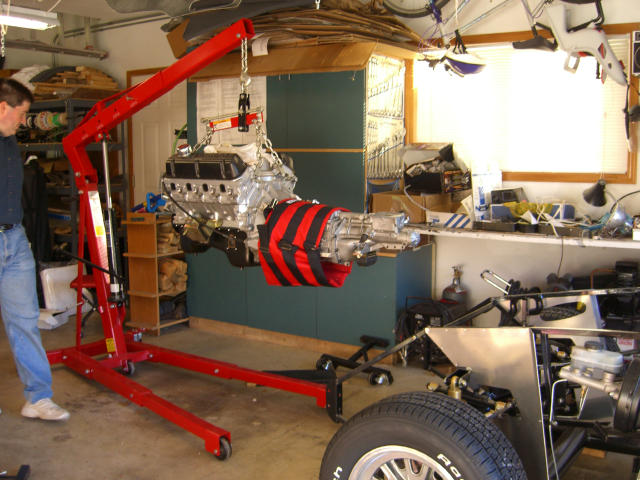
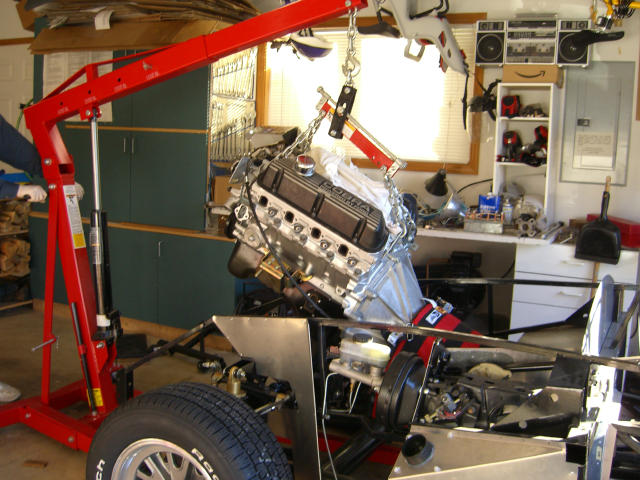
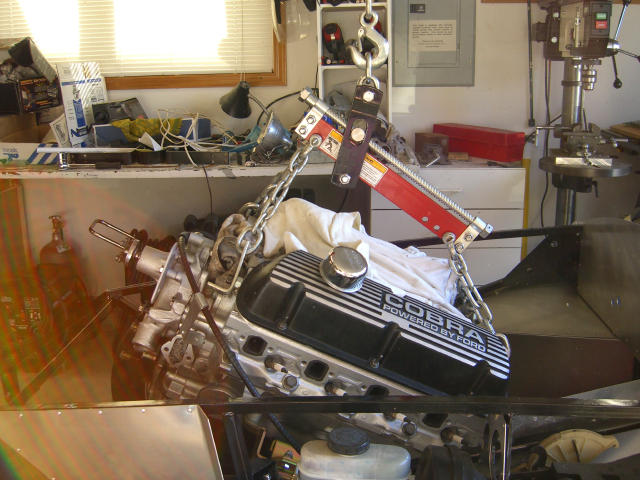
A major milestone in the project has been reached. Again using the borrowed engine hoist, I lowered the engine into place. I first raised the engine and removed the cradle and replaced it with the motor mounts. Then the engine and trans are raised up over the front of the frame and tilted trans down to be inserted at an angle. The trans angles into the trans tunnel in the frame which provides enough room for the front of the engine to clear the front of the frame and then the whole thing is progressively lowered and leveled out until it is at the right angle. Finally I slid it into it's final resting place and bolted it all down. The red blanket you see over the bellhousing/trans is the scattersheild that is like a bullet proof vest that will protect the passengers should the clutch or flywheel break apart while the engine is at high RPM's. (yes, the air cleaner is just setting on their for looks :-))
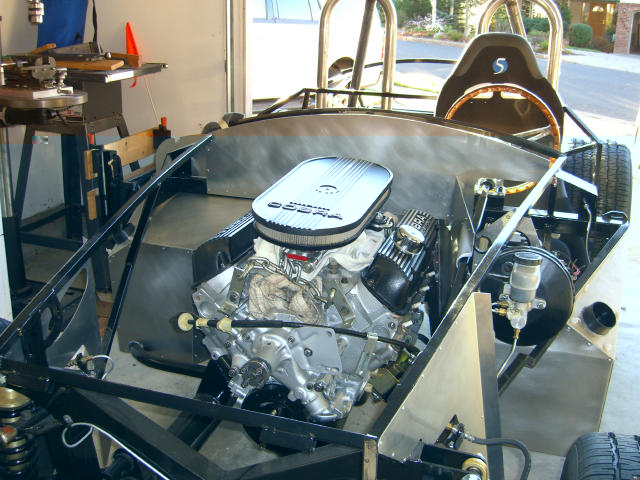
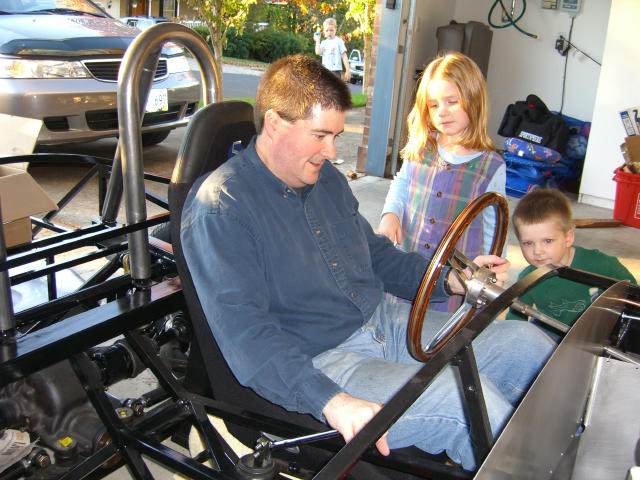
It was sure fun sitting in the driver's seat and shifting gears. Makes me anxious to get this thing to the "go kart" stage.
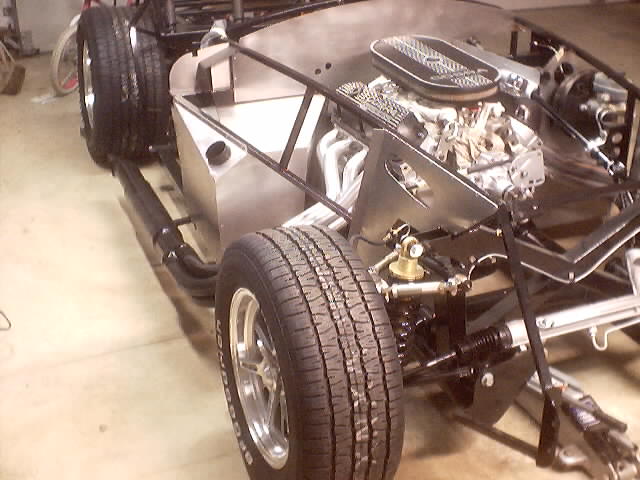
The next step in the engine installation requires mounting the headers and side pipes to make sure the it's all aligned. The side pipes connection is effectively just to the engine so if the engine is slightly tilted, one pipe will be higher off the ground than the other. So I installed all the exhaust and tweaked the engine level just slightly to ensure that everything was level. I think it looks great. The only downside to this whole weekend of work was discovering that the finish on the side pipes had been ruined while in storage in the attic (even though I let the paint dry in the house for 3 weeks before wrapping them up). But I discovered that I need to fabricate some new brackets for the sidepipes anyway so a little refinishing work is in the future.
Go to Page 1 Go to Page 2 Go to Page 3 Go to Page 5 Go to Page 6 Go to Page 7 Go to Page 8 Go to Page 9 Go to Page 10 Go to Page 11 Go to Page 12