The go-kart was really fun and I keep looking for excuses to drive it again :-).
I still had a week left in my sabbatical so I tackled a couple tasks that I knew were going to take more focused time. I started with fabricating hangers for the side pipes. With the MarkII FFR added some nice 2x2" square tubes on the sides, but this meant that the stock side pipe brackets (unchanged since MarkI) rubbed these tubes and didn't extend far enough to bolt to the frame. FFR sent out an extension kit that made it long enough, but that didn't really take care of the rubbing problem (and honestly, it looked a bit tacky).

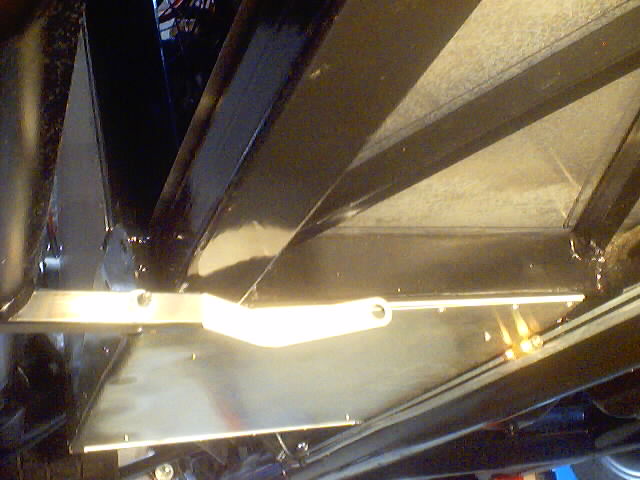
So I decided to cut the 3/4" tube that's already welded to the sidepipe and bend it down to get clearance. Then I fabbed up another 3/4" tube to bolt up to the frame similar to the MarkIII setup. This has a rubber isolation bolt farther in for a nice isolated pivot point and then the standard hanger rubber piece closer to the pipe. You can see how it turned out in this pic. I think it worked pretty well. If I were to do it again, I think I might make it have a "bolt-on" connection in the middle like the Mark III solution because my setup makes for quite a large protuberance from the middle of the pipes. But it should work.

The next large fabrication project on the list was a dropped trunk box. I used the standard mustang gas tank which means there is a large wasted area between the standard trunk floor and the top of the gas tank (on the left 3/4 of the tank). Many folks have fabricated different kinds of lowered trunks or boxes and there are even a couple people who sell kits for something similar. I had some sheet metal and the right tools so I decided to fabricate something that would work specifically for my car and the way I wanted it to work.
I started by making the lowered box section from thin cardboard so I could get the dimensions planned out as accurately as possible. I discovered several key things in this process so doing a cardboard mock-up is very important.
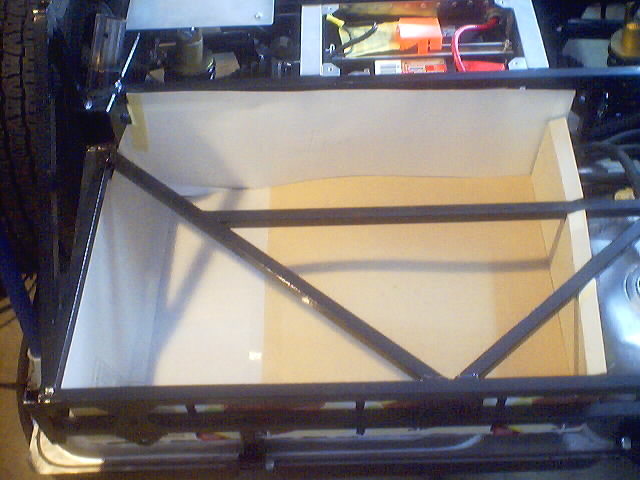
I then fabricated all the pieces out of sheet aluminum and did several trial fits. I wanted to leave the 3/4" braces in place and already had the gas tank in place so the installation order and method was very precise. Here you can see it all riveted into place. The access panel in the bottom of the box is to access the gas level sensor.
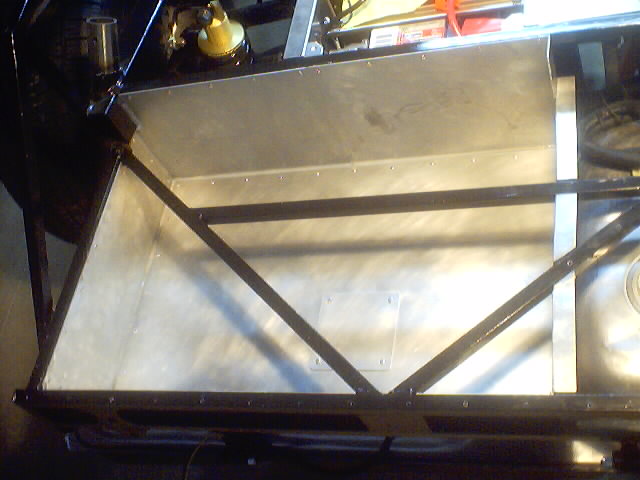
I then cut a corresponding piece out of the original trunk floor panel. The most difficult part of this was that I wanted to use the panel I cut out as the lid, but that means I could have very little scrap and the piece was too wide to fit on my sheet metal sheer. So I was left using a hand jigsaw and then a belt sander to try to get the cut straight later. In hindsight, if I had made my box 4" shorter it would've fit on my sheer and made getting straight lines much easier :-).
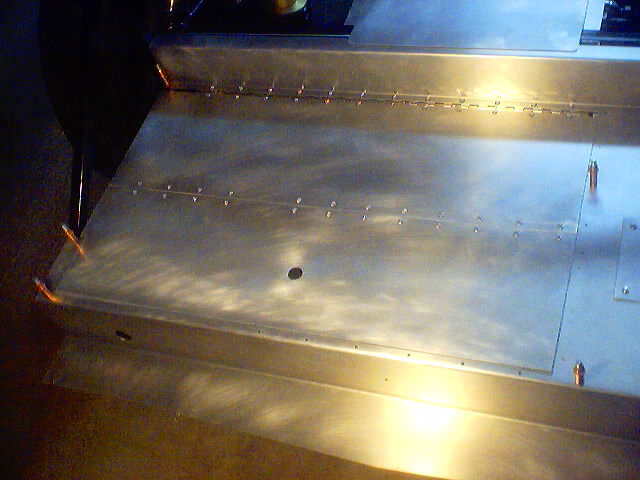
I placed the lid piece and luckily was staring at the body while thinking about the fitment. If I just put the piece on with a single hinge at the back, when I lifted it up the lid would run into the body, as the box lid extends past the trunk opening. So I got out the jigsaw again and cut the lid piece down the middle and put a second hinge so it folds like a bi-fold closet door. You can see the finished product in these pics, but I think it turned out quite well. The goal is to be able to keep tools and other emergency items in this box and leave the rest of the trunk space for luggage, picnics, or whatever else is needed for the trip.
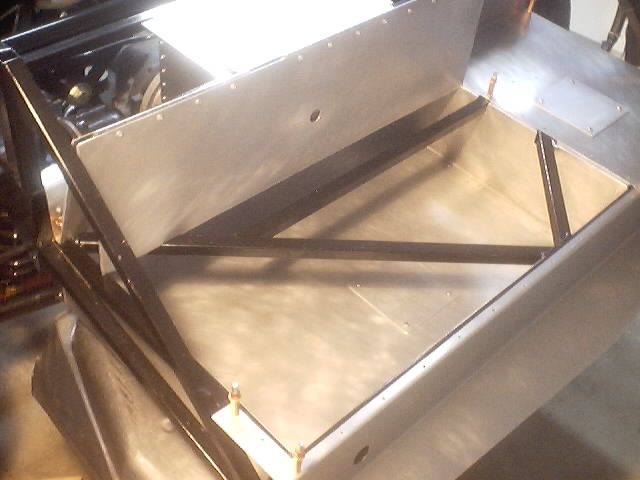
With the fancy trunk box complete, I put into place all the trunk aluminum panels. Well, I thought it was all the trunk panels. Later, I found a couple small triangle pieces that cover the ends of the lower section so that things don't fall down into a gap at the edges. It sure would've been nice to put those on before the side pieces as now I can't put any rivets in the bottom of them, but I think with caulking and rivets on the other sides they'll stay in place OK.
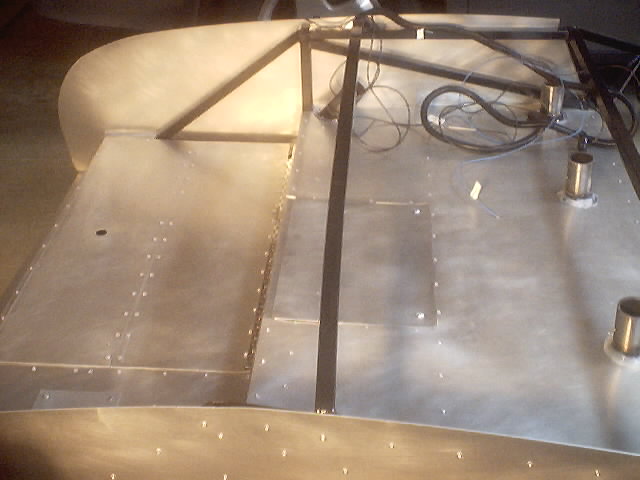
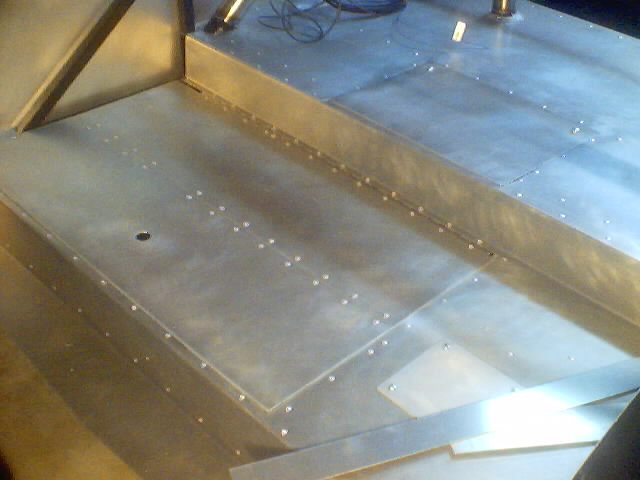
In the trunk pictures you can see that I did a bunch of wiring work as well. I ran all the wires for the lights. Both front and rear lighting wires are all run with the connectors all setup. I even had all the lights out and plugged in (just setting on the floor) and tested them out by touching the right wires together in the harness. I also found a place to mount the horns (from a mustang in a junk yard) in the front mostly out of sight.
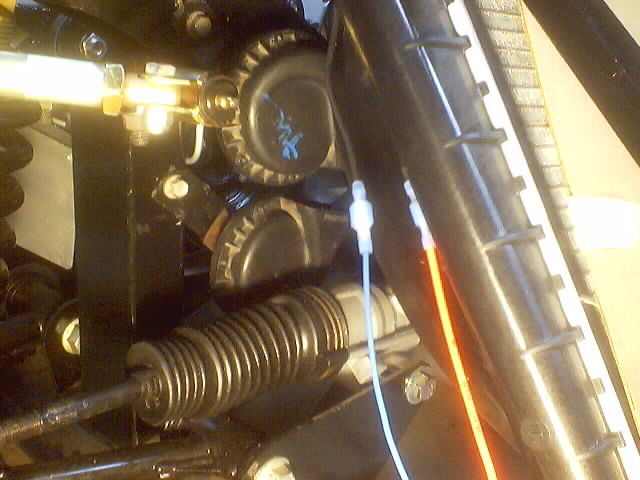
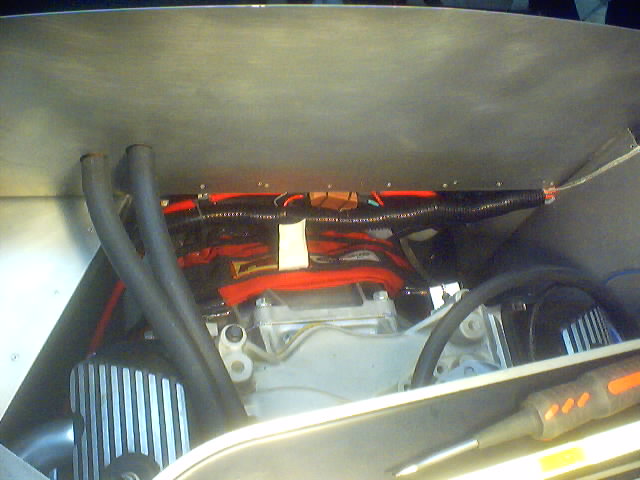
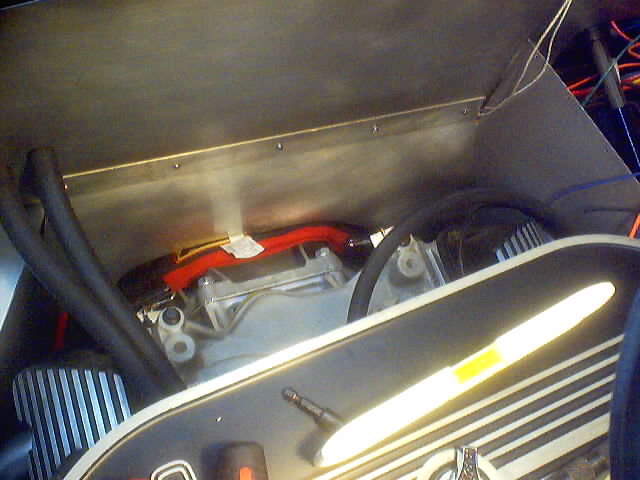
The wiring ended up making a mess of the firewall area right behind the
engine, so I fabricated a panel to fit in front and hide this wiring mess.
I think it turned out pretty good. Here you can see a before and after
picture.
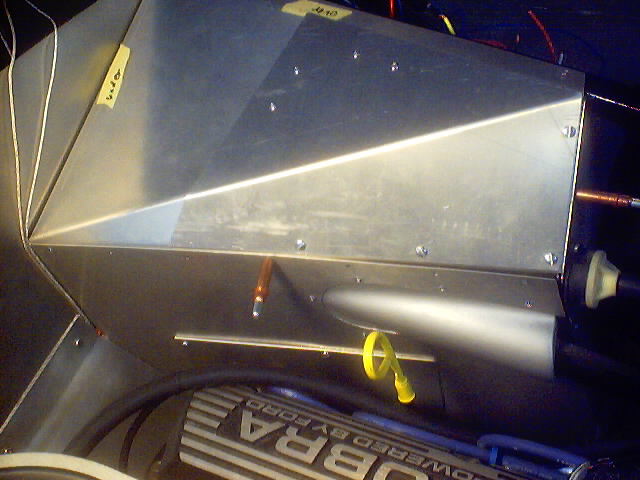
There is so much important stuff around the driver's footbox that it's nearly a requirement to set it up for some kind of access for after the car is complete. Currently I've just chosen to not put the top panels in place. But after the car is done I still want to have a way to access the top of the footbox. It has also come to my attention that getting to the spark plugs in that corner of the engine is very, very tight. Unless you're a contortionist, having some kind of access panel from inside the driver's footbox would be really nice. So, I spent a day fabricating up access panels from the top and by the spark plugs. The worst part of this was cutting the hole in side of the footbox because on the inside the pedals are in the way and on the outside the engine is in the way. I considered doing this before installing the engine, but I wasn't sure where things would line up. Bummer. It was a pain, but I got it done and I don't think it looks bad at all. I'll really enjoy having the access in the future.
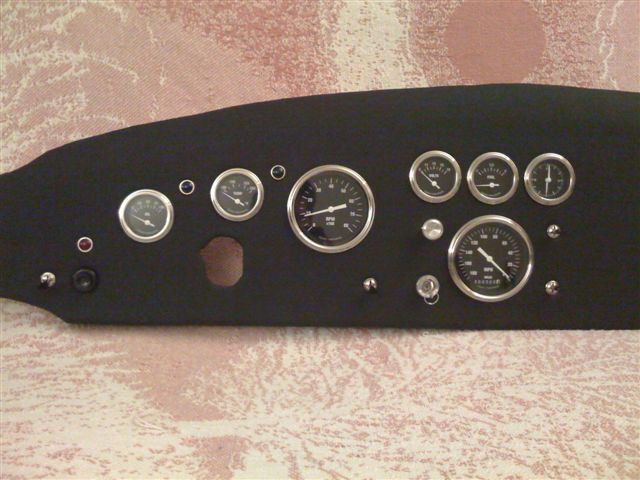
During the winter break I had enough time to work on a much larger project. So I abandon the aluminum panel work I was doing to focus on the dashboard. I used some references and pictures of original cobras to get an idea of the layout and my daughter made paper cutouts of each of the instruments. Using some double sided tape I put them in place and moved them around a bit. The biggest difficulty was trying to resolve the interference between the turn signal stalk and the ignition key. The originals had the key on the left and the signal on the right, but I wanted the signal on the left for ease of driving (match virtually all cars). In the end I moved the key on the right to avoid this interference. I think the end result turned out quite nice. I also have the wiring finished for the dash, but I need to finish up the car side of the harness with the mating connectors so I can test everything out (and maybe get in another go-kart drive :-)).
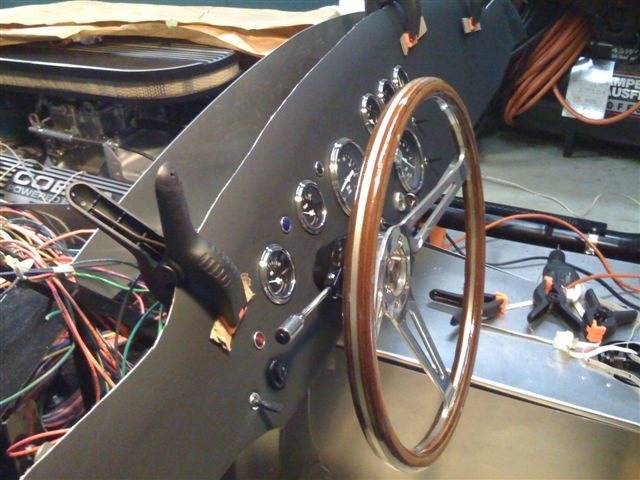
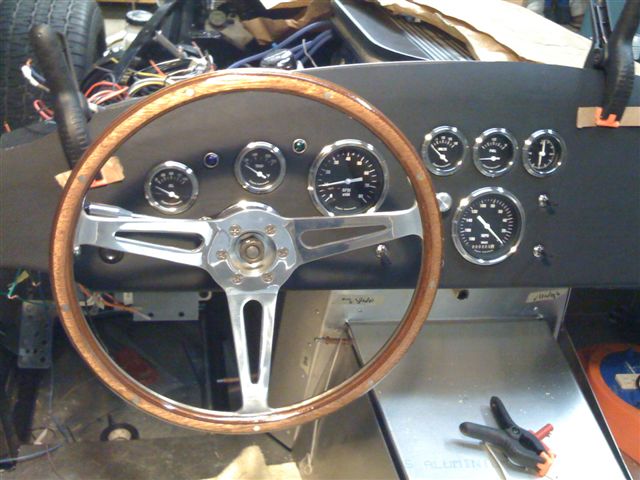
At the very end of winter I was able to find time to finish up the last bits of the wiring harness. The main work was getting the connectors to the dash sorted out. I also sorted out the routing for the heater air ducting to get the warm air into the footboxes. You can see a picture here which shows the driver's side heater duct routing and some of the wiring harness mess for the dash board connections.

The next step was to test the wiring harness. So I called out the boys to give me a hand. Check out the fun video on you tube:
Go to Page 1 Go to Page 2 Go to Page 3 Go to Page 4 Go to Page 5 Go to Page 6 Go to Page 8 Go to Page 9 Go to Page 10 Go to Page 11 Go to Page 12