|
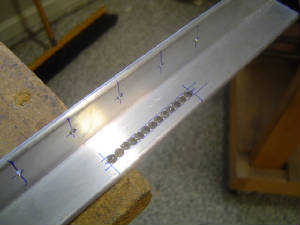
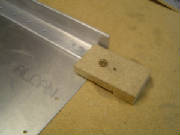
Those pesky slots for the canopy latches, unless you have a mill these can be difficult. I started by marking
the angle and then drilling a line of holes. You can then take out a file, a
very THIN file and start stroking or…
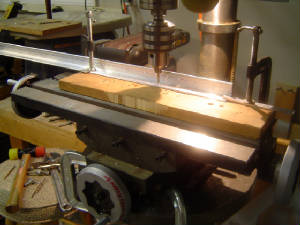
...You can own a two axis table for your drill press. Drilling the holes before you take it to the
two axis table helps to make an easier cut. The table is just not as stable as a mill and needs this kind of help.
A little touch up and it is done.
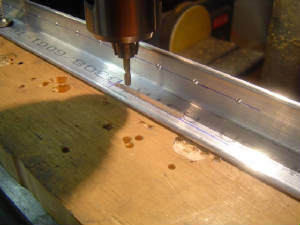
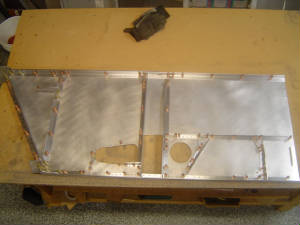
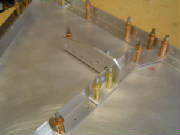
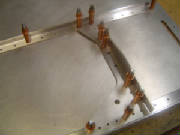
After positioning and clamping down the lower longeron I used a square to mark out the positions of the
verticals. This works well but as always check to make sure everything looks like the plans before you start to drill.
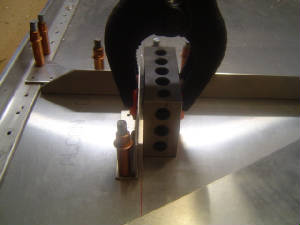
Mounting the rudder peddle pivot block mount required the use of a 1-2-3 block to get it into the position
marked on the skin. This is another place where I suggest using the double back tape to hold the piece in position while
you drill. I would suggest the you do not drill and rivet this sub assembly until it is ready to be mounted here.
The sub assembly requires a 1/8" offset that would be better fitted here rather than what it calls for in the plans.
This will avoid getting a dimple on the outside of the skin when it is finally riveted in place.

Upper motor mount.
Time to break out that automatic deburring machine. Oh you don't have one of these...don't worry they
are REALLY expensive and require a lot of maintenance.
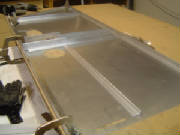
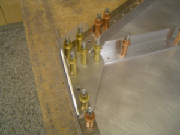
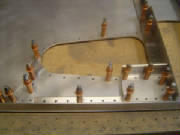
Everything is deburred and cleco'd in place. Ready to start riveting. Make sure you DO NOT rivet the
rear vertical wing mount, you will need to remove it later on to install the spar box.
Misc Pictures - Click to enlarge
|


