|

I layed out
the dimension of the aft fuselage on my work bench by first snapping a center line using a chalk line, seen here in blue.
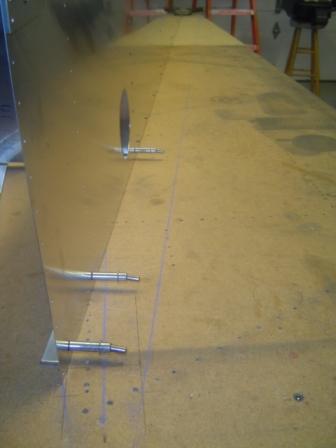
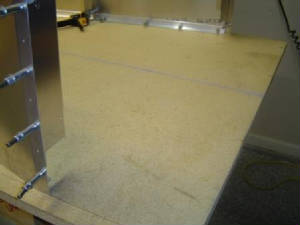
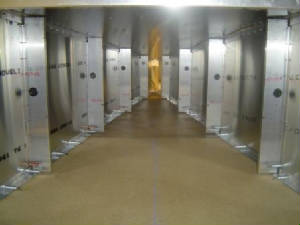
Here you can see all of the lines marked on the table. Make sure your table is flat and that you are assembling
the fuselage upside down at this point.
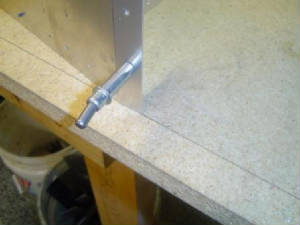
Line up the front of the side wall so that the apex of the bend is touching the line you have marked on the table.
Make sure things are square and screw it down to the table. I used an old cutting board cut into squares with holes
drilled in them.
At this point I tested to see if my BOTTOM skin fit. Again the whole assembly is built upside down that is why
the skin is on top of the side walls.
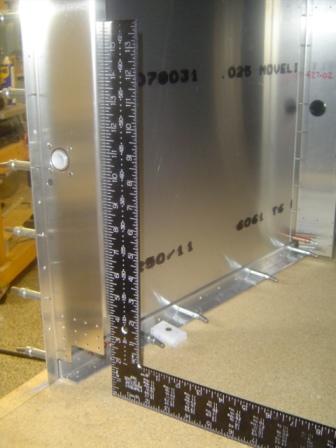
Using a carpenters square I made sure that the bottom was square to the sides. The edge of the square is parallel
with the rivet line on the bottom skin.
Using some scrap pieces of aluminum I braced the sides square to the table.
With the bottom skin fit and the side panels secure I checked for square again, added some more clamps and began to install
the Cross Ties. I found I could lay on the table and clamp things in place or...
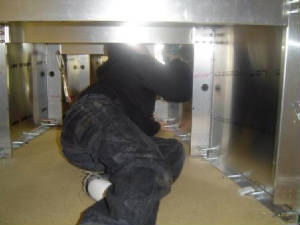
I could take the kid and put him down in the hole. Actually he wanted to do it because he thought it was cool.
I just sat back and did my best Tom Sawyer impersonation.
Once the bottom Cross Ties were done (which are on top because remember we are building it upside down), I could complete
fitting the top Cross Ties.
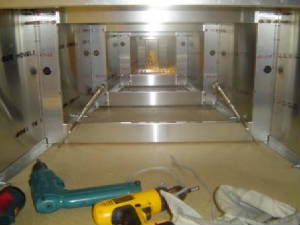
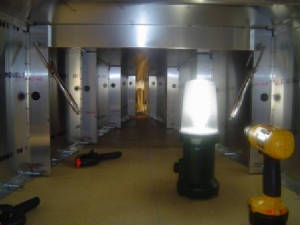
Everything is square and cleco'd.
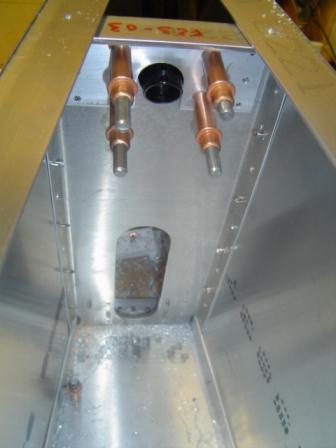
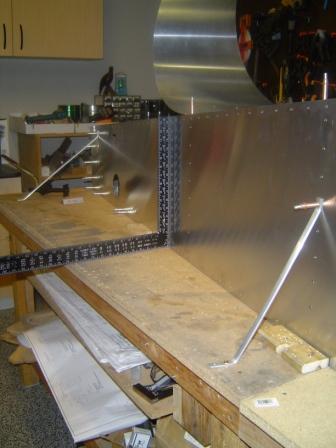
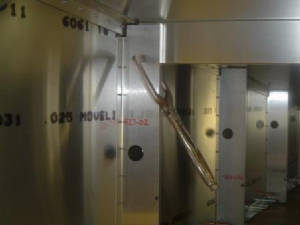
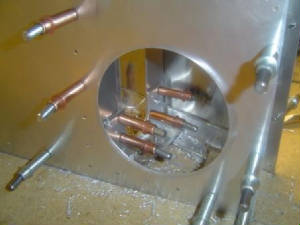
Fitting the F-23-03 Angle Mount and the F23-02 Bulkhead. A 24" long drill bit was the trick for drilling these
holes.
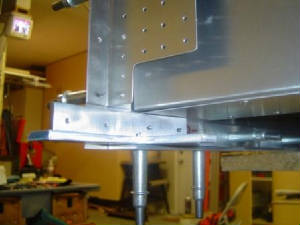
Fitting the F22-05 Aft Angle.
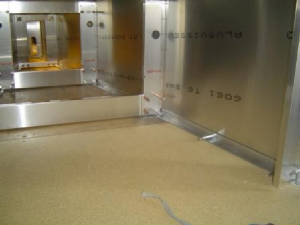
Once everything was secure I removed the clamps that kept the assembly on the table and slid it off the edge slightly
in order to install 24-01 Cross Tie Box.
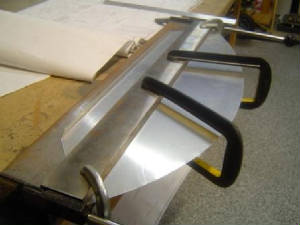
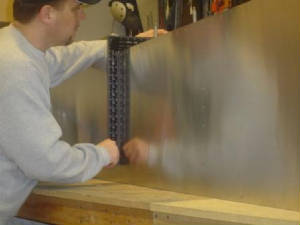
Starting the process of bending the F-20 Formers. I first made the 90 Degree bends and then went on to form the
flanges over the form blocks.
Most flanges required that I do a "double" to get a good bend withour distorting the metal.

This is what they looked like after being installed. Make sure you know which end is which as there is a top and
bottom.
|


