|
SPAR
Don't underestimate
this part of the build. So far the spars have been the most difficult part of this entire endeavor. READ THE PLANS
THOROUGHLY! The left spar and the right spare are not the same. Don't get bit by this! Even if you have
the kit don’t get stupid and just rivet things together as you think they should go. Make sure you have it right
and then check it again. Take a picture of it and send it to tech support at Sonex. They can tell you if your
stacking is correct. Use Sharpies to mark all the holes and their sizes. Make all kinds of notes on the webs so you don’t forget. I started as many other plans builders did and laid out both the W10-01 Spar Web and used this as a template
for all other webs. Some have ordered the W10-02 web and used it for a template. I think this is a good idea if you are not confident in your layout skills.
Laying out the
W10-01 web with the spar caps.
CONSTRUCTION
TIP!
Use the Dave Koelzer
spacer gage as seen in the picture. You will need two sliding squares but it
works beutifuly. I used two wedges to keep the spar caps tight against the gage.
CONSTRUCTION
TIP!
Use the metric
system. You don't want to try and convert 3/32" when you have to measure out 40 plus locations.
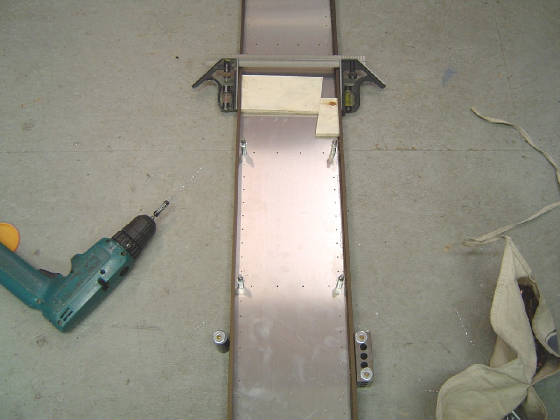
Setting up the spar web to drill out the rest of them.
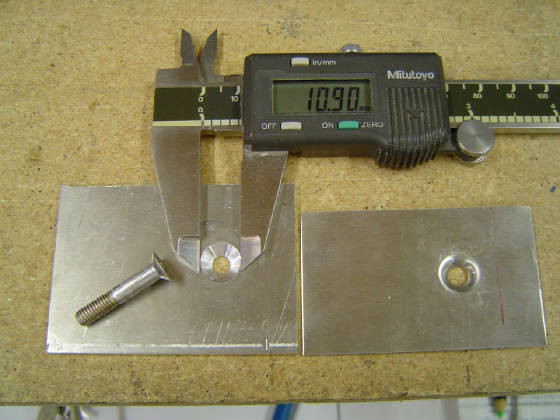
Always do a test piece before working on the real part. Here I have tested the required diameter of
the countersink for the screws on the main spar.
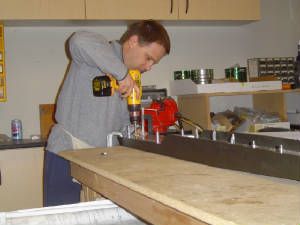
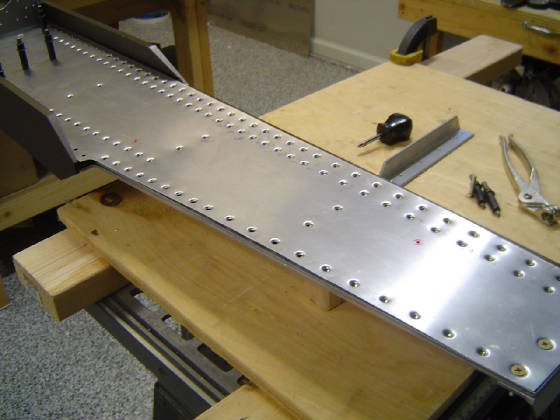
Drilling the spar.
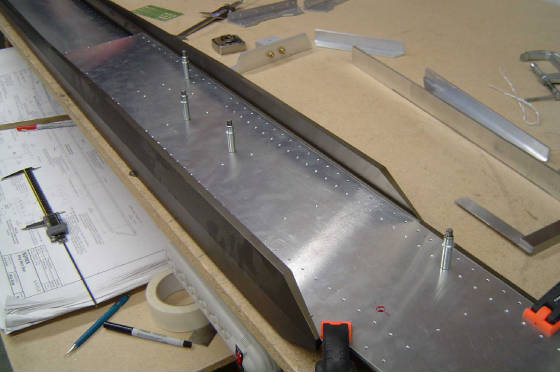
The right
main spar webs that are dimpled and countersunk, ready for final assembly. This is a tremendous amount of work
so be careful you don’t want to bugger it up now.
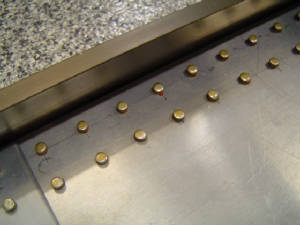
Aren't those
beautiful? I used a combination of a rivet set and the suggested bolt to form the rivets. To back up the rivet
I used a 2" V Block that I purchased from Harbor Freight for $8, item # 44560-3VGA. Cheaper than the special bucking
bar and I can use the V Blocks elsewhere.
CONSTRUCTION TIP!
Although it
is not a complete no-no don't do what I did and put the formed head on the side of the spar webs. The larger factory
head should be on this side. After talking to Sonex and another AP I was told that although it is not advisable to do
it this way I should be alright. See what I mean about reading the plans carefully!
For some reason I never took picture of the spars completed and bolted together after drilling out the location
holes. Hmmm must have been too excited about finishing the *&%*ing things.
|